DIY Swedish Cross Wall
Hey everyone! I’m Karisa and I blog over at Petite Modern Life about home remodeling, design inspiration, decorating, and inevitable redecorating! In January I shared our tutorial for our DIY concrete island and today I’m here to share a decorating idea that is quick, under $8, and for the beginner DIYer: My DIY Swedish cross wall! Let’s get to it shall we?

Do you have a room in your house that is missing some pizzazz? Maybe you’re like me and you don’t want to paint, you already have too many pictures everywhere, a shelf is too much,would be too big, and wallpaper sounds like a scary/messy long-term commitment. That’s what was in my head staring at this one wall.
But then “click” went the light bulb.
I had been obsessing over Swedish cross design for quite some time and already had in mind to do a minimal Scandinavian themed living, so why not do a DIY Swedish cross wall? I’d seen so many people use washi tape for wall decor, I knew that it would be possible and that if it didn’t pan out, I’d be out just a few bucks and an hour or so of my life. Not bad DIY odds when it comes down to it! (spoiler alert… it totally panned out!)
How to Make a Renter-Friendly DIY Swedish Cross Wall
Project Materials
– 1 to 2 Black Scotch Washi Tape (Target $3 each)
– Ruler + tape measure
– Scissors
Pretty simple already right? Like I said, this is totally a beginner/any DIYer project!
What you’ll want to do is determine where you want your end crosses to be in the first row and mark it with a pencil. You can then mark where those end crosses will be on every other row all the way up the wall so you’ll have even rows. Honestly, this is a bit of an afterthought from me, I eyeballed the whole thing! But if you put your end crosses up on every other row first, then you can more easily (and more quickly) fill out the whole wall.

Here’s my tip for cutting the tape (though any way could work). I laid a length of tape along my ruler and made a cut at every 2 inches. Then I peeled it off some, finished the cut, and place it on the wall. I did the same with the next piece and stuck it in the middle of the first one. Even length on both sides = a Swedish cross.
The great thing about the washi tape is that it can be adjusted once it is stuck. Now, if you adjust it too much you’ll start to lose some adhesion, so try to adjust minimally or cut a new piece of tape.
I love the final product! Eyeballing it turned out pretty good and was easy on my nerves which made the process fun! When you’re done you can gently press out the tape edges with a credit card. Don’t push as hard as you would on painters tape or the washi tape will scratch off/move! I read somewhere that you can increase the adhesion by passing a blow dryer over the tape. I did that, but I seemed to have melted some of the tape pieces by holding the dryer even a teense too long over/near it. So if you do so, do with care.

I can say now that it’s been up there for almost 3 months and none of it has peeled off! If you’ve ever used washi tape, you’ll know it’s a very gentle tape so I’m not worried that it’ll damage the wall. I think soap and water will easily take off any remaining residue. (Nor have I read that it causes damage.)

To make the wall even more delightful I tacked a light string across the lower middle and clipped simple prints to it with clothespins. Then I picked up two plug-in-cord wall sconces from Target to add some mood lighting for couch reading + chilling. Ok– AND eating while watching movies 😉 we don’t have kids yet!
Do you think this is something you would try? Would you dare it in another color? How about in another space? It would be great in a kids room, small wall, in a closet, or like me, in your perhaps a little boring living room!
Be sure to check out the Full Scandi Living Room Reveal + my DIY Floating Sideboard (!Ikea hack!) that I’m head over heels with. Thank you for stopping by! Let me know if you’ve made anything similar or do this project, I’d love to see!
| Scandi Living Room Reveal | DIY Floating Sideboard Tutorial |


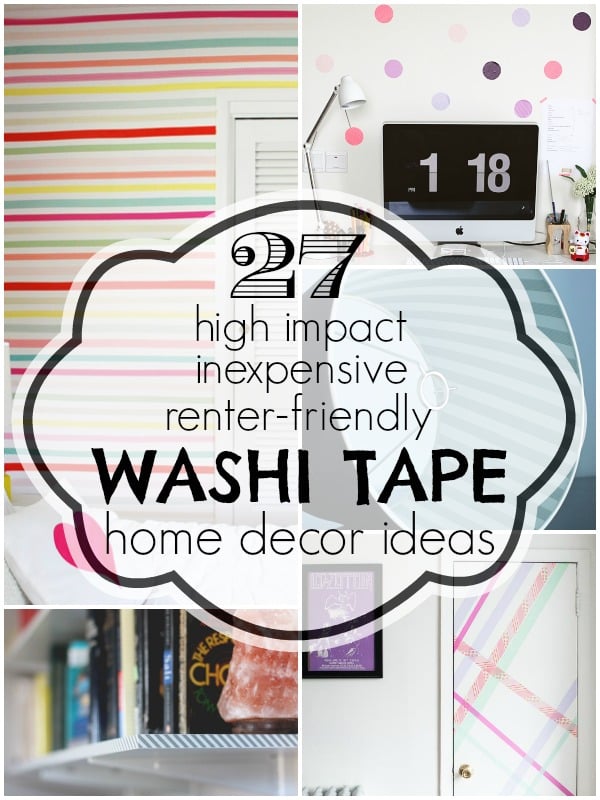
More ways to decorate with washi tape:


Eyeballing it turned out so well! It looks great!
Very cute wall. Curious where the name Swedish Cross comes from however.
You’re right, I think I found a few patterns and talk on blogs about a “Swedish Cross” wall, whereas it might not technically be called that! 😉 Live & learn.