DIY Paneled Wall Tutorial
DIY Paneled Wall Tutorial – THE STEPS:
Step 1:
Since there is no need to change what’s already a good thing, I used RR’s measurements for the boards and had them cut the same width. I bought 2, 4×8 sheets of MDF a 1/2 inch thick at Home Depot for $20 each, and had them cut the sheets into 4 inch wide, 8ft long strips for me.
Step 2:
Paint your wall white, or whatever color you will be doing this BEFORE you add the boards. Trust me. 🙂 You should also lightly sand the boards so they are very smooth and clean up any rough edges. And if you want to be super efficient, you could paint your boards before you nail them up too. I didn’t do that of course. 🙂
Step 3:
I made a frame around the wall with the boards first, and just nailed them up with the nail gun.
Step 4:
: Then me and my husband measured the wall and marked the center, and nailed a board up. We thought it would be easier this way to figure out the rest of the sizes of the boxes. But I’m not sure if that was the easiest way or not…
DIY Paneled Wall Tutorial
Step 5:
Now this is the fun part. And I swear, if “Dumb and Dumber” had a sequel, me and hubby could have the starring roles. For this part, you need to do some math (or just keep measuring over and over and over like we did) and figure out the spacing for your next vertical boards. I’ve never really done that math formula that is out there to figure out spacing of boxes–that is why my Dad usually plugs all of that into his drafting program. But my Dad wasn’t lucky enough to work on this project, so D&D got er’ done by the grace of God. Somehow, we got them all spaced correctly. And that’s all I can really say about this step. 🙂
Step 6:
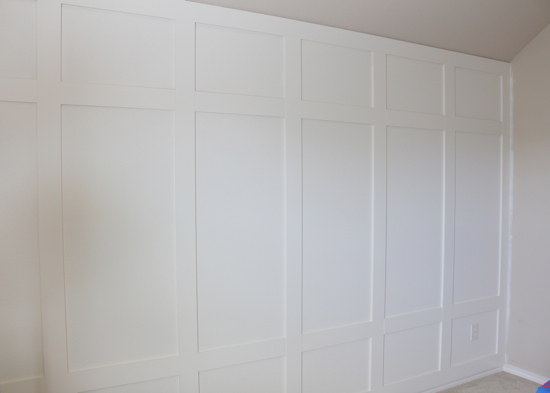
And for this step, you again need to figure out where you want your next smaller pieces to fit to make the “boxes.” And again with God’s help, we spaced them out correctly. 🙂 This is the part where you decide if you want squares, rectangles, lots of boxes, not a lot of boxes, etc, etc. We chose a smaller row up top and on bottom, so we would have big rectangles in the middle. My husband used our miter saw to cut all of the pieces of MDF to fit in between the vertical boards.
Step 7:
And when everything is all nailed up, all you have to do now is caulk all of the seams and spackle the nail holes. You will want to lightly sand your nail holes when finished.
Step 8:
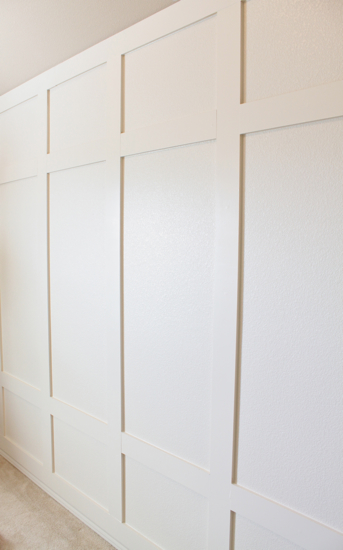
Then paint! I painted about 4 coats of a white semi-gloss (SW Navajo White, our trim color in the house). The first coat I used the small foam roller, and for the 2nd coat I used a brush. Then switched back to the foam roller. I’d use just the roller next time around so you don’t have to worry about brush strokes.
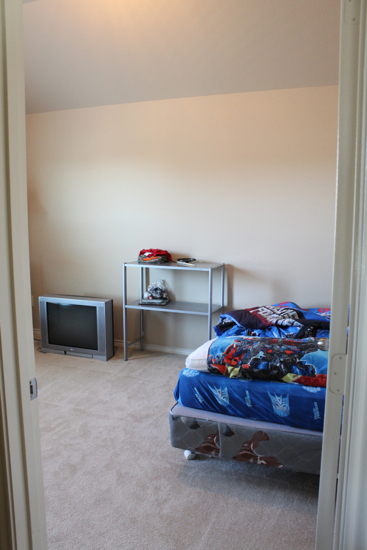
DIY Paneled Wall Tutorial – Before
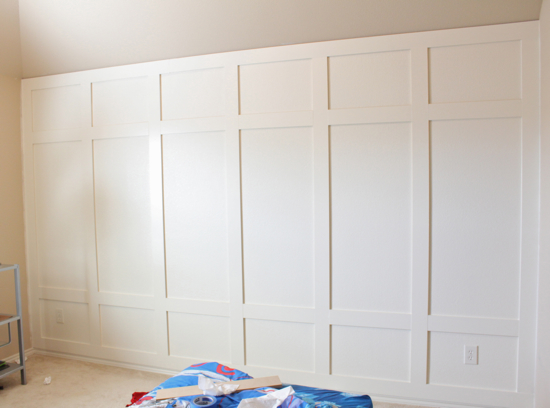
DIY Paneled Wall Tutorial – After
DIY Paneled Wall Tutorial for $40
Not bad for $40 right?? 🙂 I still have a few areas I need to touch up but nothing major. Just a few nail holes that I didn’t sand well enough before I painted.
Cassity Kmetzsch started Remodelaholic after graduating from Utah State University with a degree in Interior Design. Remodelaholic is the place to share her love for knocking out walls, and building everything back up again to not only add function but beauty to her home. Together with her husband Justin, they have remodeled 6 homes and are working on a seventh. She is a mother of four amazing girls. Making a house a home is her favorite hobby.







>I have to comment on the bottom kitchen- JUST Beautiful. LOVE IT.. Great job and so inspiring..
Karryann
>Beautiful! When we did this in our house, we took off the baseboards and placed the bottom piece of MDF against the floor (made it taller so 3" stuck up over the baseboards. We then placed the baseboard over it. I love that you took this all the way up the wall!
>I love it! So simple, yet makes such a big statement. You're very creative
>So lovely! It's a really great look… even more impressive that it only cost you $40!
>wow, that looks really great !
>That is impressive. I love the look of it. I'm already wondering if I have a wall I can do this to. Great job!
>I LOOOVE IT! It seems so simple to do and it it looks amazing!! Thanks for sharing!!
This looks nice. I did something very similar in my dinette and am currently putting it in my office. For anyone else planning on doing this, you can get a much more built in look with some extra effort by pulling the baseboard and shoe from the wall that you are going to panel and of course any adjacent walls. Then after you install the paneling, trim up your baseboard accordingly and install it over the bottom strip of paneling. I added the height of my baseboard to the height of the bottom strip of paneling to give a uniform 4 inches. You can also add some more depth and cover any less than perfect drywall by backing the paneling with 1/4″ hardboard. Of course, you’ll want to plan the seams where they will be covered by panel boards. Lastly, if you like this but don’t wish to cover your whole wall floor to ceiling, stop 3′ or 4′ up and lay a strip of 1/2″ to 2-1/2″ poplar for a nice chair rail/ledge. Great write up!
Thanks for the comment Jon!
Hello. On vertical boards how were they installed if no stud to nail into? Did you glue them on? Tks. Tony
That is what I was wondering. If just nailed into the drywall, I see loose boards in 6 months or so.
Hello, about how long did this project take you?
Thanks,
-Emily
Love how easy you made the instructions! Does the wall have texture? I want to do this in my dining room and the walls are textured. Thanks!
Would a bathroom be a good application for this style of wall? We have high ceilings but it is still the size of a bathroom.
Question: do you know of an easy/cost effective way to do this if we have an existing terrible texture pattern instead of a nice smooth wall? Preferably without just replacing the drywall. Thanks!
Hi Kristy,
We’ve smoothed out drywall texture a few times — it’s a lot of work but can be worth it! Check out the video here in this post to see more of our process: https://www.remodelaholic.com/how-to-smooth-drywall-texture-for-bathroom-built-ins/