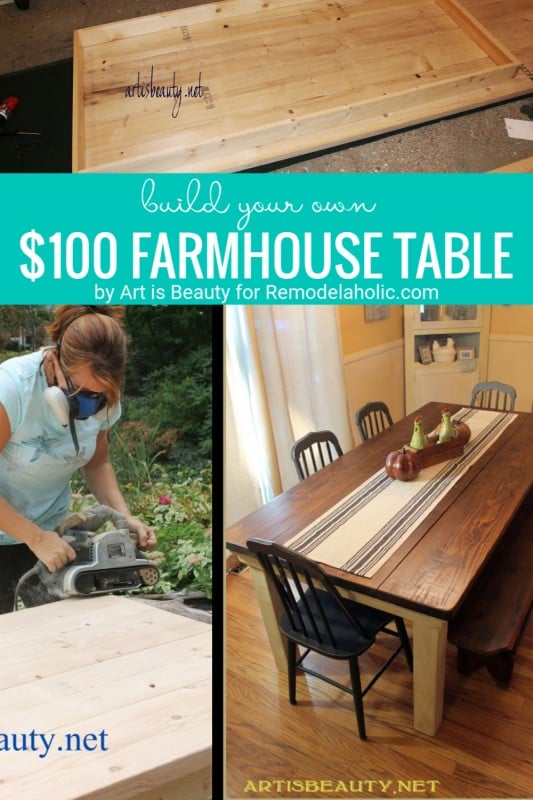
Build a Farmhouse Table For Under $100
Farmhouse style is in! On top of the fact that this style of furniture is gorgeous and adds so much character to a room, I think so many of us love the feel that the farmhouse furniture brings into our home, of the “farmhouse” mentality — gathering the family together, working hard, building things with our own two hands. It’s both a lovely call back to simpler times and a lovely home style! When our guest shared this farmhouse table at the Remodelaholics Anonymous party, I jumped at the chance to have her share it here with you:

Farmhouse isn’t just for the kitchen table though… You can bring the farm-inspired furniture into every room of your home with DIY plans such as…
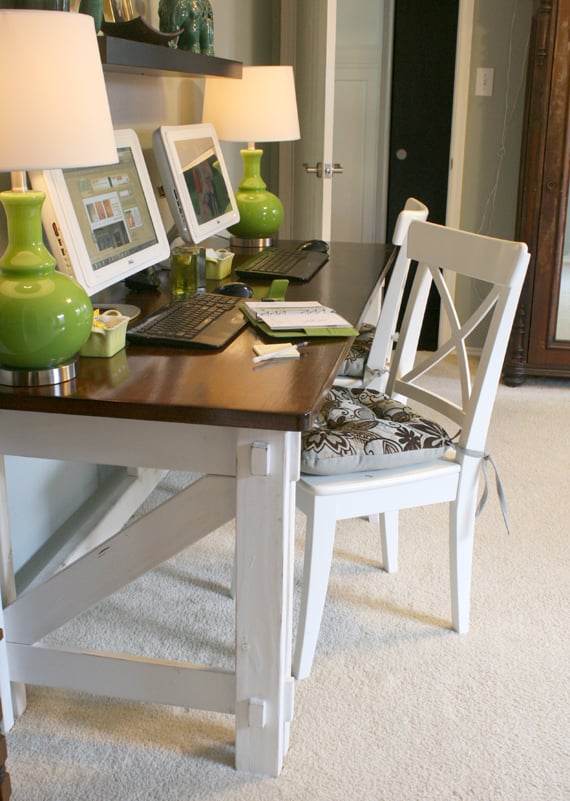
our very own farmhouse-inspired computer desk for two (which would also make a great console table!)
a gorgeous farmhouse bedside table, made by Shanty 2 Chic following Ana White’s plans,

an awesome farmhouse bed with storage (and more than is visible!) by Birds and Soap

and even the littlest tenants can sleep in style with a farmhouse doll bed (plans by Ana White).

Or, you can remake an exiting piece of furniture to have some farmhouse style with a rustic look and stencil, like The Shabby Creek Cottage did.

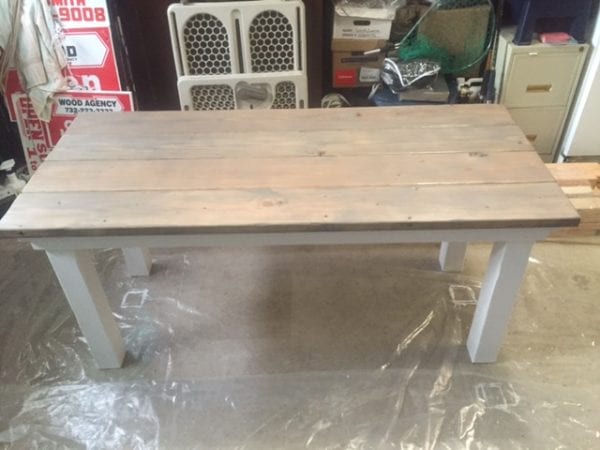
Ah, farmhouse. So lovely, and such a great DIY! You can save hundreds of dollars over a purchased farmhouse table just by making your own. And here’s our guest Karin to show you how she did just that.
DIY Farmhouse Table for Under $100
by Karin of Art Is Beauty

Hello Everyone! My name is Karin from ART IS BEAUTY. I am a Mom of 4 amazing yet BUSY BUSY kids and the wife of 20 years to an amazing (in the fact that when I finally beg him to do big projects like this he only pretends to protest because he knows it useless) Man. 🙂
My whole life I have loved painting and anything artistic and projects. I love to see how using my brain and my hands I can change nothing
into something. Some of my favorite projects over the years have been the Fenner Nature Center dresser that we did for an auction to benefit the center. You can see that HERE. And one of my favorite paintings was “all my days.” It’s an oil painting “self portrait in tree form”. You can see that HERE.
So that explains a bit about me…Let’s get started showing you the Latest project.
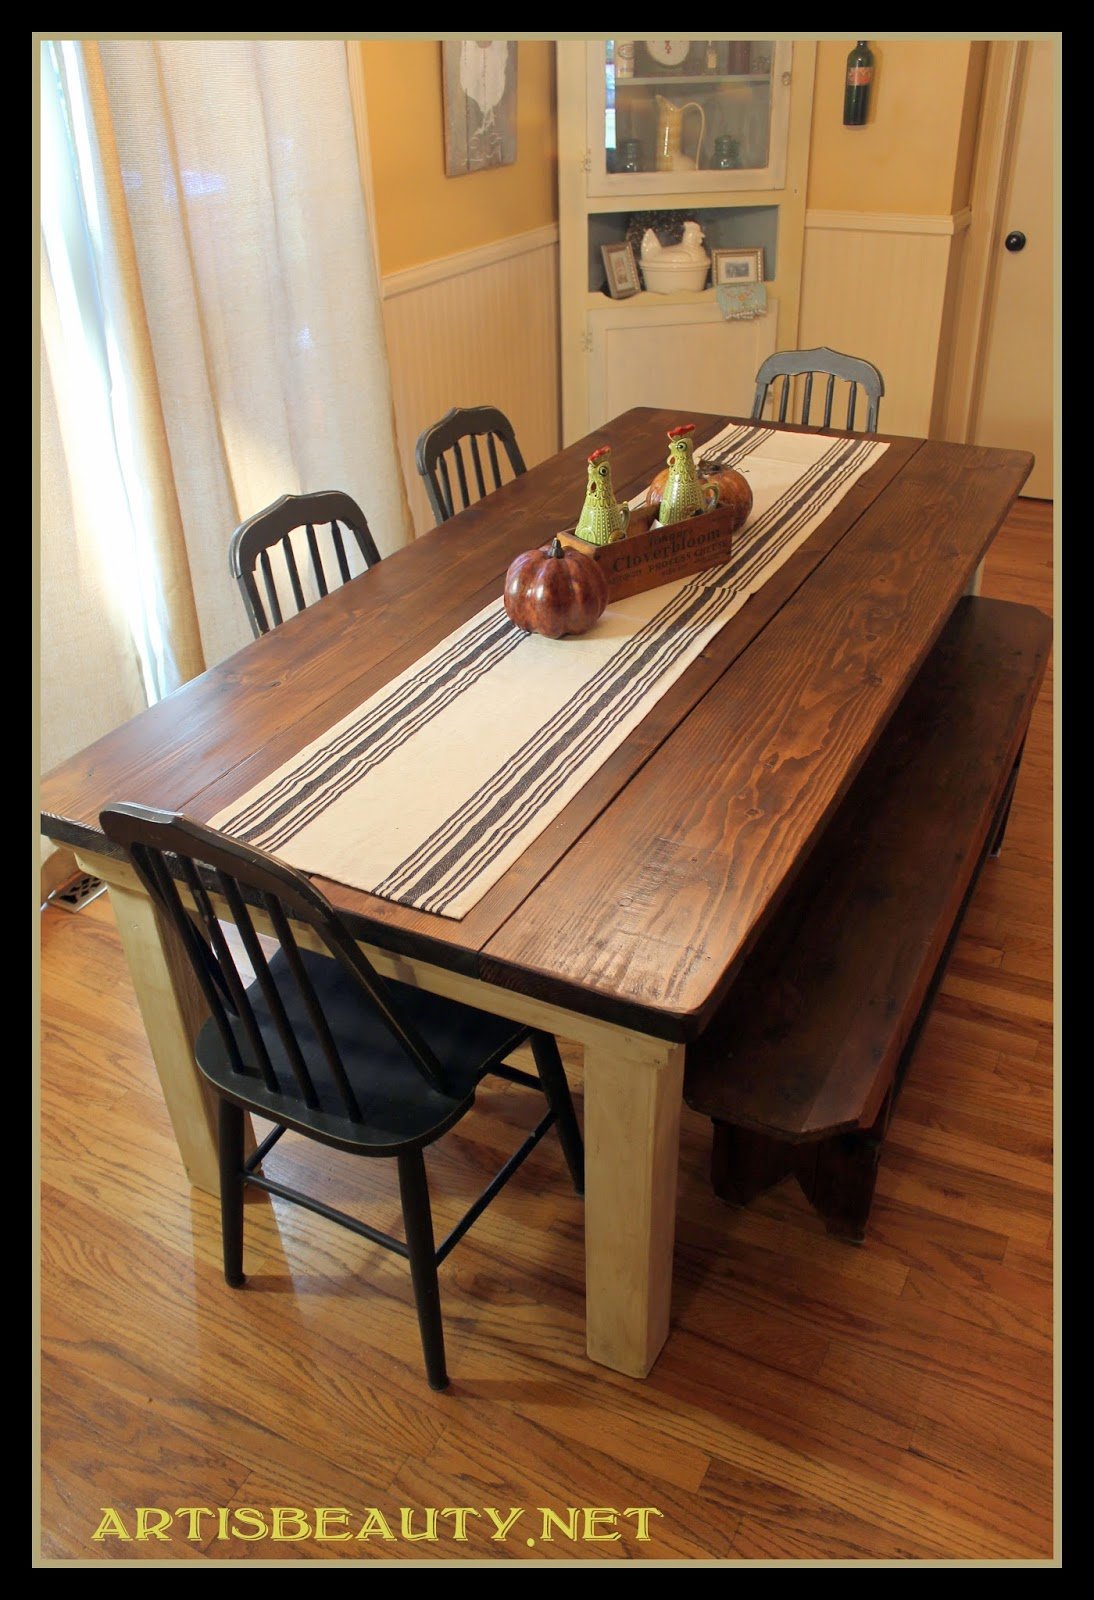
I have been dreaming of having a Farm House table forever.
You know to build memories around and for your kids to get all sticky LOL!
But you have seen the prices of those things…WHEW… NO WAY! I knew the hubby and I could build one.
He had built me an outdoor patio farm house table from neighbors old deck wood they were throwing away and I had built one from pallets so we kinda had an idea and would just figure it as we went.
One of the biggest issues we had to deal with was the antique bench that needed to fit between the legs. We knew the legs had to be far enough apart to fit the bench and trying to do the measurements from home just wasn’t cutting it (since lumber is never actually 2×4..its about 1 3/4 x 2 3/4, so you can see why trying to calculate before hand was difficult). We just took our measurements to Lowes and laid it out right there on the floor and figured out what pieces we needed from there.

Here was what we came up with at Lowe’s for our wood and screws supply list.
So as we laid all the pieces out we figured out how wide our legs had to be apart to fit the bench and could go from there to fit the table around the legs. Here was our supply list…
- 4 2×10
- 2 1x4x6
- 2 1x4x4
- 3 2x3x8
- 2 1x2x8
- 1 1x2x6
- 2 4x4x8 FIR..for the legs
- The total cost of the wood was $77.26 + tax
- 1 box 2 1/2 screws
- 1 box 1 1/4 screws

Then it was time for building.
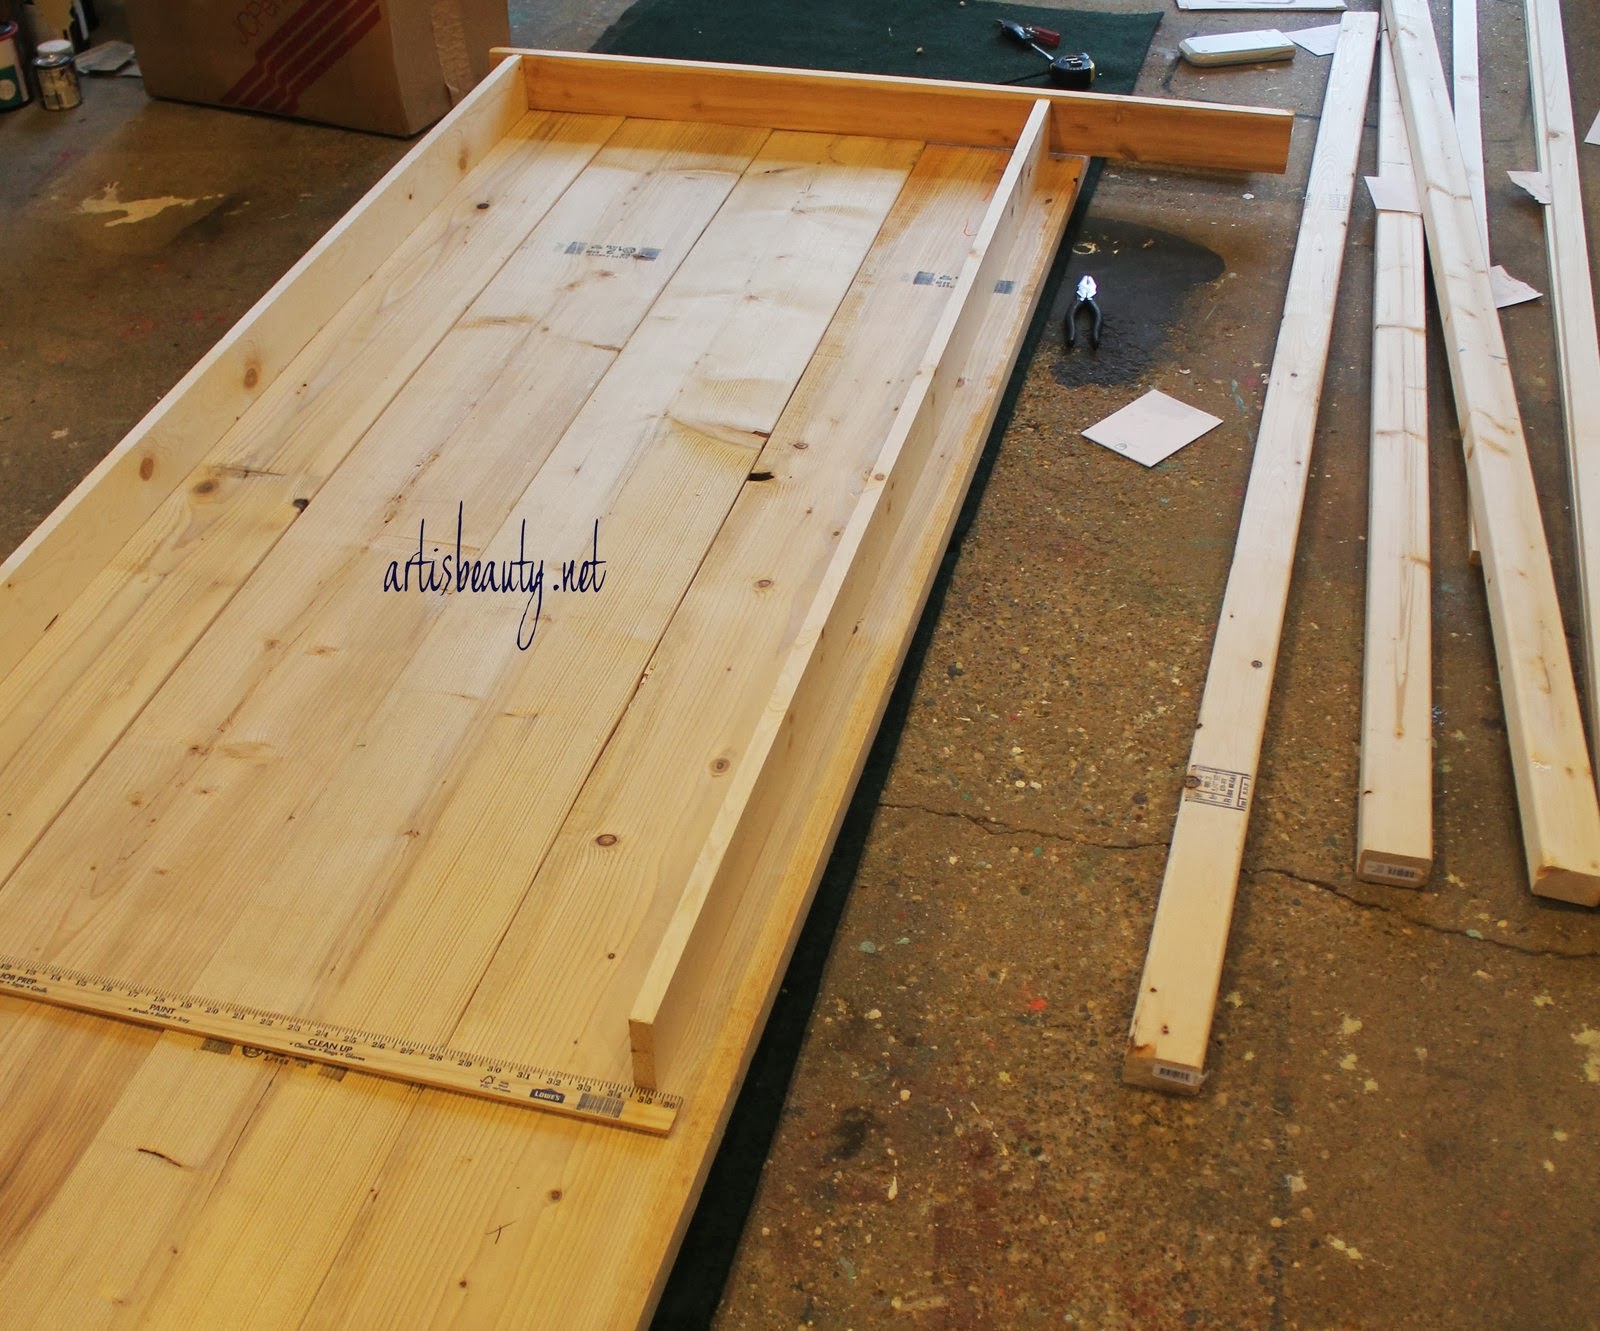
Once you decide on what size table you want the first thing you need to do is to decide what size the skirt needs to be. Its the rectangular box that you build for the base of your table. We knew we wanted around a 2 inch overhang so we built the box 2 inches smaller than the actually table top. We pre drilled the holes on the ends and used 3 screws for each corner to secure the framing.

Once the skirt is built you will need to put the braces for the supports in which you will screw your top boards to.

we cut all our brace boards the same size seeing as this would also ensure that our table was SQUARE.
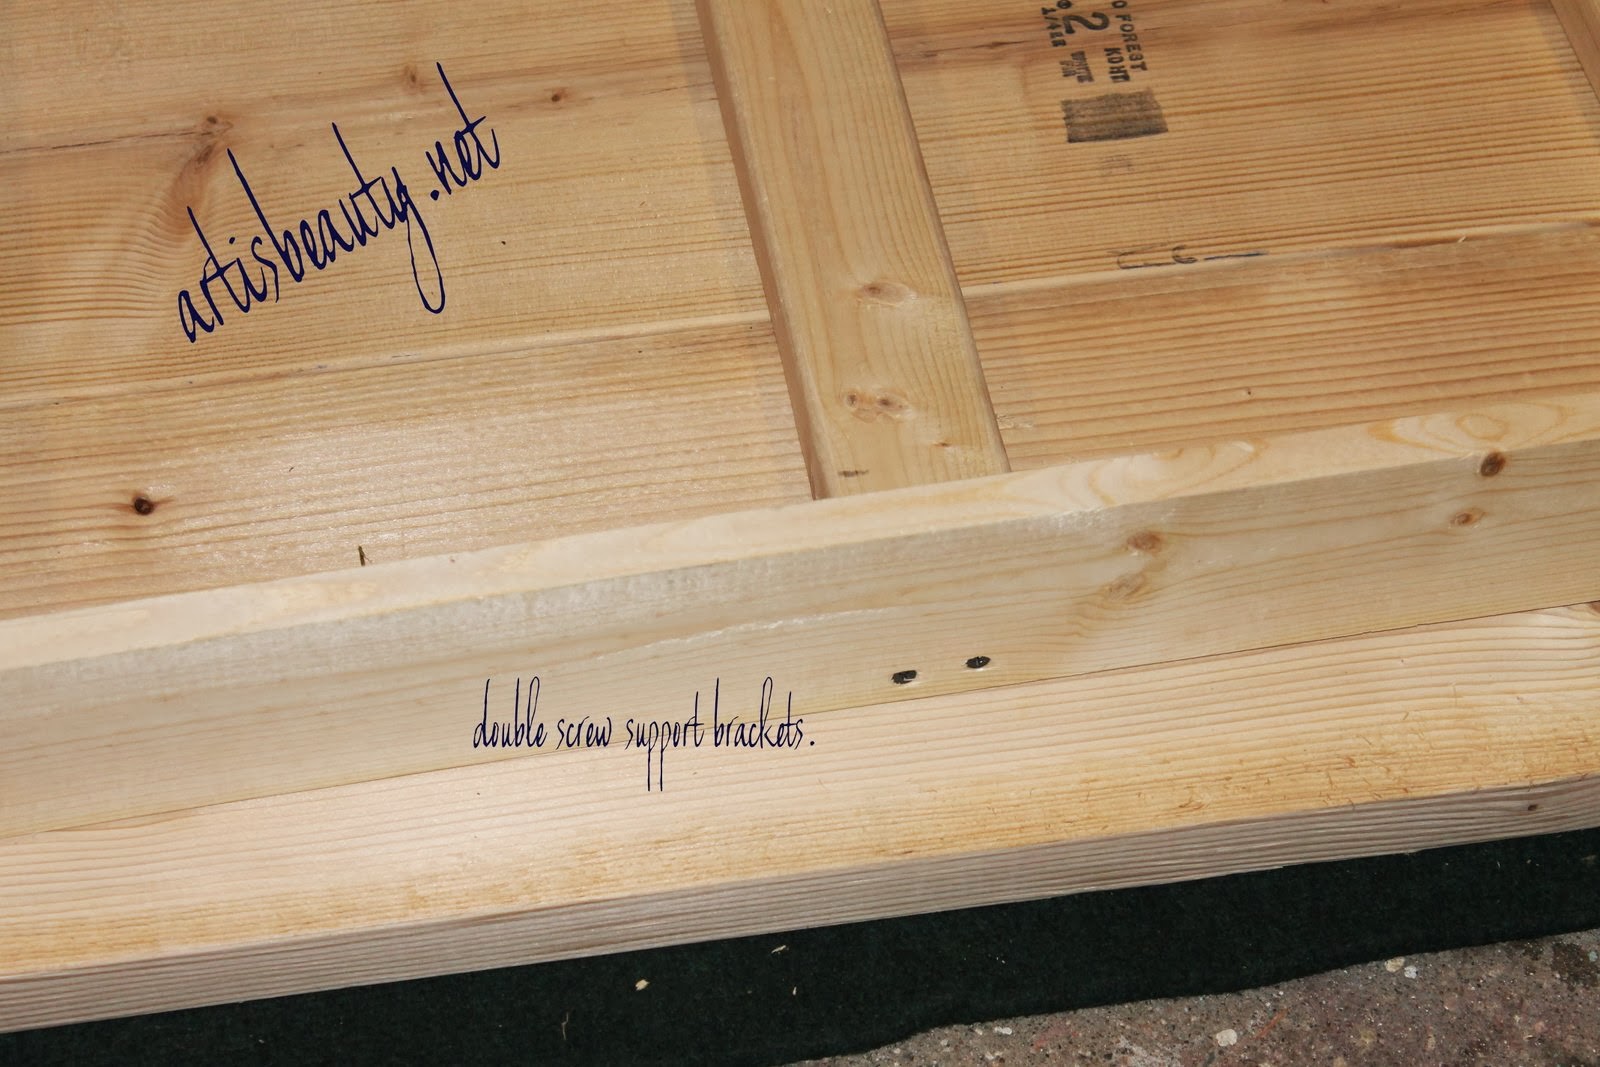
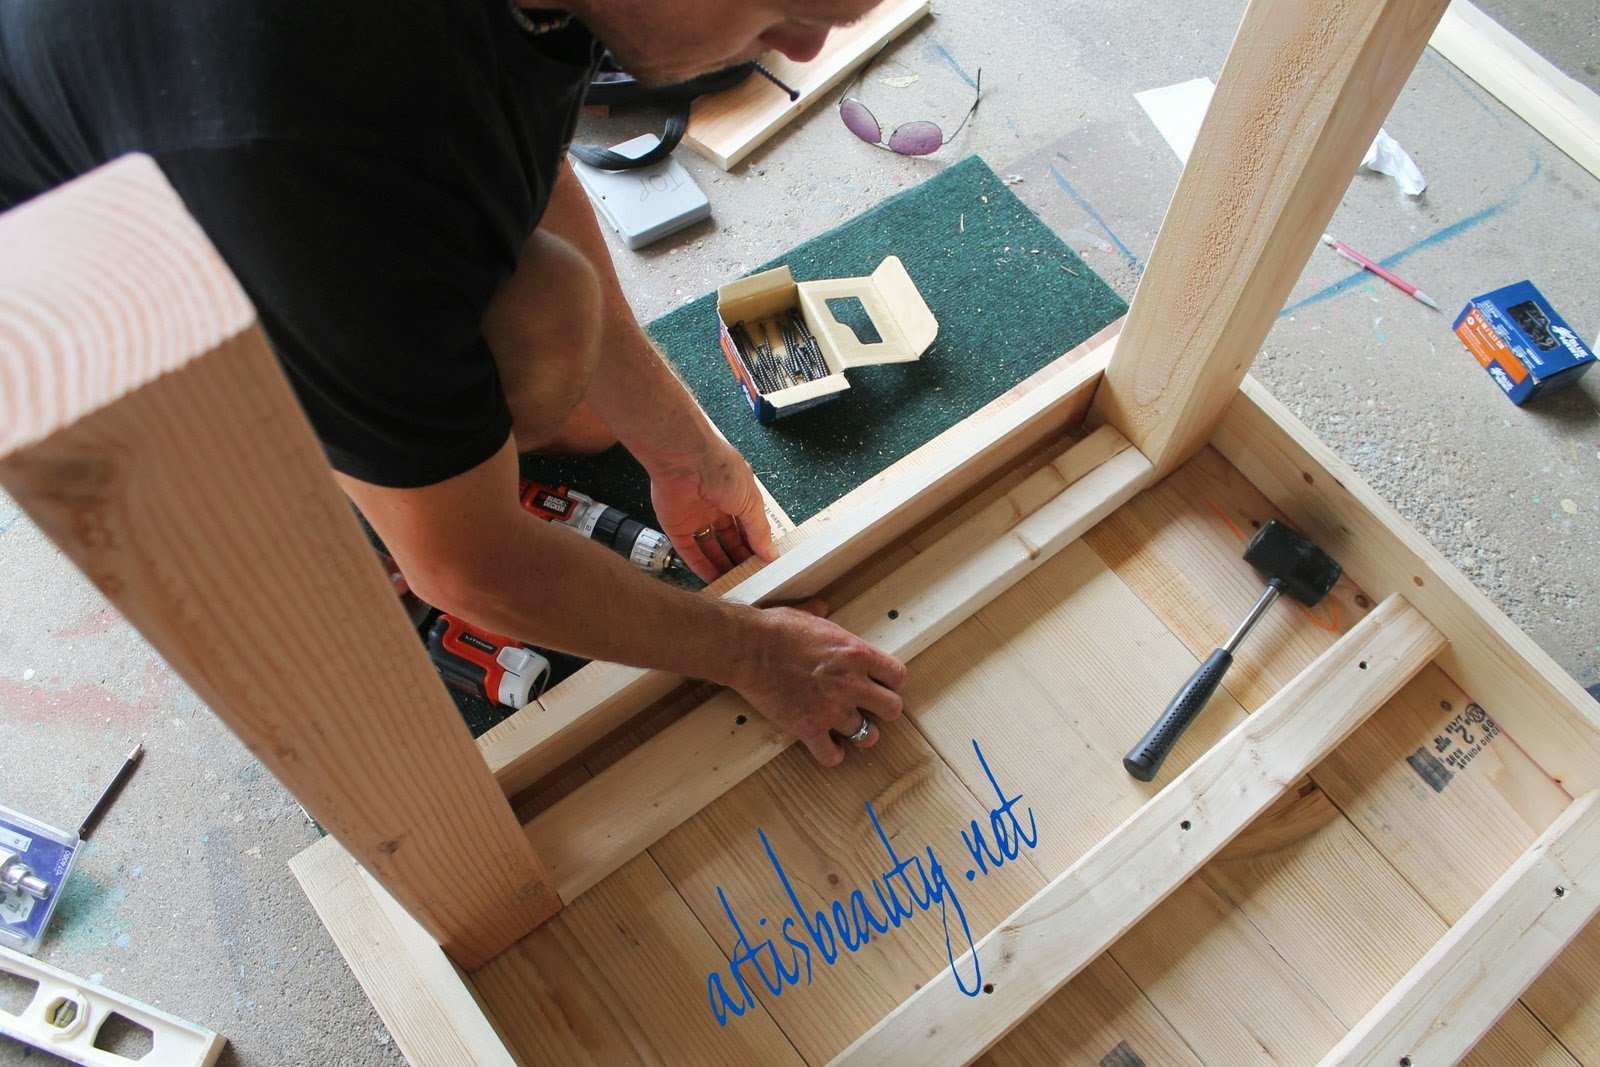
Once all the supports were cut we used 2 screws to attach them to the skirt. Make sure your support braces are even and level with what will be your table top. If you put the braces HIGHER than where your top will be your boards won’t be sitting on your frame.

Here I am putting the final screws in to support the frame.

Now that the skirt and frame are done we attached the legs. We used Gorilla glue on the bottom of the legs and then we used 3 long screws on each outside corner.
Once the legs were screwed in we then put support braces between the legs. We did this not only to help support the legs but to also be able to screw the end of the table top in closer to the edge.
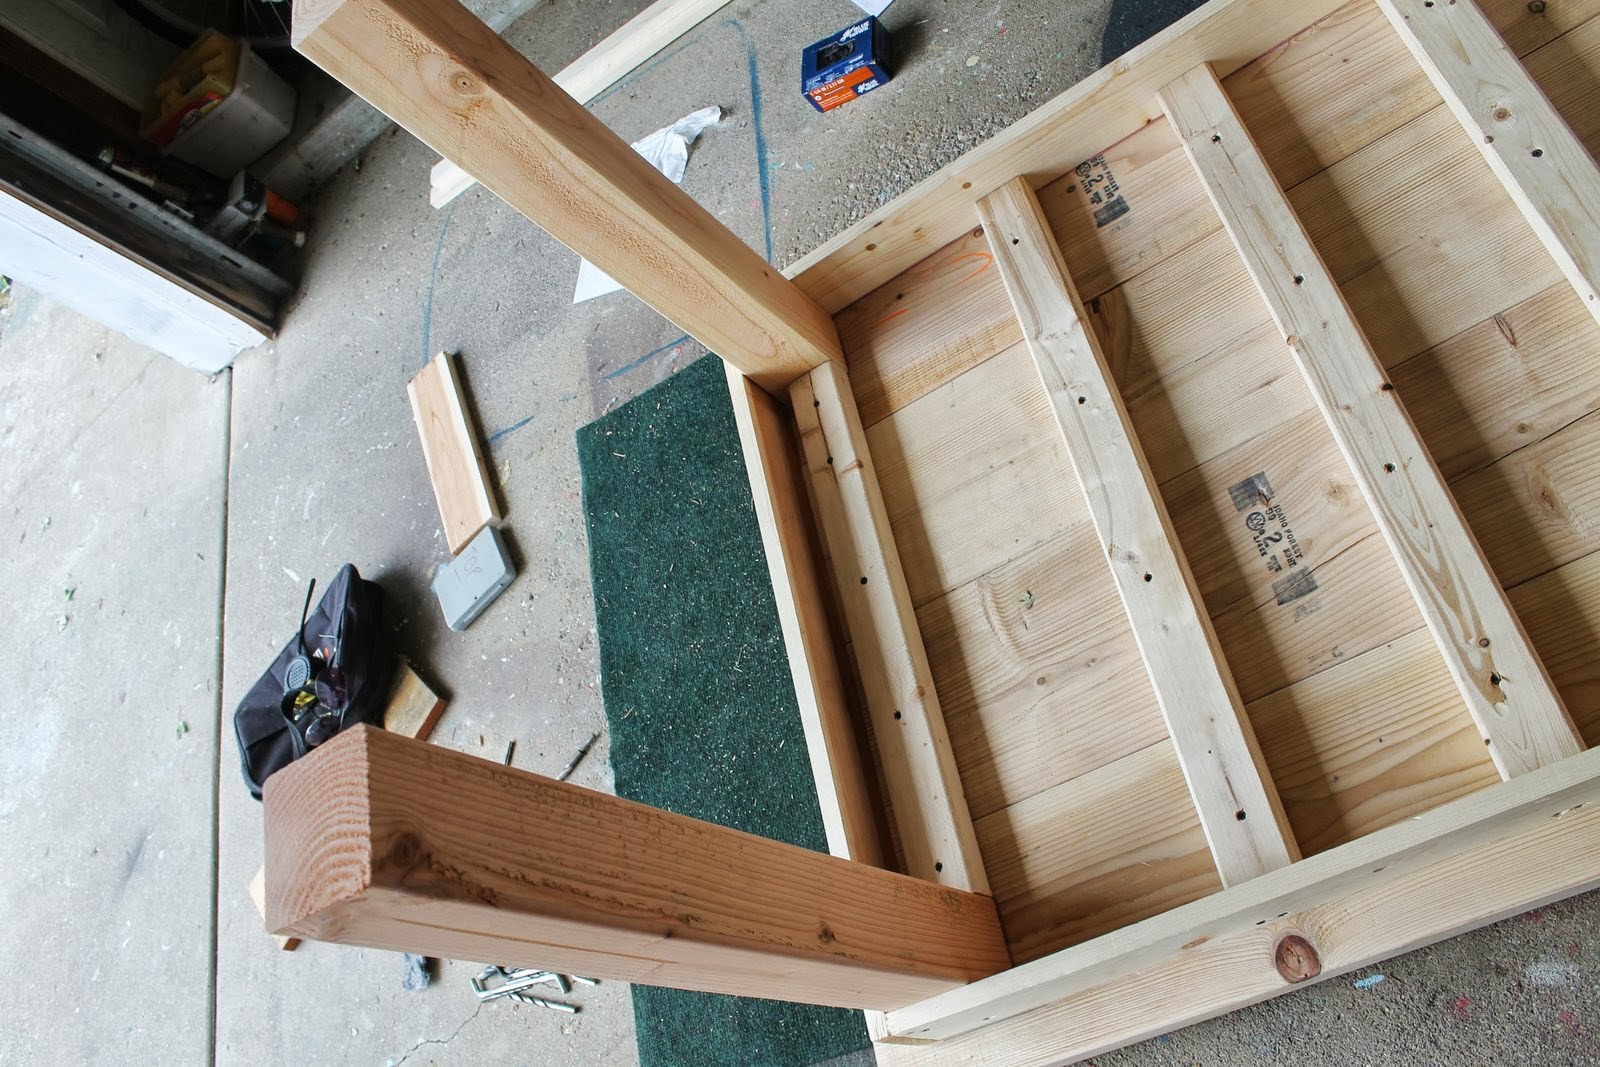
After that you can see we cut our top boards of our table the size that we wanted. Made sure they were all even and from underneath used the support braces and screwed the braces to the top boards

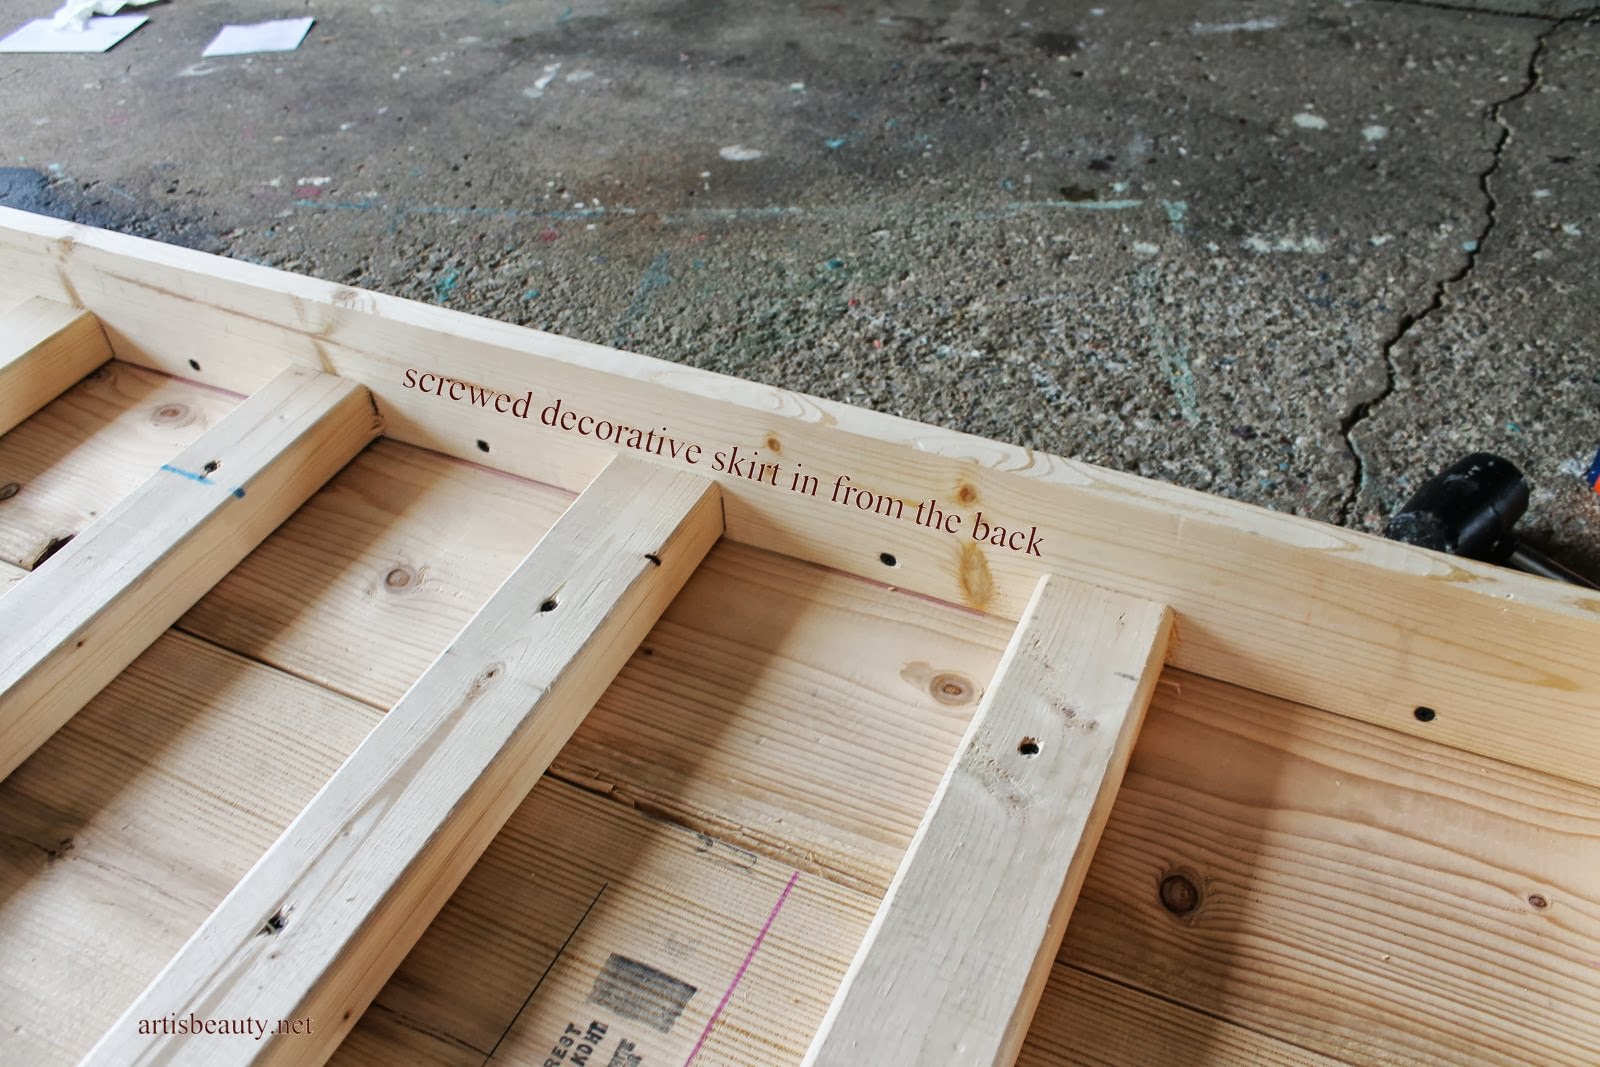
We decided in the store when we were working out the plan that we knew there would be lots of screws showing and we could putty them or we could add a little more detail and add another smaller decorative skirt around the outside.

We did this by using the 1x2s and framing around the outside and screwing them in from the back, hiding almost all the screws.
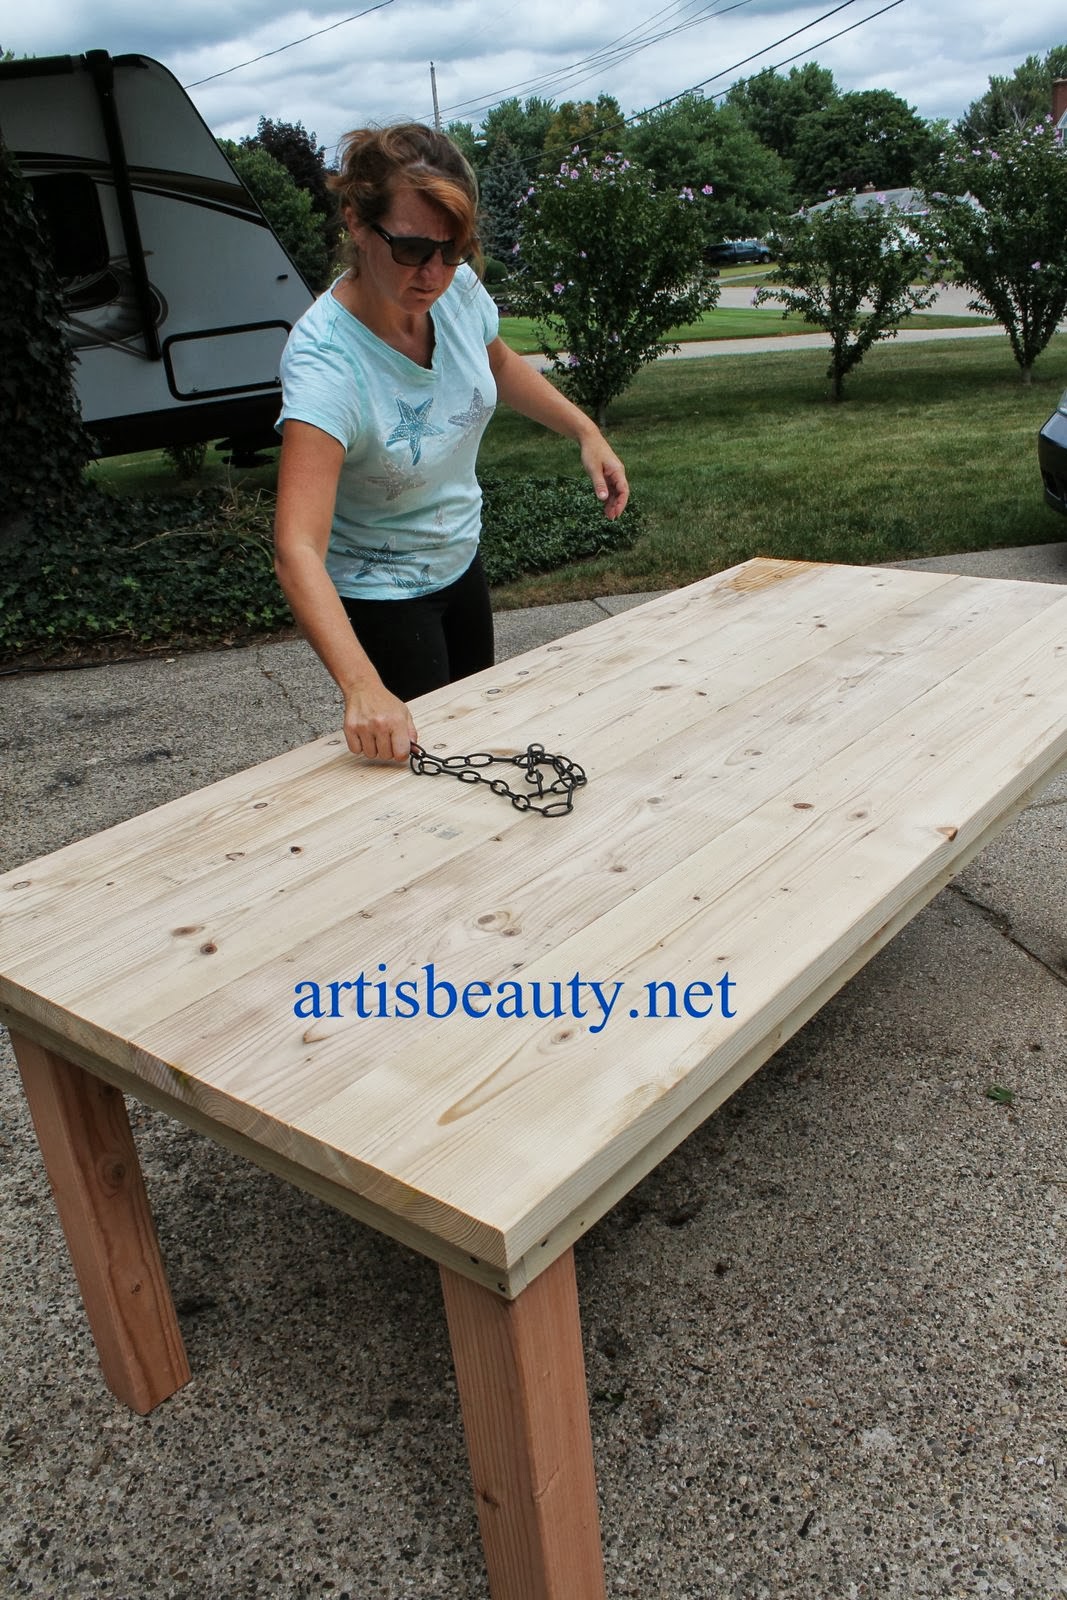
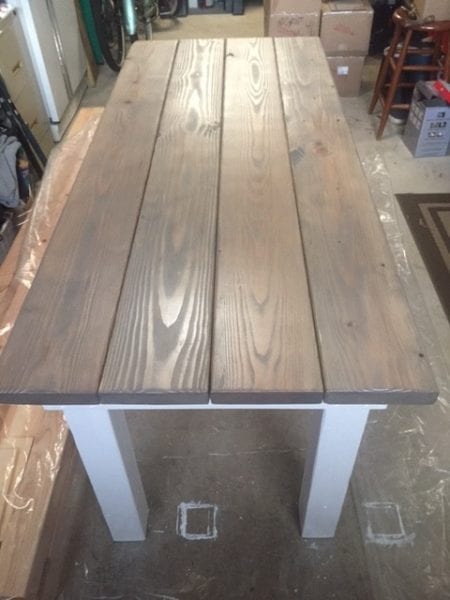
Now it was time for the real fun. I used a chain to beat up the top NEW pine boards and give it some character.
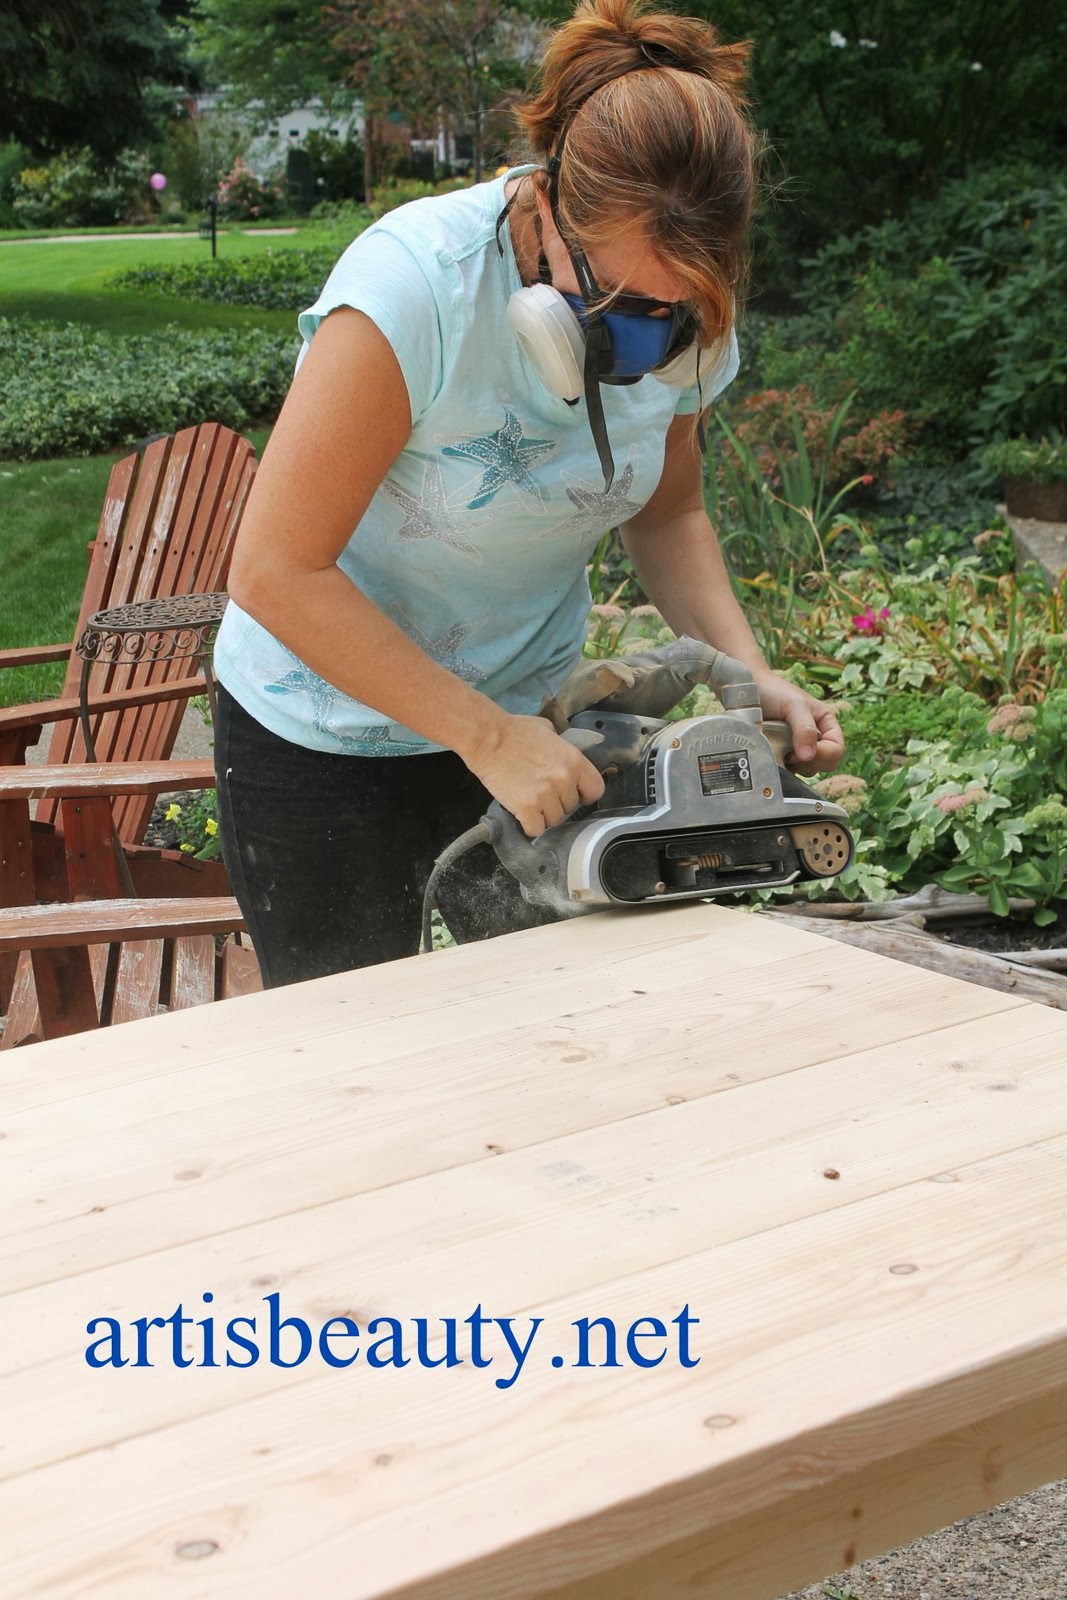
Then I pulled out my belt sander and rounded down all the rough and square edges giving it a very worn old look.
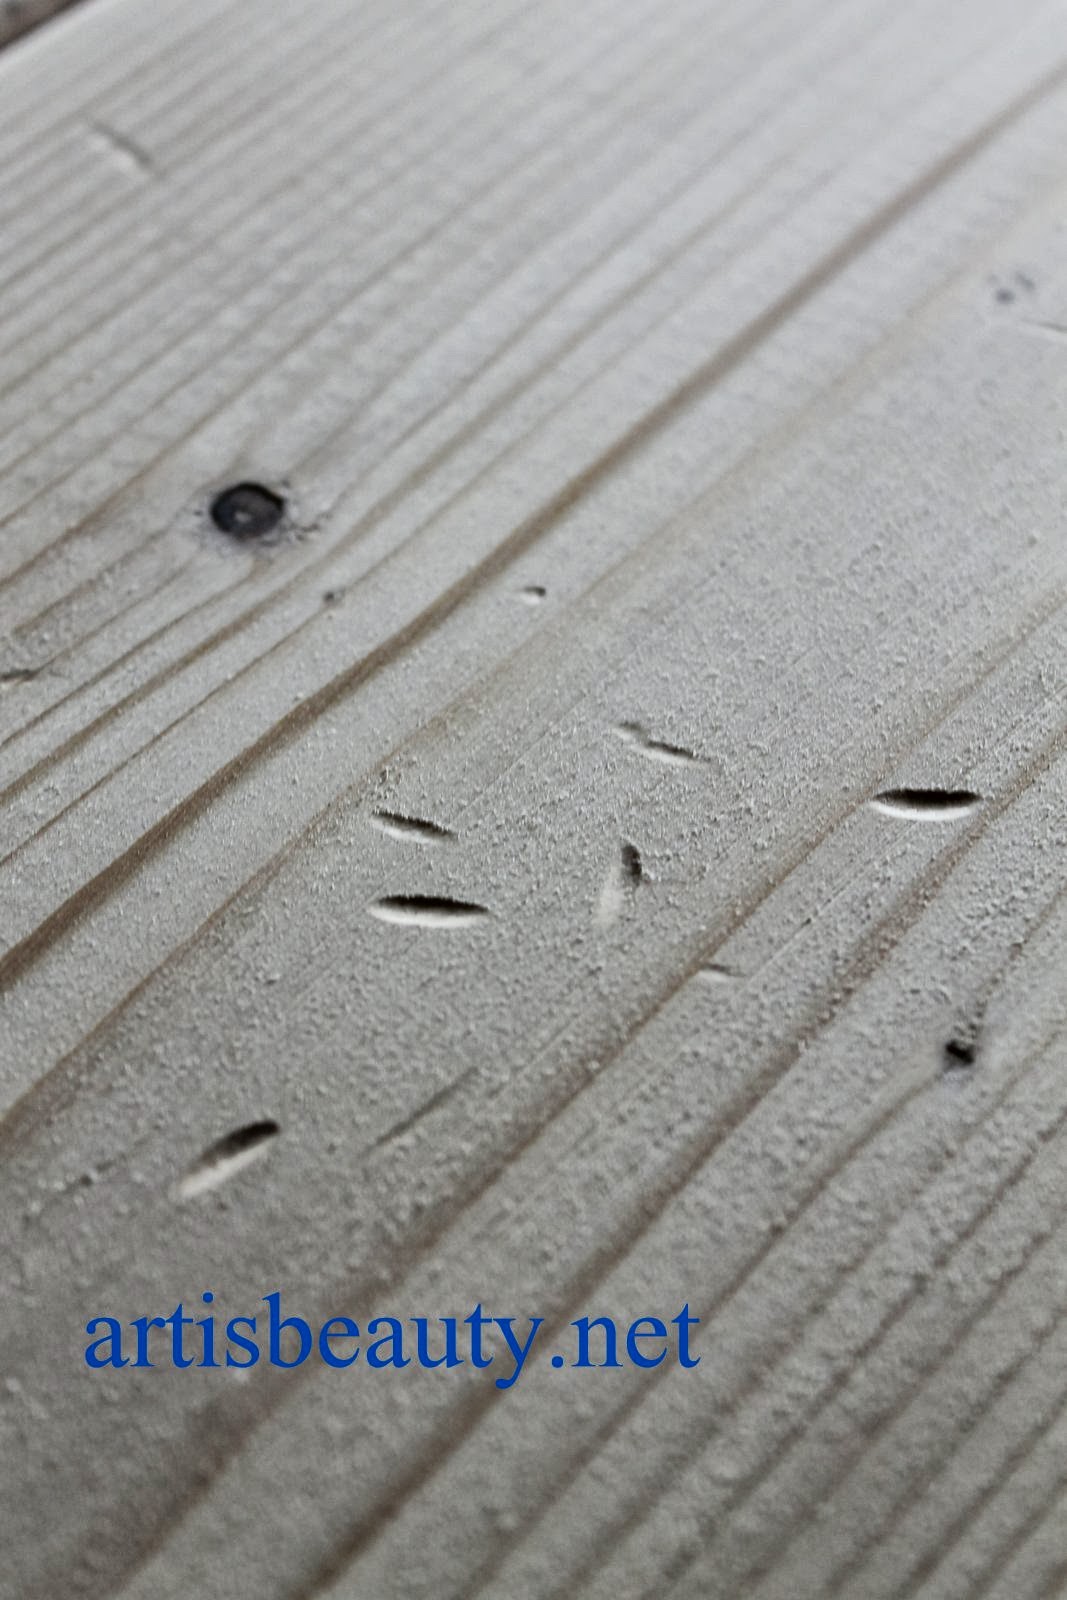
See those marks..those are from the chain. Isn’t that fun.

Once all the prep work was done it was time to stain and paint. Now normally I do not Pre-Stain my wood, because I am dealing with old wood that has been stained before. But this top was BRAND SPANKIN new PINE and that stuff can get blotchy. It soaks up stain like sand soaks up water in the dessert. So I made sure to wipe on the pre-stain. It only takes about 5 minutes after you put it on before you can start staining.

I stained the top in Provincial and gave it a good couple coats of Poly when that was dry. Being sure to lightly sand between coats and use a tact cloth to wipe it down before apply the next layer of poly.
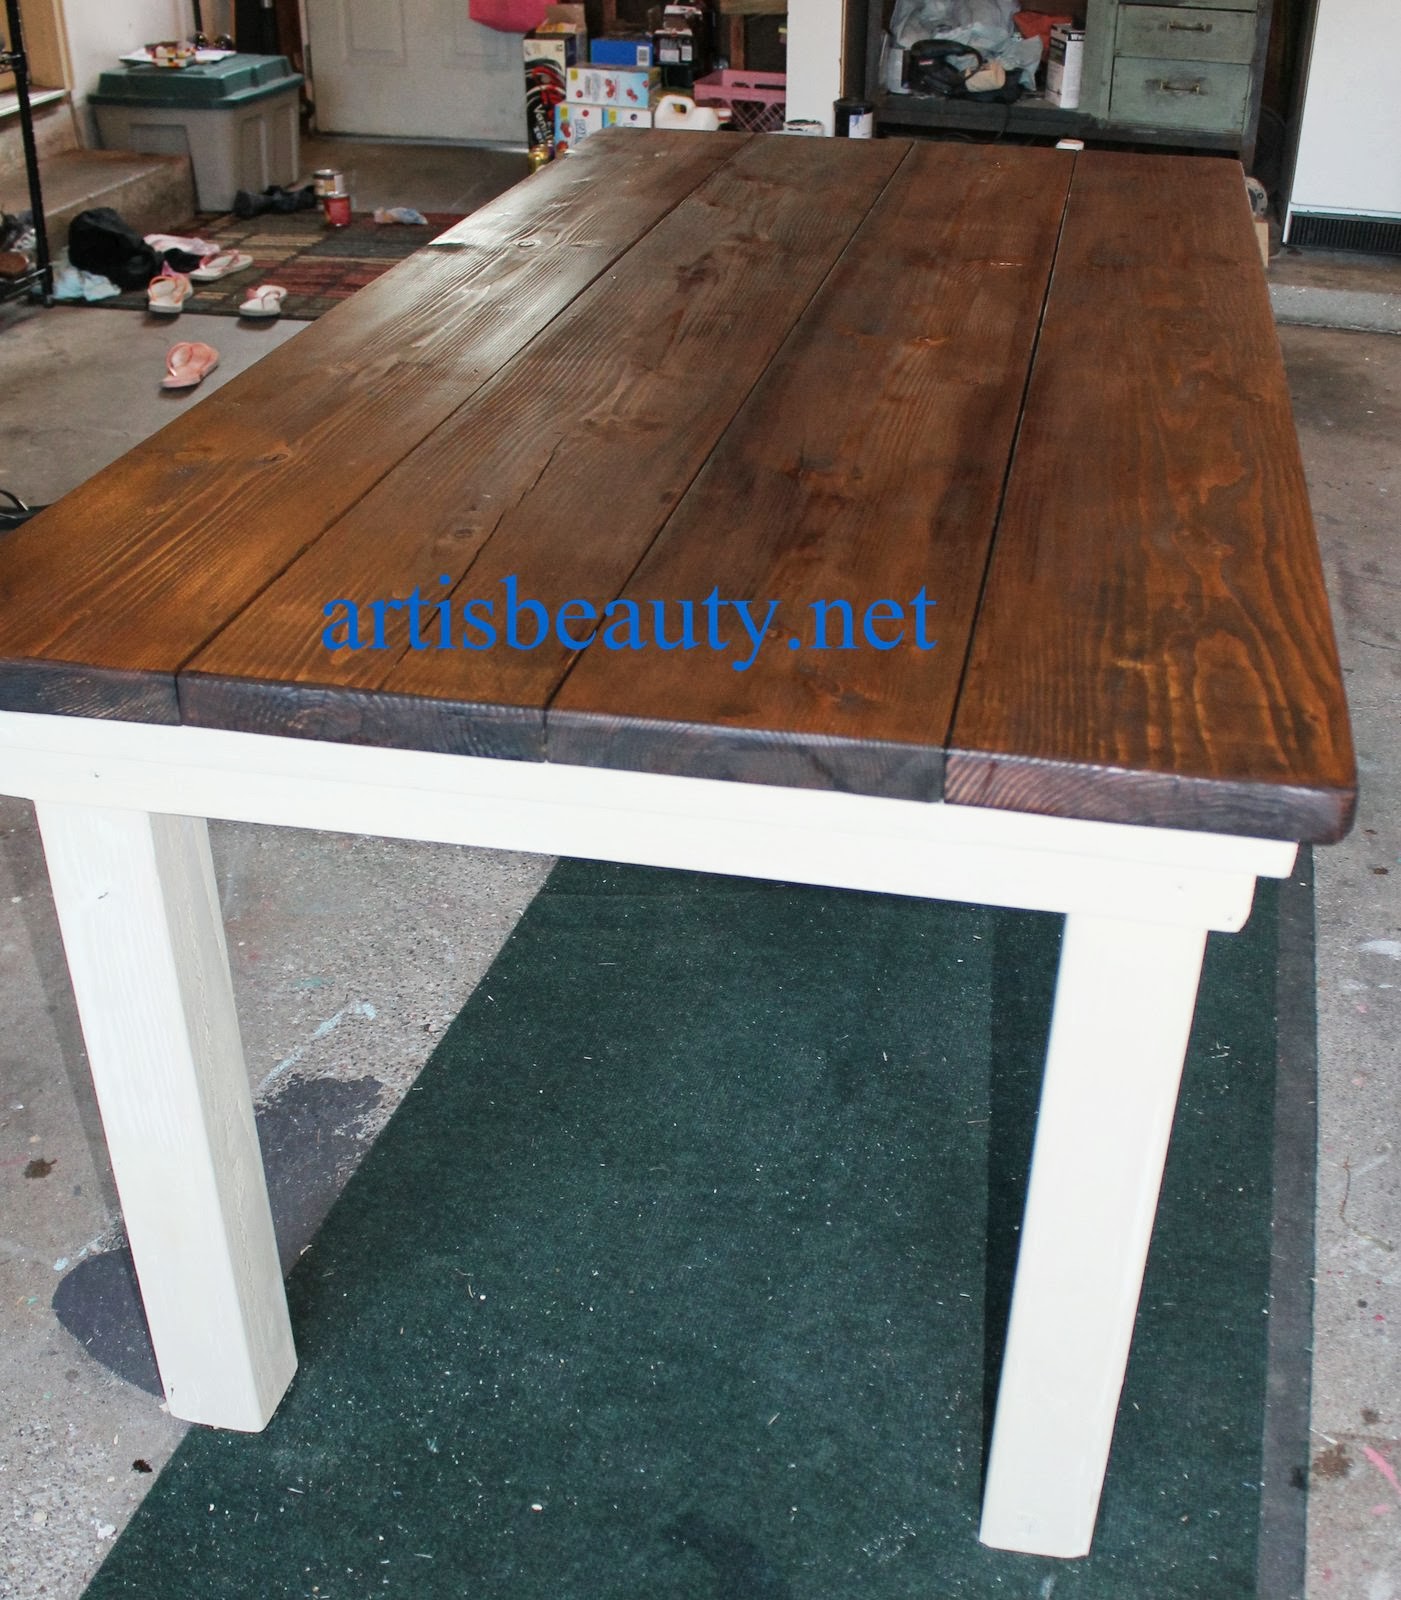
I painted the legs with 2 different colors CeCe Caldwells paint and then waxed and buffed them and she was ready to come on in the house.
Time: took about 2 days. The biggest time is waiting for the Poly to dry. Luckily the week we built this was perfect weather..not to hot and not too cold.
Cost was under $100.
Lorene has been behind the scenes here at Remodelaholic for more than a decade! She believes that planning projects and actually completing them are two different hobbies, but that doesn't stop her from planning at least a dozen projects at any given time. She spends her free time creating memories with her husband and 5 kids, traveling as far as she can afford, and partaking of books in any form available.


I have been wanting to make a table for our family just like this one for a LONG time. I am curious if you are still loving it after a few years. I main concern is the crumbs that would get lodged in between the boards on the top.
Would you make it with pine again?
Would you stain it before you assembled it to get the stain in between the boards?
Thanks for your help!
Jana, you could use a jointer or a table saw to take an eighth off of each side of the top boards to square them better to have the boards join together better to keep from the crumb probem.
I love this table! Can you please tell me what the final dimensions are so I know if this would fit well in my dining room or if I have to adjust your measurements? Thank you!!
I would also like to know the dimensions. I need it big enough for 6 chairs.
I’m new a woodworking and I was wondering if you could share the lengths of each cut. I’m the type of person that needs to follow instructions/directions to a T. Thanks. Can’t wait to make this table.
I love, love, love this! Great job!! One thing I didn’t see is the leg height measurements…
Thanks,
Phillip
All eating tables have. Legs 29in. Or 29 1/2 in.
Love the Table! Would the bracing be Ok if table were 8 ft long?
Built this table 9 feet long no problems
Great to hear! We’d love to see photos if you have them! https://www.remodelaholic.com/share-brag-post/
Just duplicated your table but to smaller dimensions to fit my daughters dining room. Went with Varethane weathered gray poly/stain on top and semi gloss trim paint on the bottom. Have to get the table out of the garage to start on the benches ! Thanks so much for your ideas and pics.
It sounds lovely! So glad you liked the post. We’d love to see some pictures — you can email us at hello@remodelaholic.com or message us over on Facebook, https://www.facebook.com/Remodelaholic
Hello! Love the table! I was wondering where you got your chairs from? I’ve already built a table, but am on the hunt for some chairs and I love yours.
What is the final size of this table? Thanks! Looking forward to building this in a few weeks.
What colors did you use for the legs and what type of wax? Thank you in advance.
Love the table! Can you tell me how you attached the top of the table to the base? Thanks!
I use figure 8 fasteners to fasten the base to the top. About every 2 ft. Works good. Had a table I built crack, so I stopped using pocket holes to attach the top.
I love your table. It is exactly what I want to do. Do you have a problem with crumbs getting in the cracks? Do you regret using pine? I’m worried it will get dents that go below the surface of stain.
I love this table and we have actually built an almost 9 foot version of it! We stained it with the provincial stain on the top but we are wondering if you have directions on how you painted, waxed and buffed the legs and bottom of the table? What color of paint did you use and how would we be able to replicate the look of it? This has been our inspiration table that we have been admiring for years????
How do you prevent crumbs from getting in the cracks?