Easy No Sew Window Valance from a Crib Sheet
Hey there Remodelaholics! Corey here from TinySidekick and I’m excited to be back here today to share the easiest no-sew window valance ever!
This project happened by total accident and is now one of my go to ways to dress up a window. I love it for the fact that it adds a pop of color to my little girl’s window and hides her not so pretty black out roller shade that we pull down at night or when she was little during nap. (Darkness has always been the key ingredient to my kids sleeping 🙂 )

If you know me well you know that I’m a huge fan of mixing and matching fabric patterns so when I was designing this room for my little lady I went with a very pale purple on purple stripe on the walls and then added a big shot of pink with the crib bedding I chose. The sheets for the bedding came in polka-dots and this damask pattern and I ordered one of each cause my pregnancy brain could not make a choice for the life of me!
That ended up being a good thing, because although I went with the polka-dots for the actual crib sheet, this damask crib sheet ended up becoming this ruffled valence in less than 20 minutes!
How to Make an Easy No Sew Window Valance
Supplies:
- a board cut to the length of the width of the window + 2 inches. (A 1 x 2 or a 1 x 3 works perfectly.)
- a fitted crib sheet. (This should work for a standard size window.)
- (optional) a scrap piece of fabric like an old white sheet to use as a liner depending on the darkness of your crib sheet.
- A staple gun
- Drywall screws
- A drill
- Ribbon (2 pieces about 3-4 feet each.)
How to make a no-sew ruffled window valence:
Step 1: Cut your board to the width of your window plus 2 inches (one extra inch for each side of the window.)
Step 2: Predrill holes in your board. 3-4 for a standard size window should be plenty.
Step 3: Cut the elastic off of one long side of your crib sheet.
If you are lining your valence you will also need to cut a scrap piece of fabric about the same size as the crib sheet. I used an old yucky white sheet for this.
Step 4: With the crib sheet laid out (pretty side down,) place your board along the cut edge and wrap the fabric around it like you are wrapping a present. You will want to make the sides look nice and keep it as flat as possible. Staple it in place using your staple gun. (If you are lining your valence you will want to place your lining on the sheet before placing your board and grab and staple both the crib sheet and the lining onto the board.)

Step 5: Once your sheet and lining is secured to the board, simple tuck the bottom edge of the lining into the corner pockets of the crib sheet.

Step 6: Now flip your whole project over and lift the fabric part up and over so you can see your board again. Using your predrilled holes start each drywall screw in each hole making sure not to go through the entire board.
Step 7: Now grab a buddy and hold the board up above the window. Check to be sure it is level and finish screwing one screw into the wall.

Step 8: While your buddy holds the board, feed your pieces of ribbon around the backside of the board. Be sure to place them evenly from the edges of your board and avoid your screws. Pull them so they are pretty much even.
Tip: If you want to have bows on your finished valence pull your ribbon so that the back is longer. If you don’t want any bow (like mine) pull your ribbon so that the front is a little longer.
Step 9: Finish drilling your screws into the wall to secure your valence.
Step 10: Tie each ribbon to create your ruffle. I tied my ribbon in a knot behind the valence and tucked in the excess. If you want to have a bow, be sure to do your bow on the front side of the fabric.

Give your valence a little adjusting to get the fabric to lay just right and that’s it! A super cute ruffled valence that requires absolutely no sewing skills what so ever!
Be sure to pop on over to TinySidekick for more home decor ideas or follow me on Instagram for inspiration and easy decorating tips!
Have a fantastic day!
-Corey
———————————————–
More easy no-sew window coverings:
simple no-sewing window valance

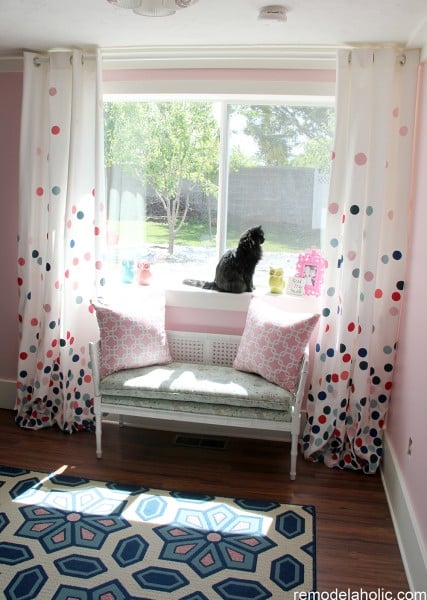
polka dot confetti painted curtains
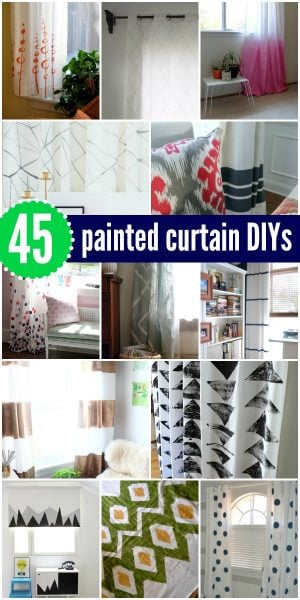
plus more painted curtain ideas
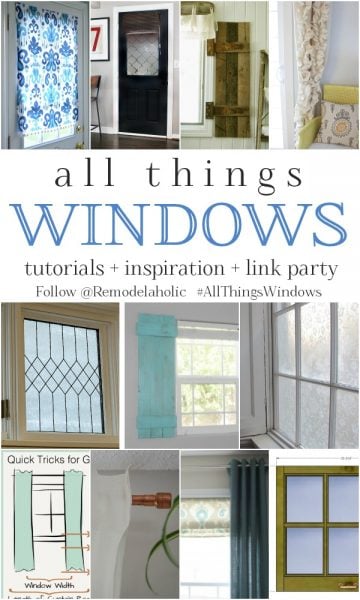
and more window projects!