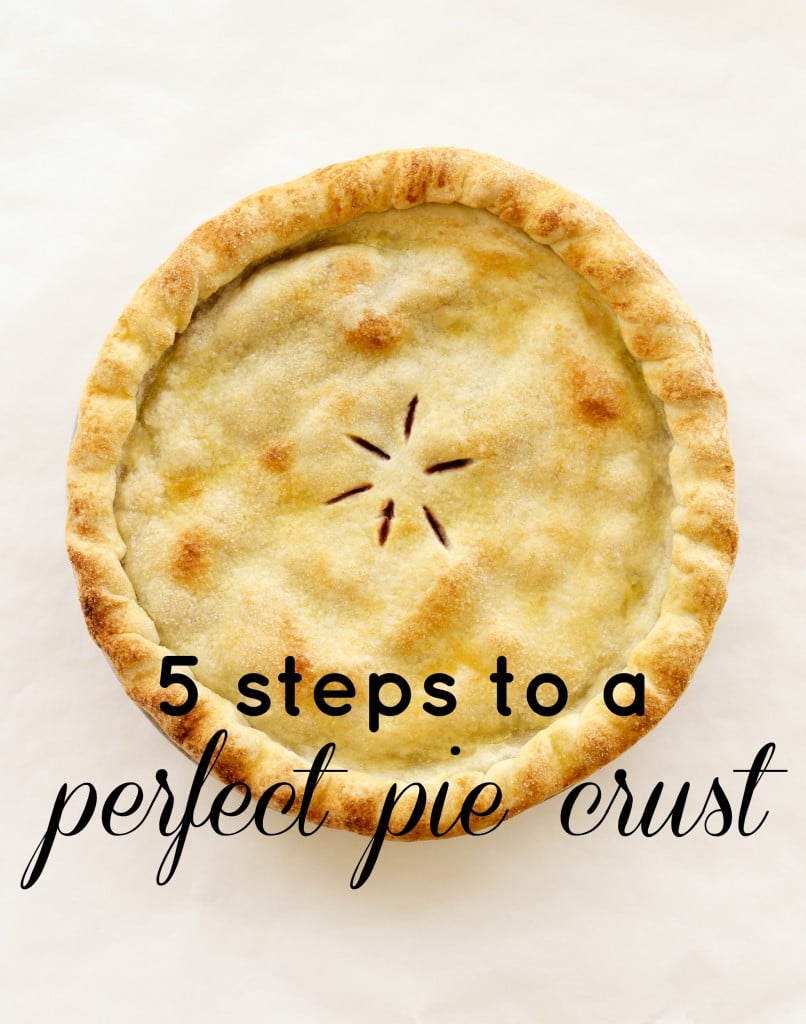
5 Steps to Perfect Pie Crust
Fall is one of the best times for making pies – apples, pumpkins and other favorite fillings for pies are plentiful at the grocery store or farmers markets. Don’t bother with buying a frozen, ready-made pie crust: making your own is easy and so much more delicious. Follow these simple tips for perfect pie crust, homemade from scratch.

1) Assemble the ingredients
For a 9-inch pie crust you’ll need 1 1/4 cups flour, 6 tablespoons of cold butter cut into small pieces, 1 teaspoon sugar and 1/2 teaspoon salt.
2) Use your food processor
Put all the ingredients in a food processor and pulse until the mixture resembles coarse sand. It doesn’t take very long at all.
3) Add cold vodka
Yes, vodka! Keep a little bottle or container of vodka in the freezer just for cooking. Vodka is better for pie crust than plain water because the alcohol will burn off during the cooking process, leaving behind less liquid which means a flakier crust.
Add about 3 tablespoons of the vodka to the mixture in the food processor and pulse again until it all comes together in a dough ball (add a tiny bit more vodka if it’s not coming together quickly). Turn the dough ball out onto a lightly floured work surface and shape it into a 1-inch thick round and wrap it in plastic wrap.
4) Chill
Not you – the dough! Put the wrapped dough round in the refrigerator and chill it for one hour.
After chilling, remove the dough from the plastic wrap and roll it out on a piece of parchment paper into a 12-inch circle. Transfer the dough to a 9-inch pie plate (I do this by inverting a pie plate on the dough, sliding a thin plastic cutting board underneath the parchment paper and then carefully flipping the whole contraption upside down). Lightly press the dough against the edges of the plate and trim off the excess dough, leaving about 1/2 inch overhang. Tuck the dough edge under itself and finish the edge (either flute with your fingers or crimp with a fork). Pop the pie plate back into the refrigerator and chill again for another 30 minutes.
5) Prebake the crust
(Note: If your recipe does NOT call for prebaking the pie crust before filling it, just skip this step and follow your recipe’s instructions.)
Loosely cover the crust, including the sides, with a piece of parchment paper and add pie weights or a cup of uncooked beans to hold it in place (they should just cover the bottom of the plate — don’t overdo it). Bake at 375 degrees for about 15 minutes, then lift the parchment paper and remove it together with the weights or beans. Pierce the bottom of the crust a few times with a fork and return it to the oven to bake for about another 10 minutes, or until golden. Now your ready to fill the pie shell according to your chosen recipe.
Julianne Puckett is the creator of Yankee Kitchen Ninja, a blog about what she calls “stealthy homemaking” — healthy recipes that are quick and easy to prepare, DIY gardening tips and the occasional craft project. A designer, writer and former suburban-dwelling IT professional, she lives in rural Vermont, where she struggles to balance the siren call of her inner farmer with her love of cute shoes and cocktails.


