Home Office Makeover with DIY Wood Bead Chandelier
Since Justin and I work from home (running a DIY blog is the ultimate work-at-home job, since we work AT home working ON our home!) we understand the importance of having an organized and well-designed home office. So when we saw this lovely office by our guest today, we were so excited to share it with you! It’s beautifully designed and features a board and batten accent wall and a semi-DIY made over wood bead chandelier:


and our course, our very own organized office with easy rustic wall shelves 🙂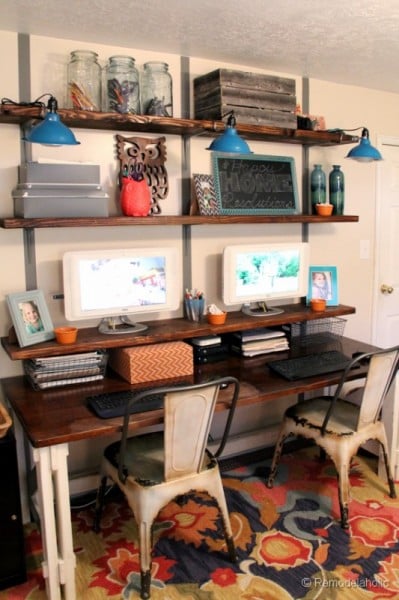
Give Sarah a warm Remodelaholic welcome!
DIY Wood Bead Chandelier
by Sarah of Life on Virginia Street
Hello, Remodelaholic readers! I’m Sarah from Life on Virginia Street, a lifestyle blog with a heavy focus on the many changes I have made to our new-to-us home. I’m an insurance executive by day, but my blog is a space for me to share things I love: decorating, design, DIY projects, fabric, fashion, food, music, paint, photography and travel. Really anything that has absolutely nothing to do with my day-to-day office life. We just purchased our third home and are in the process of making it truly “ours”. I inevitably have a project {or twelve} underway at all times!

Today I’ll be sharing with you the updates we have made to my home office, specifically how I created a “wood” bead chandelier using chalk paint. If you’re interested in some of the other projects I’ve done around our home, I would encourage you to check out the updates I’ve made in the past year+ to our dining room, guest bedroom and master bedroom. Slowly but surely, the home is becoming more and more our style!
My office is by far one of my favorite spaces in our home. It’s where I spend most of my evenings and unwind after a long day at work. I love that it feels like my personal treehouse – with huge windows on the one side and access to our courtyard on the other. It only made sense for me to try and incorporate some earthy, natural elements and colors into the space. I couldn’t be happier with the results!
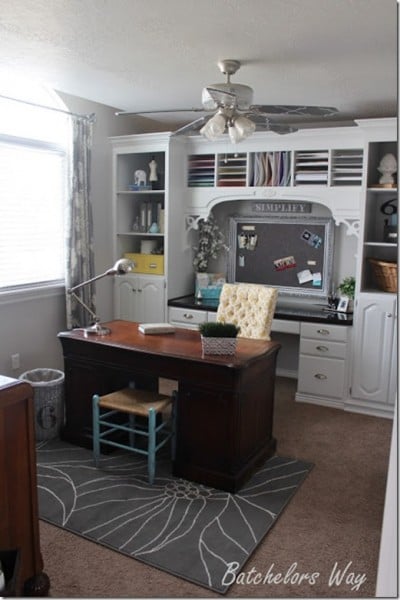
But first, let’s take a look back at the former lives of this room. First, we have the paint and curtains that were left over from the original owners, along with random furniture we placed in the space. These photos were taken shortly after we moved in.


I then felt like the brown wall and the flat paint on the surrounding walls weren’t doing the room any favors. So, I painted the whole space Behr Castle Path. About that time, I also got a free, old desk from my office and painted it with Annie Sloan chalk paint in French Linen. You can read more about that process here. It felt much more substantial in the room than the former IKEA Expedit furniture.

It was about that time, I really became motivated to “finish” the room. We installed the board and batten grid wall {painted Sherwin Williams Urbane Bronze} and then the room took off from there.

Since this is the first room you see when you walk in our house, I wanted the light to be a statement piece. But all of the light fixtures I loved were way out of my budget. So, I schemed about how I could create the wood bead chandelier I dreamed of. I knew the light fixture would be critical to the design of the room.

 |
| {via Lowe’s} |
Additional supplies purchased:
- Rustoleum Oil Rubbed Bronze Spray Paint {to paint the silver frame}
- Annie Sloan Chalk Paint in Old Ochre – a sample sized pot would be plenty
- Annie Sloan Dark Wax – you need very little of this so you’ll have plenty left for other projects
- Two cheap paint brushes {I simply used some leftover from other projects}
For those that question the cost-effectiveness of this project, my inspiration light was $1,248 at Layla Grace – so it’s safe to say this was well worth my effort!

I then laid out all of the beads on cardboard and gave them all two coats of the Annie Sloan Old Ochre paint. I would simply paint the top side of all the beads, and typically once that was done, they would all be dried and I could flip to do the backsides. The task wasn’t difficult, just time-consuming. Keep in mind the paint job does not have to be perfect, as you’re trying to mimic the natural look of wood. If you end up finding any drips or clumps in the paint, they are easy to pick off and redo since you are working with chalk paint, which is very forgiving.


I started by waxing one full strand of beads at a time and wiping off once complete. I used the paint brush shown below and was careful to fully cover each bead. Next, I used a paper towel to wipe off the excess wax on each bead, leaving it heavier in some areas, until I liked the overall look.

 |
| {Applying the wax} |
 |
| {Once the entire strand was fully waxed} |
 |
| {After I wiped off the excess wax with a paper towel} |
You can see the drastic difference the wax brought to the beads – I loved the end result! Once the wax had dried on all the strands, I assembled the chandler and enlisted my husband to help hang it.


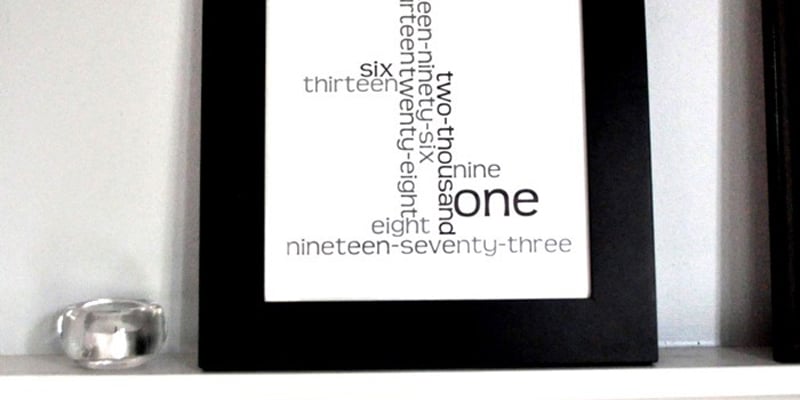
I finished off the room by accessorizing with some bold pillows, sewing some curtain panels, and creating the large-scale DIY Designer-Inspired Art and Frame.


Thank you so much to Remodelaholic for letting me share one of my favorite spaces in my home with you today! Thanks for stopping by!
———————————
Thanks for being our guest, Sarah! Such a beautiful office, and what a great chandelier knock-off!
Remodelaholics: You are just going to LOVE everything that Sarah has shared over at Life on Virginia Street! Go see the beauty she creates in her home, like her guest room and guest bathroom (love the blue vanity!).
Lorene has been behind the scenes here at Remodelaholic for more than a decade! She believes that planning projects and actually completing them are two different hobbies, but that doesn't stop her from planning at least a dozen projects at any given time. She spends her free time creating memories with her husband and 5 kids, traveling as far as she can afford, and partaking of books in any form available.


You did a fantastic job. The fixture looks great. I may try to spruce mine up a bit. Thanks for the inspiration!