Build a Pallet Table for Under $10
DIYing may save us money, but that doesn’t mean that’s cheap! Sometimes there are things worth paying for, sometimes there are things worth building, and sometimes there are things that you can’t buy so you *have* to DIY! Our guest today had the perfect furniture in mind for her command center, but it wasn’t something she’d seen in stores. No problem, Carrie was ready to DIY a perfectly sized pallet table for her little corner, for under $10:

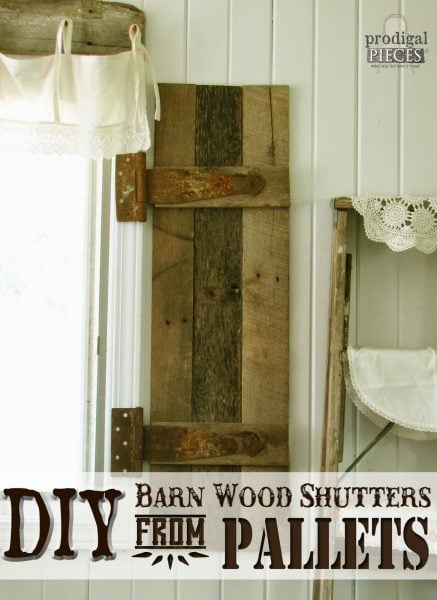
like a jewelry organizer

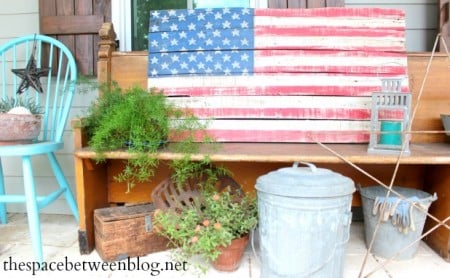
a large outdoor flag decoration
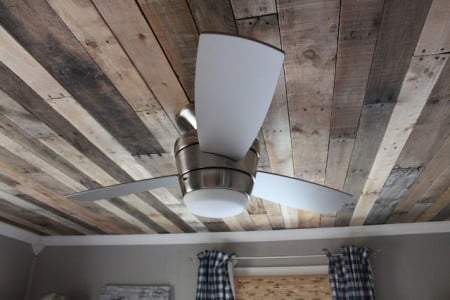
use pallet wood to add character to an accent wall

or the ceiling
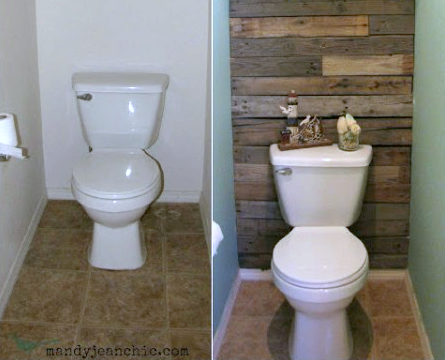
or a backsplash, too!

And if you’re really feeling the pallet thing, you can even build a deck!

Start simple with a little table like Carrie is going to show you, and branch out from there! Give Carrie a warm Remodelaholic welcome:

How to Build a Pallet Table
by Carrie from Curb to Refurb
Hello all you lovely Remodelaholic fans. I’m Carrie, the voice and DIY-er over at Curb to Refurb. I feel like I should share a little about myself being that I’m new. (It’s like a blind date, except that I’m in my pajama pants and not wearing makeup).
My husband and I live in a not so fabulous 1960’s home with our 3 children, 2 dogs and a cat. We live in a constant state of “fixing up” around here. Had we loved avocado green siding and pink bathtubs, this house would have been perfect!
My absolute favorite thing to do is mosey through thrift stores and scour estate sales for that perfect treasure. I’ve gotten pretty darn good at turning old junk into something beautiful and useful while maintaining a very tight budget. Our motto is don’t buy it: D-I-Y it! My favorite project to date is a cheese box I transformed into a shelf for $2.
When it came time to fix the kitchen eye sore we called the command center, I knew we were going to build a table – of sorts. In my head, I had an idea of what I wanted. Problem was, I have never seen a table like my idea in a store. Problem No 2 – I had about $10 to make this happen. Keeping in true Curb to Refurb style, we hopped in the truck and went on a pallet hunt! We also stopped by Home Depot and picked up a few supplies.

I tried to sketch a picture of my vision so my hubby and I would be on the same page, but my scribbles only left him scratching his head and mumbling something like, “I’m not a carpenter, ya know.” Winging it was our best bet. I picked up six of these 2×2 Douglas Fir posts. They are 3 feet tall. Four were used as legs, one was used for the shelf and the other served as a backup.
We started by pulling apart the pallet. I say “we” but in reality my hubby took charge. He then cut the pallet wood to the length of the table. Our table is 20 1/2 inches long. Then we screwed the boards to the legs using basic wood screws.

We attached boards to the legs, and then added the pallet wood to make the tabletop. These boards were cut to 8 1/2 inches long. My hubby pre-drilled holes just to prevent the pallet wood from splitting when turning the screws. We secured each board with four screws. (A little overkill? I think so.)

Remember the extra leg I bought? We cut it in half to form the bottom shelf. We just screwed them in to the legs and simply added more pallet wood.

Don’t worry about the legs! Once you screw in the boards to form the shelf, the legs will straighten.

The bottom boards remain the same length as the top – 8 1/2 inches. They were attached using the same -overkill city – method as the top.
Excuse the terrible dark photo and filthy baseboard. I was just checking out how it would look in its new home.

I then took the table outside and gave it a once over with the hand sander and a coat of Minwax Provential stain.

It turned out exactly how I envisioned.

We now have a cute little command center and a custom table to hold notepads – and of course – succulents!


This little table was so easy to build and the best part, it cost about $10.
I hope you all were inspired to make your own pallet table. You could create any size that fits your space, in any color, or you can try adding casters to the legs or a cute knob to the front. Just imagine the possibilities!
Thanks Remodelaholic, and remember, don’t buy it: D-I-Y it!
—————————————-
Carrie, thank you so much for sharing!
Remodelaholics, head over to Curb to Refurb to see more from Carrie, like this great shelf and awesome light in her bathroom makeover.

Lorene has been behind the scenes here at Remodelaholic for more than a decade! She believes that planning projects and actually completing them are two different hobbies, but that doesn't stop her from planning at least a dozen projects at any given time. She spends her free time creating memories with her husband and 5 kids, traveling as far as she can afford, and partaking of books in any form available.


Thanks for having me Remodelaholic! I am truly grateful for the opportunity to have been a guest today.
Thank you so much for sharing with us, Carrie!
This is too cute! I tried making one similar and gave up after life happened. Maybe I’ll get back to it now that I’m all inspired from this awesome post!
Where do you get pallet wood?
I called around to a few places. I found a local garden center that was wanting to get rid of a bunch. I’ve heard that craigslist always has them listed too.
Looks awesome! I just might have to give it a try. Just curious how wide/long/tAll it is.
Tiff
I love this little table. Can you give wide/long and tall.
Thanks,
Barb
Thank you so much for this post! We have a very narrow “nitch” on the porch next to our front door. It’s too small for a chair, so I’ve been looking everywhere for a small table to fill the space, but with no luck. This little table is exactly what I was looking for. Gonna make it this weekend.
Thank you….I adore this….and will make it happen soon Jill D UK
It looks lovely and best thing you did not use any fancy tools to make it happen. Hubby will refuse to let me spend around €160 for a console table….so once I have enough time I ll do this project myself!
Hi. I loved the table so much…I talked my husband into making it for me. ???? I have now added four coats of ebony minwax stain and will be putting the polyurethane tomorrow.
Yay! We would love to see pics when you’re done. You can share them here: https://www.remodelaholic.com/share-brag-post/ or message us on Facebook. Thanks for the comment, Barbara!
Hey! Just wondering what size of wood screws you used? Thanks!
I love the white board above the table. Did you make it or buy it? Any info?
Love it. Great job looks perfect