Vintage Chippy Ceiling Tile DIY Headboard
10 years ago, before I knew what the heck a blog was all about, while at an antique auction, a set of 6 of the most crusty, rusty, ceiling tiles imaginable came up for bid. I had a friend with me that thought I had flipped my lid the first time I raised my hand to bid on these. She knew I was crazy when I got into a bidding war with someone else. Soon, the other person realized I was determined to leave the auction with these tiles, and they finally quit bidding!
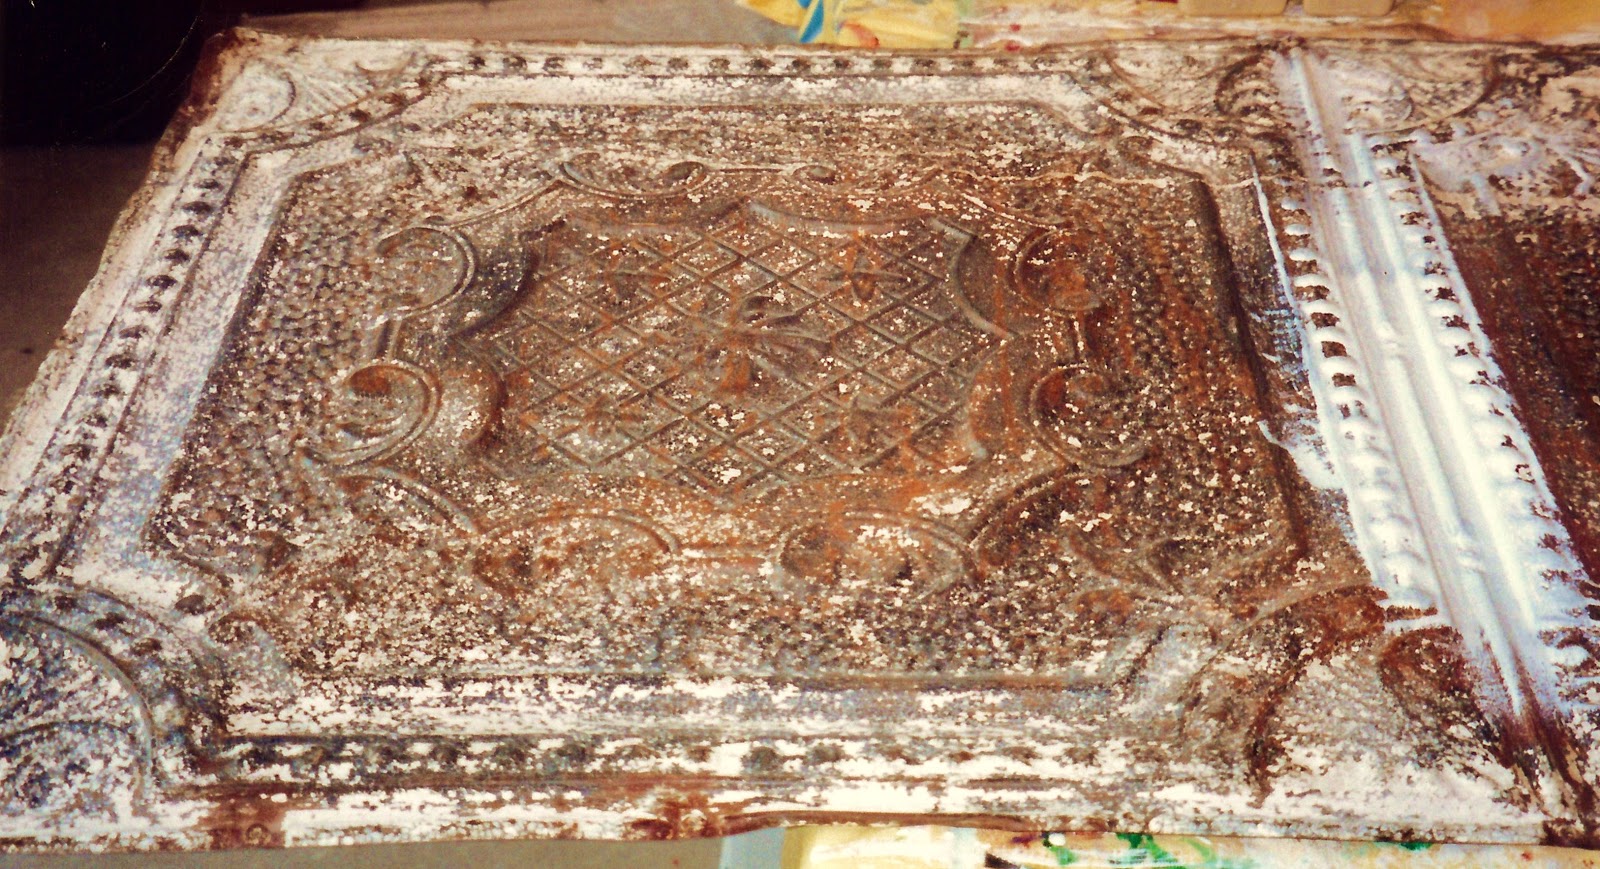
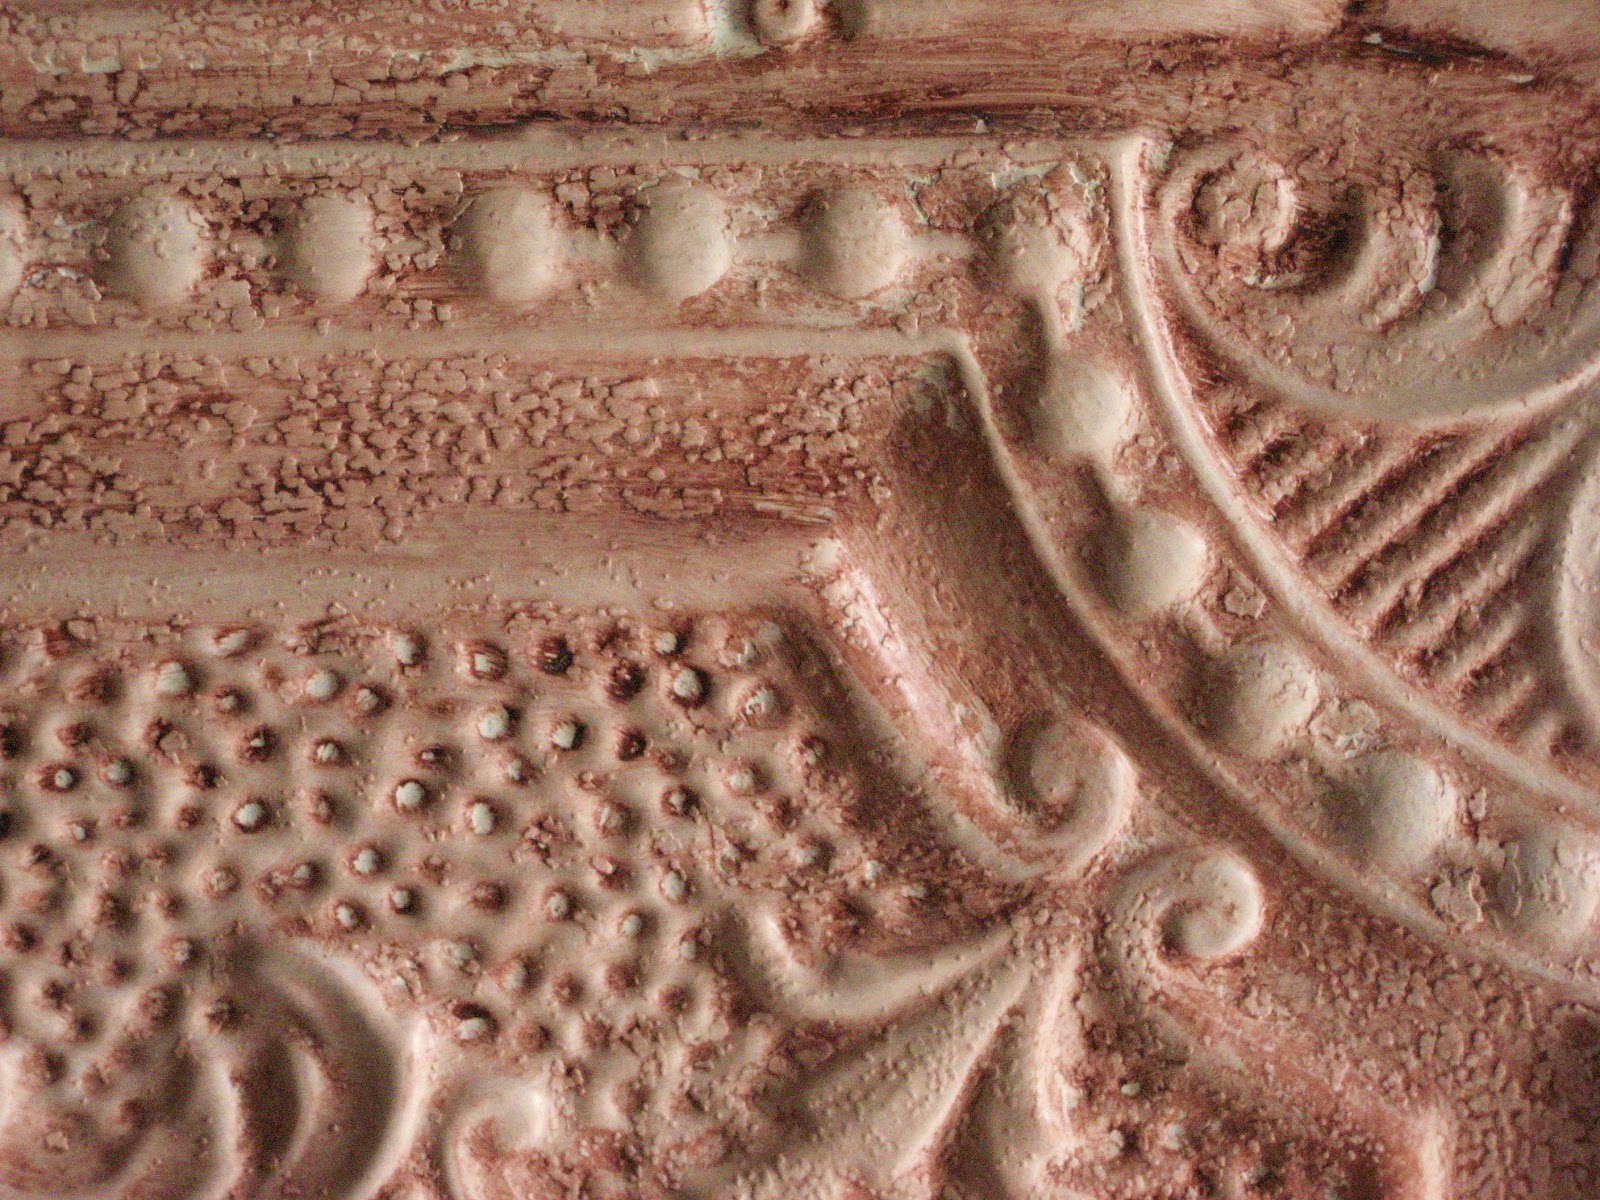
When I got them home, they looked like this. Of course, this photo was taken after I had already scrubbed them down some, removed some of the spider webs, dirt, and dust that was masking their “needed to be found again” inner beauty.
I had a vision and knew just what I wanted to do with these tiles and how I was going to do it, but first, there were steps to be taken. A good bath in hot soapy water was the first step, followed by a good brushing off with a wire brush. Of course, I wanted to keep some of the chippy paint, but the flaking paint had to go! Another wash, rinse and dry cycle, and I had them ….. still pretty rusty and crusty! Knowing they were old, I was careful about stirring up too much dust and did all this outside. Chippy, crusty lead paint is a nasty thing to have to deal with!
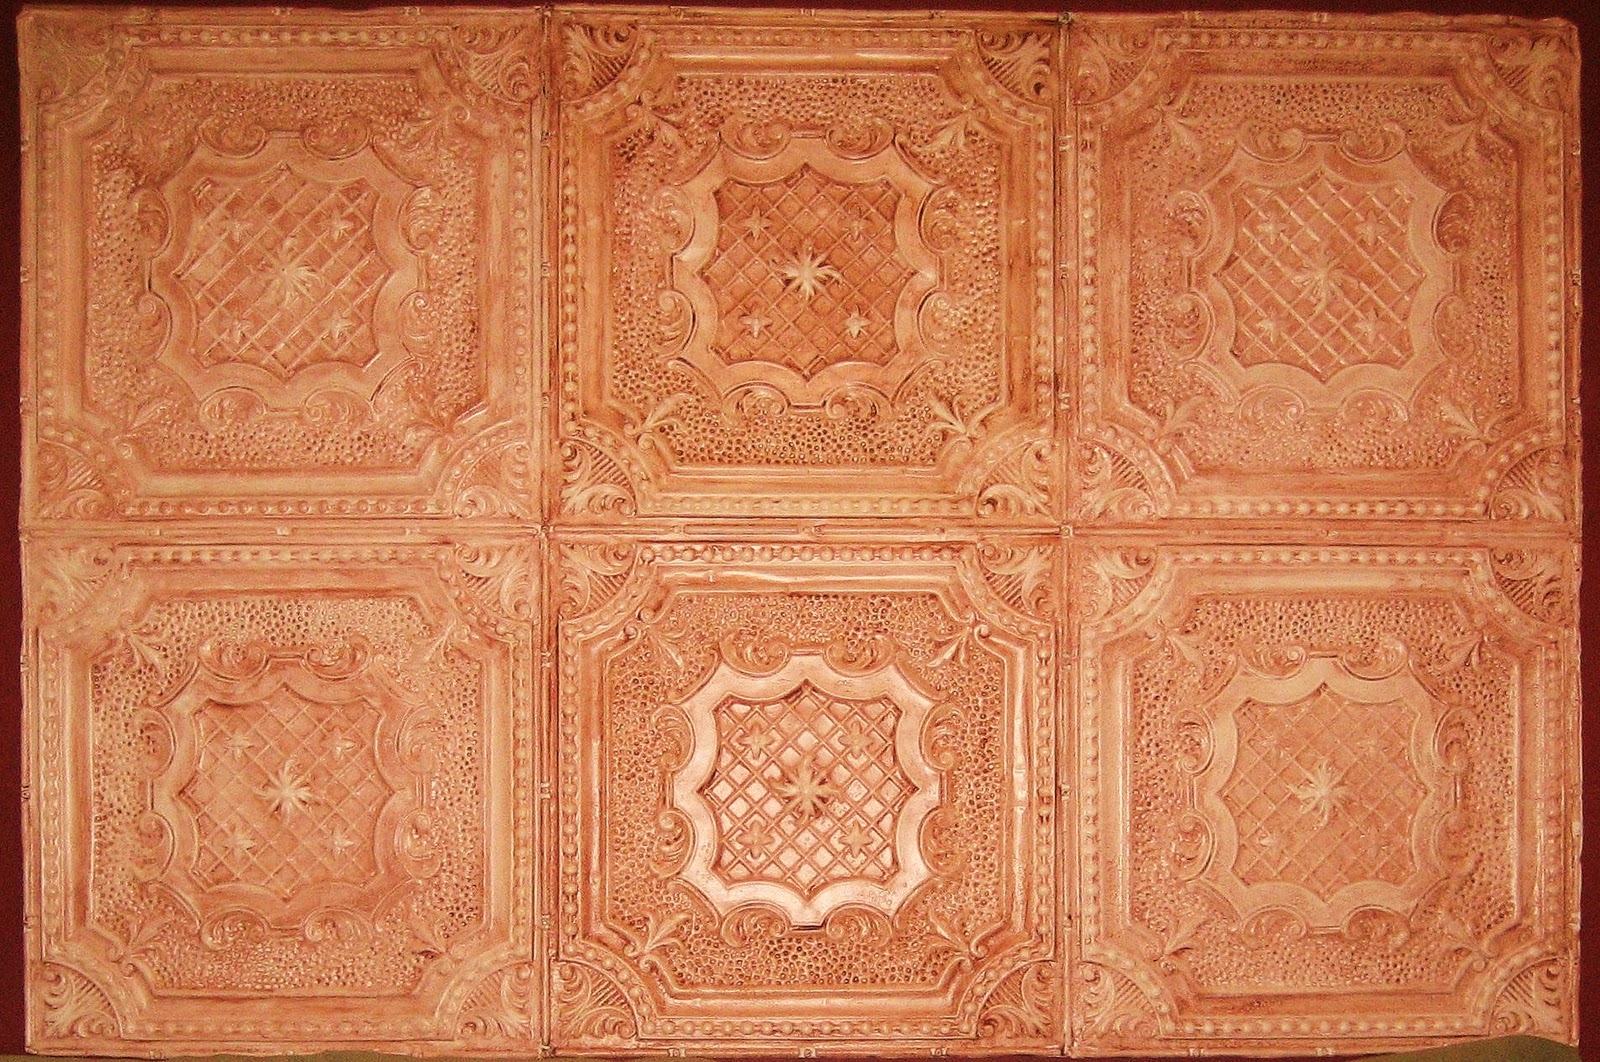
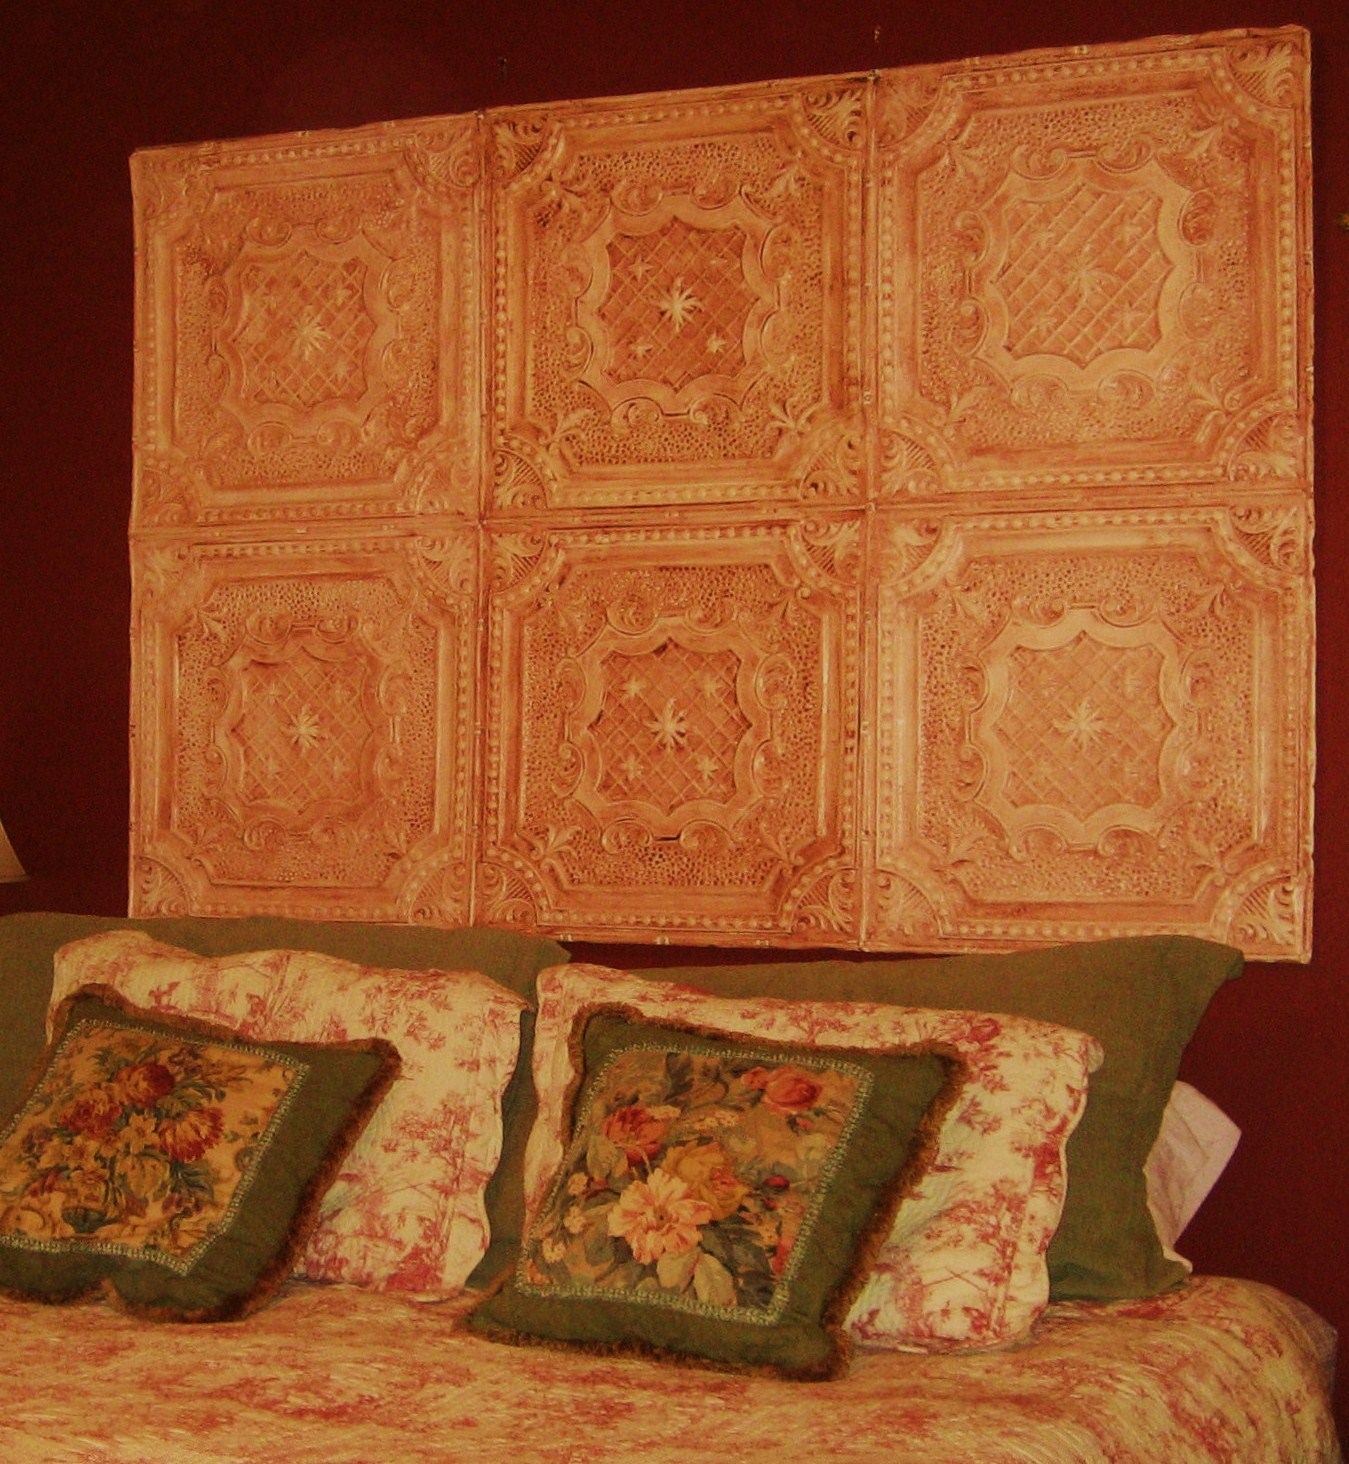
The paint store recommended a heavy duty primer that contained a rust inhibitor. I knew that if I painted these with a water based primer, they would continue to rust over again. Primed and pristine, I could now base coat with a high quality off white water based paint. I remember it being a bit of a challenge to not just slap the paint on, since it would puddle in all the nooks and crannies of the tiles. So thin, light layers of paint were applied. Paint dries from the top down, so even though it may feel dry on top, I have often found, especially with textured surfaces, that the paint beneath the top layer can still be wet. A tinted glaze was mixed and manipulated and I had a new headboard!
Since this was a project I completed a while ago, I wanted to include a tutorial here for you. I started with a tile I had laying around my studio.The following pictures will show you the steps taken. These photos were just recently done on a newer tile, but it will still give you the knowledge to paint your own tiles.
This time, I used Nantucket Gray by Benjamin Moore. Anytime you are going to use glaze, you need to start with a paint that is in an eggshell or satin sheen. Next, I stood around a waited for the paint to dry. I do this a lot!
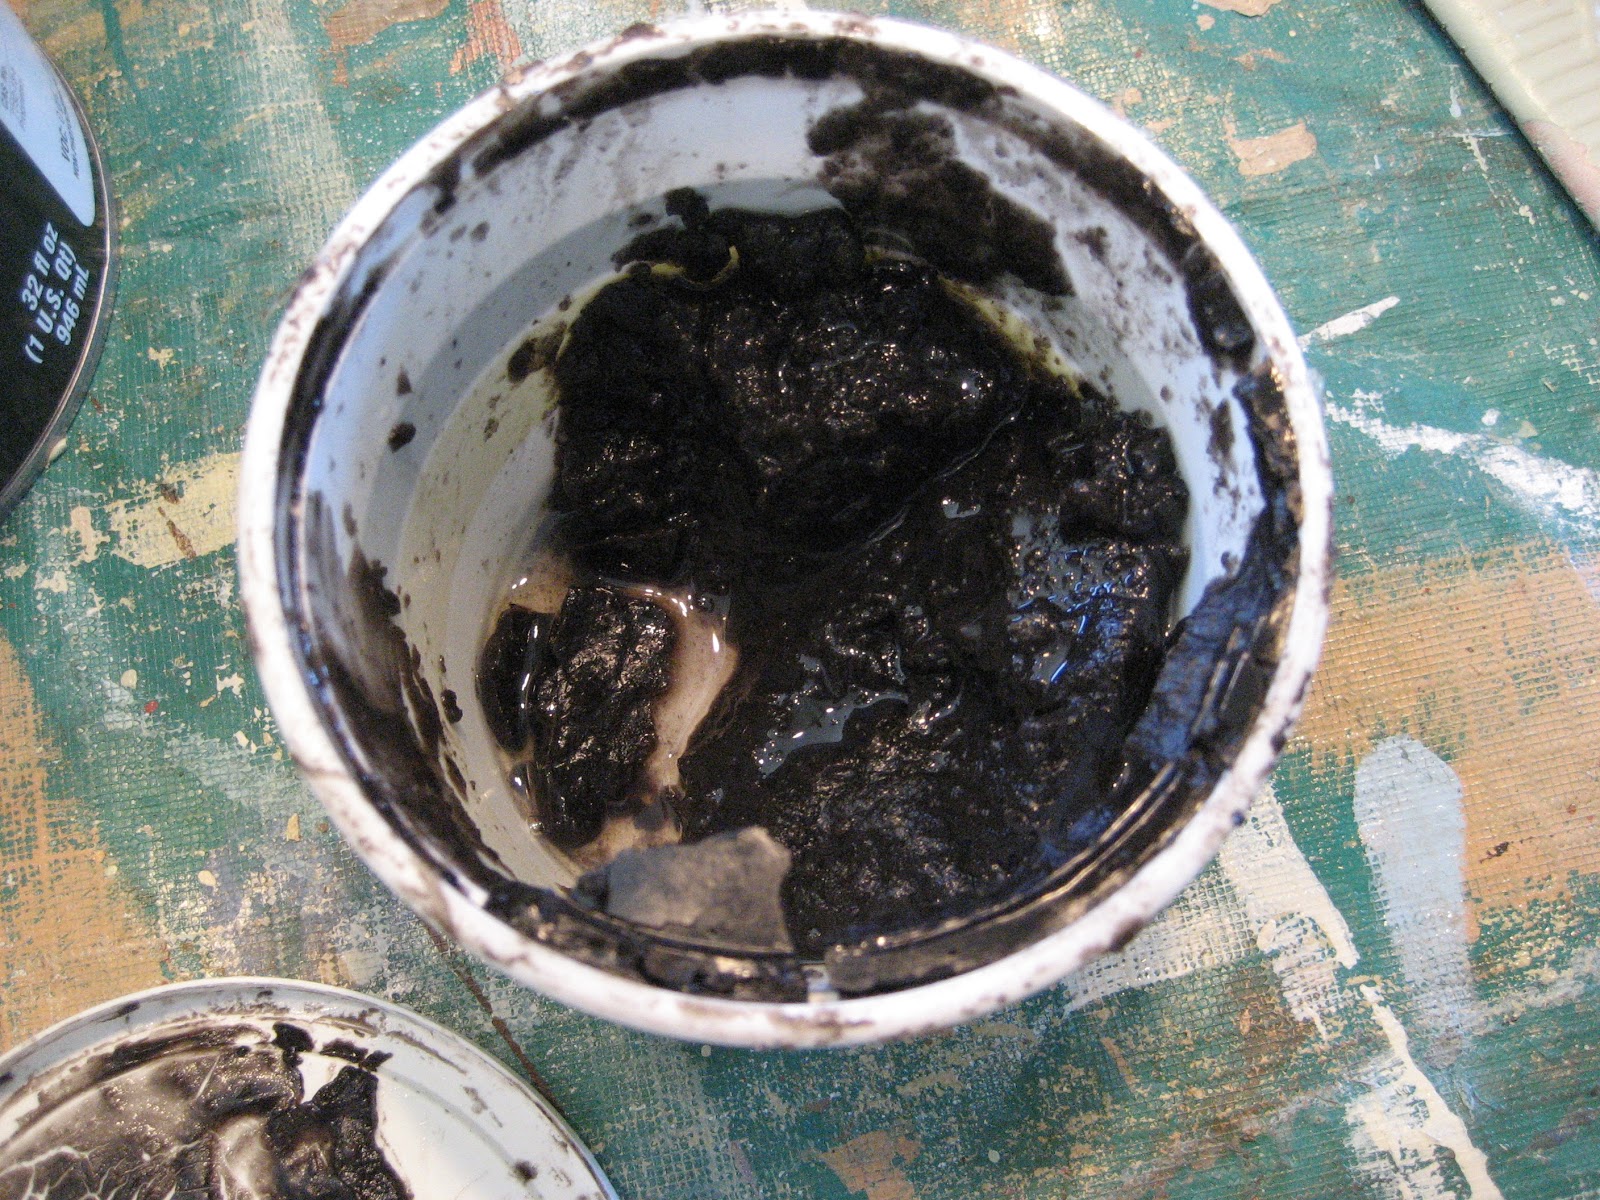
Then, I mixed up some glaze and raw umber colorant.
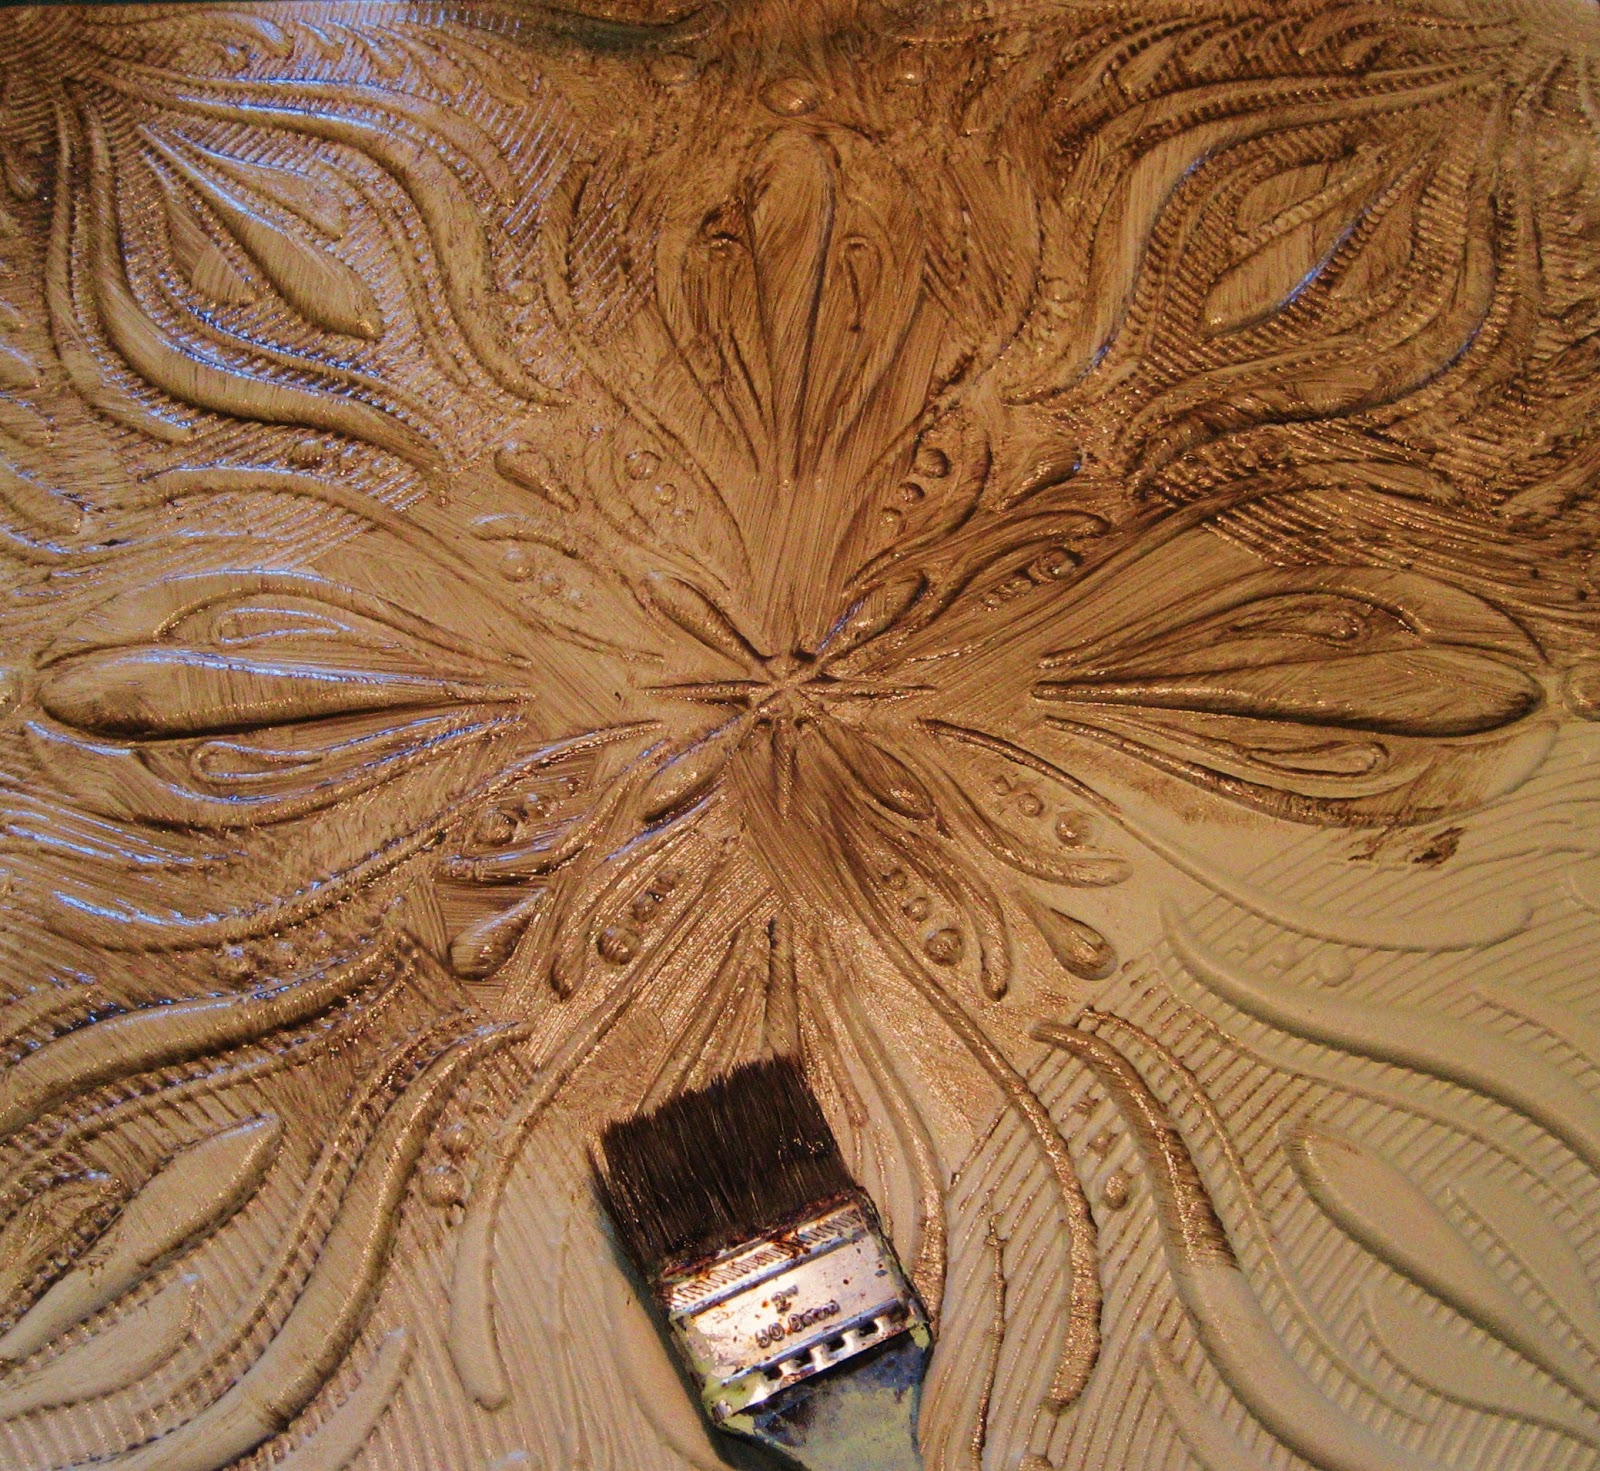
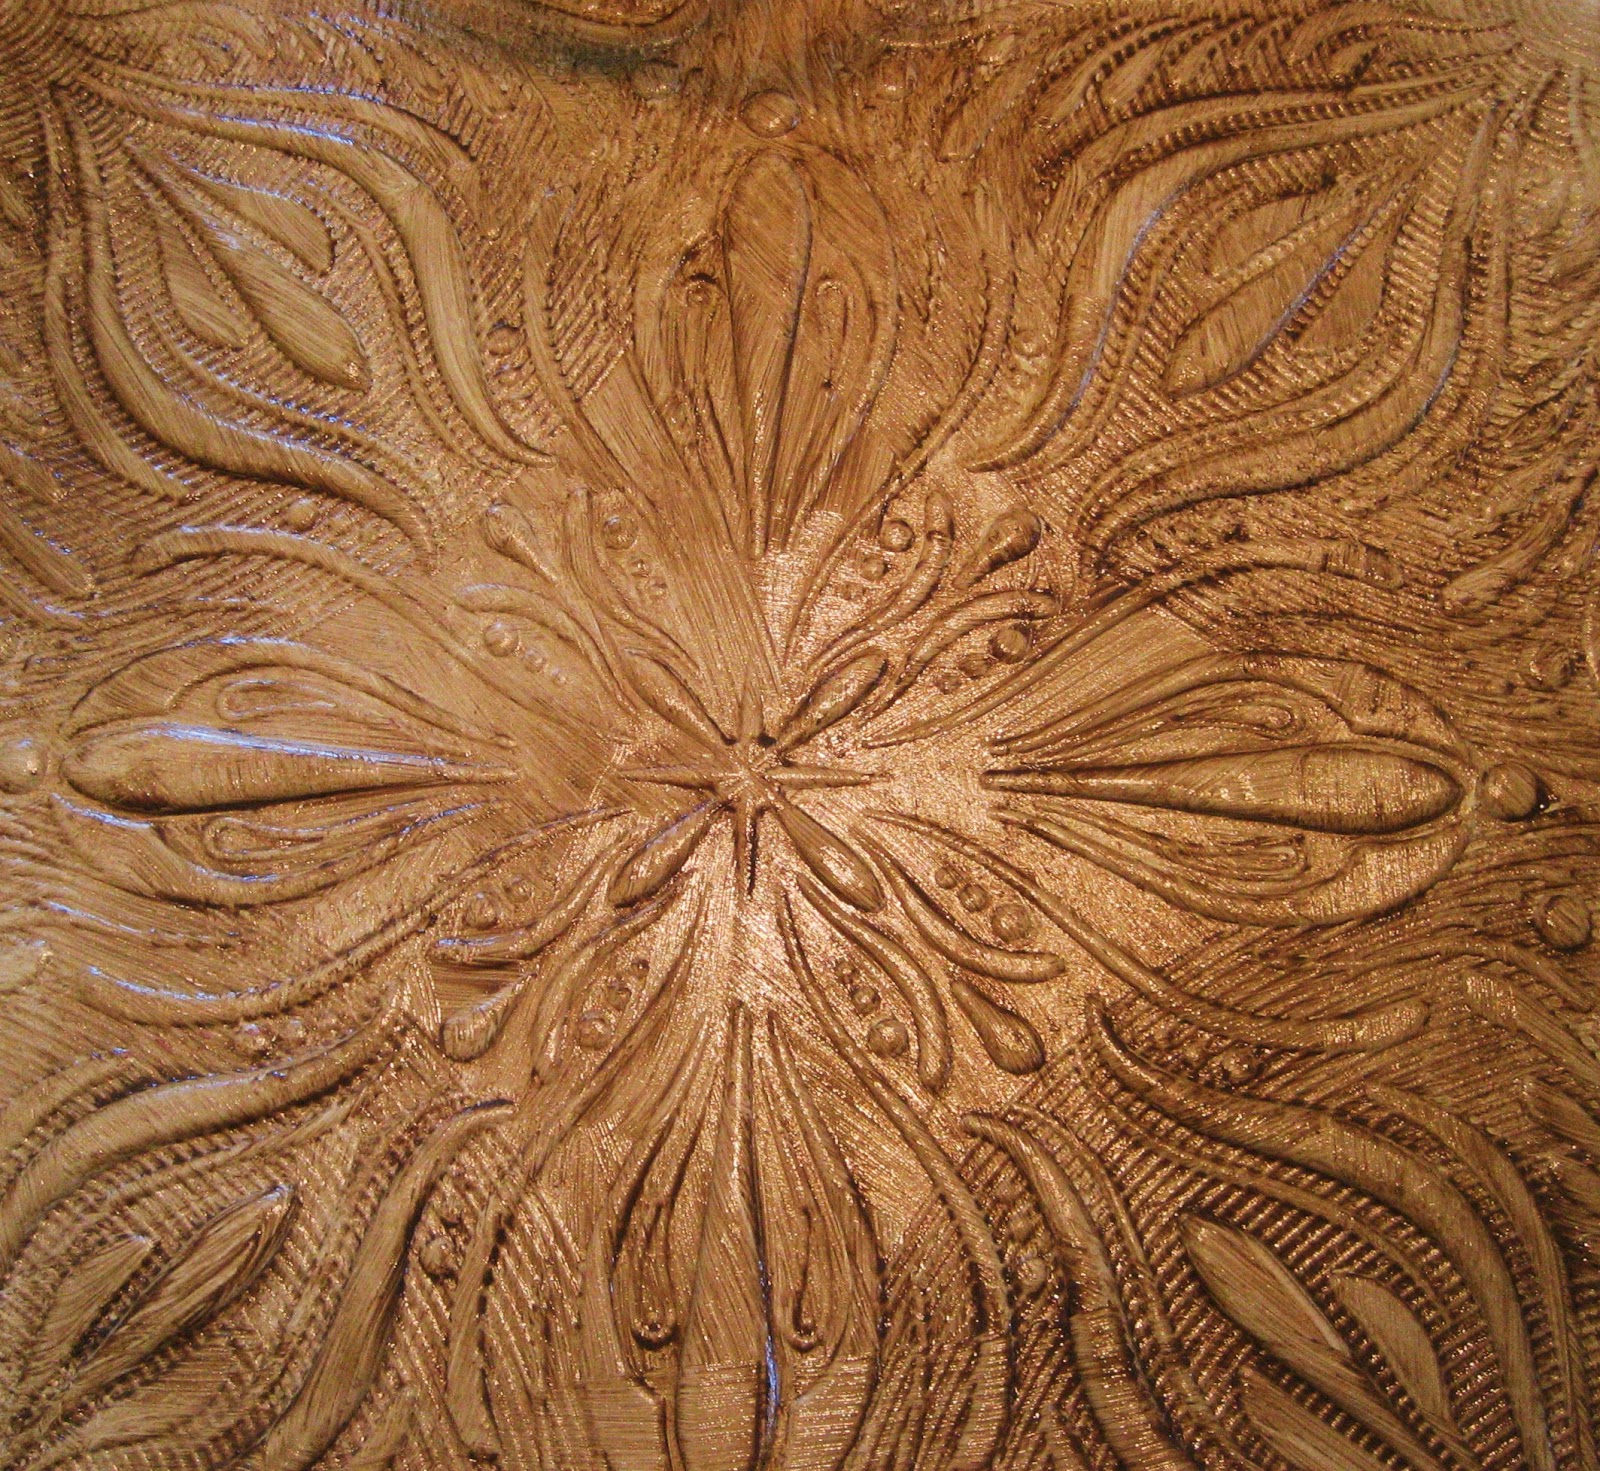
With my trusty chip brush, I dibbled and dabbled the glaze over the tile, pushing the mixture into all the crevices.
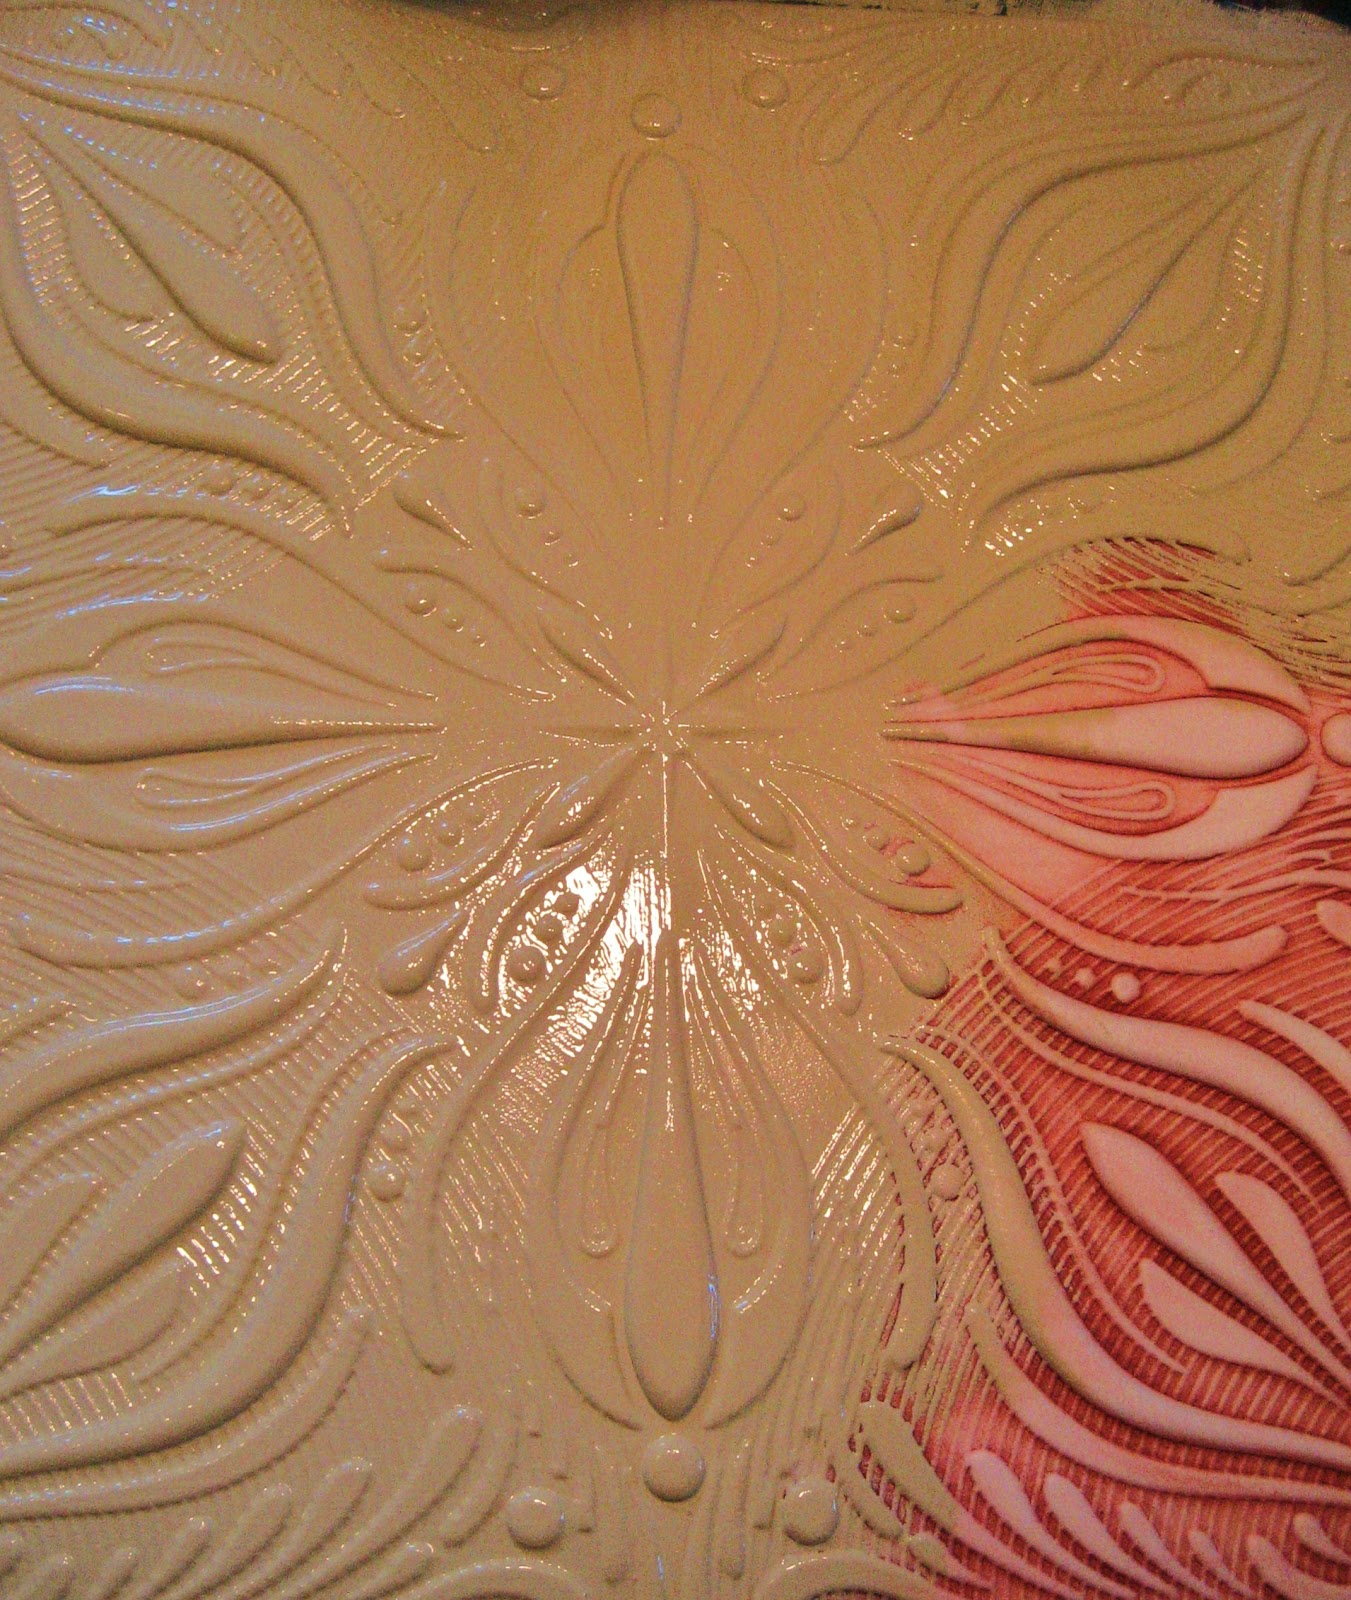
Next, I took a piece of cheesecloth and made a cheesecloth puff. I gently wiped the glaze off the higher portions of the tile. Remember, you can always add more glaze if you take too much off. I wanted to leave the glaze that was down in the nooks and crannies!
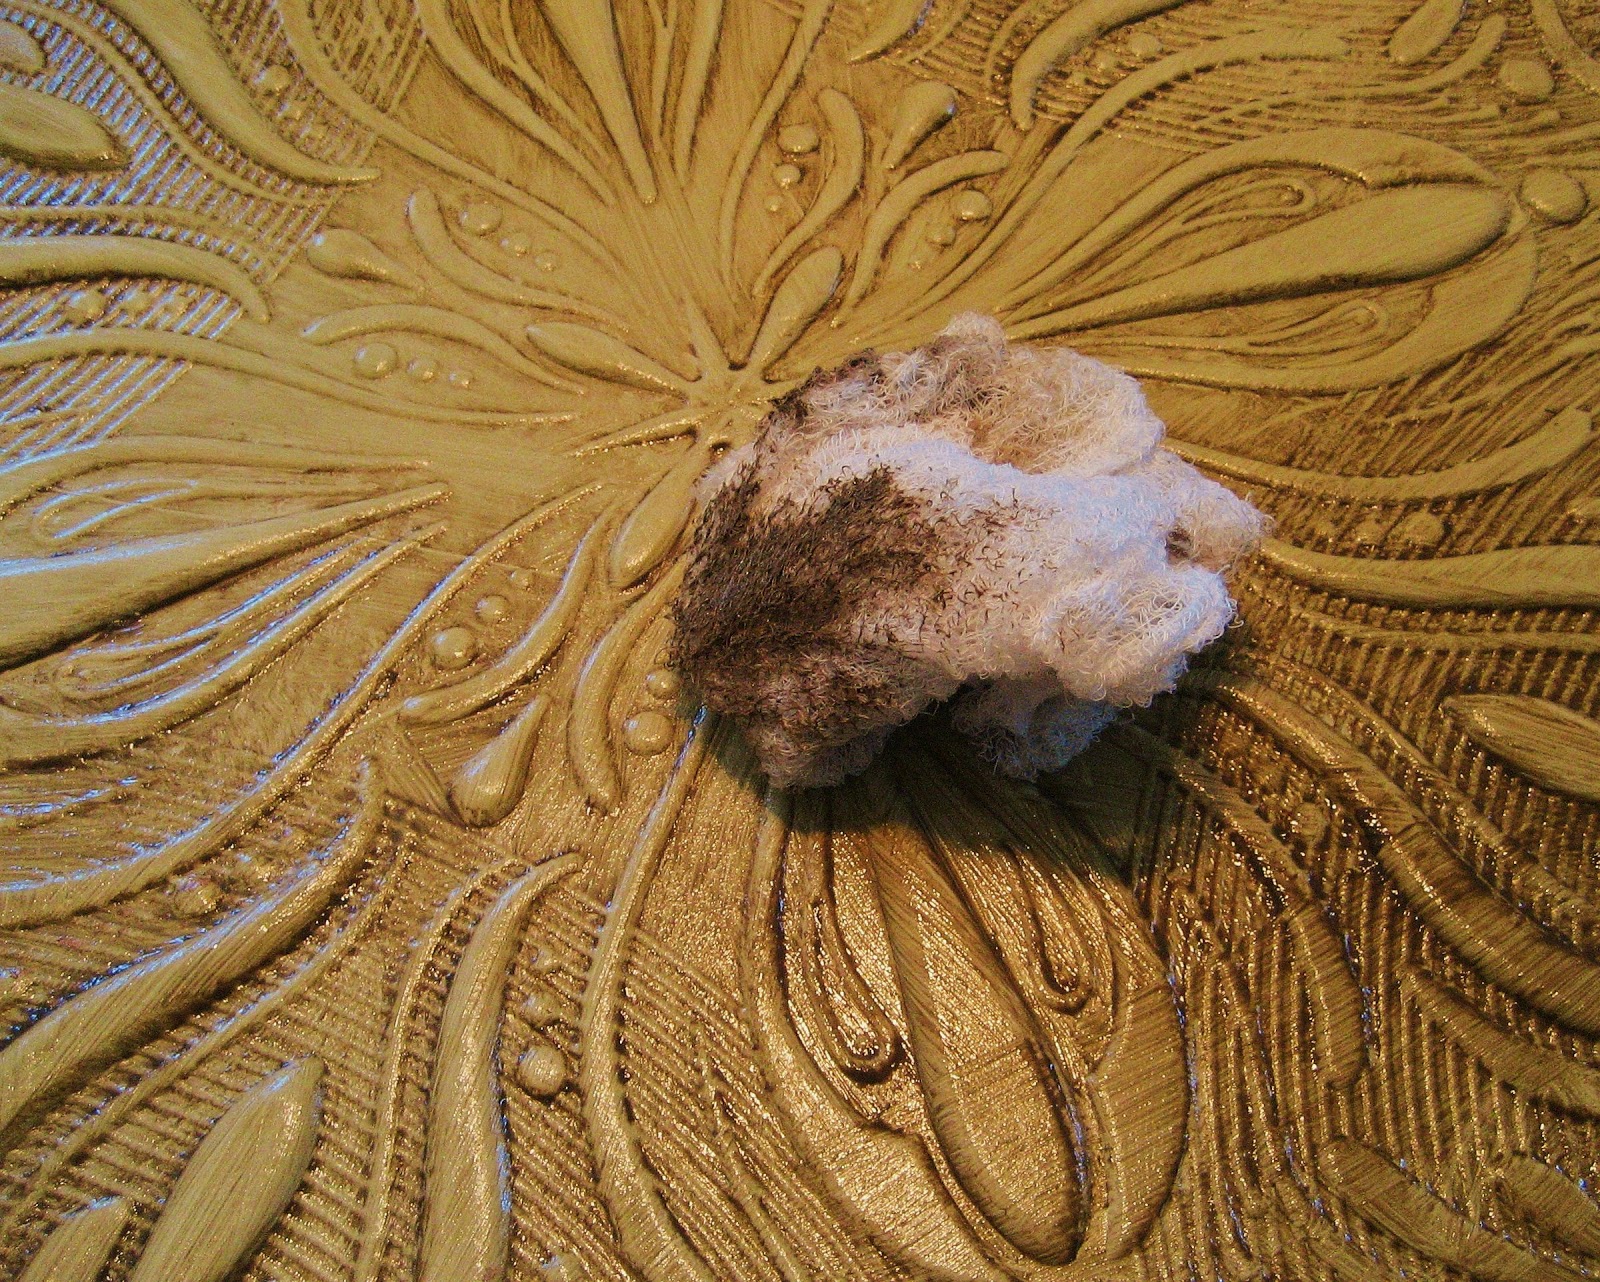
The top half shows the glaze lightly removed, while I still have the bottom to do.
I have had my “headboard” up for 10 years now and I continue to get so many compliments on it! I hope you will give it a try as well!
Happy Painting and until next thyme…
Cassity Kmetzsch started Remodelaholic after graduating from Utah State University with a degree in Interior Design. Remodelaholic is the place to share her love for knocking out walls, and building everything back up again to not only add function but beauty to her home. Together with her husband Justin, they have remodeled 6 homes and are working on a seventh. She is a mother of four amazing girls. Making a house a home is her favorite hobby.


>I can't wait until I can find some of these! I have been looking for somet time now! Your's turned out beautifully. I haven't tried out the umber glaze yet either, another thing I plan to use in the future.
>It's gorgeous. Beautiful. Stunning. I love it! (can't you tell??)
>So cool!! And such a great tutorial too!
>This is amazing! I love learning about stuff like this. Thanks for taking the time to post this!