Painted Dresser With Fun Stencil Pattern
Submitted By: Saved By Suzy
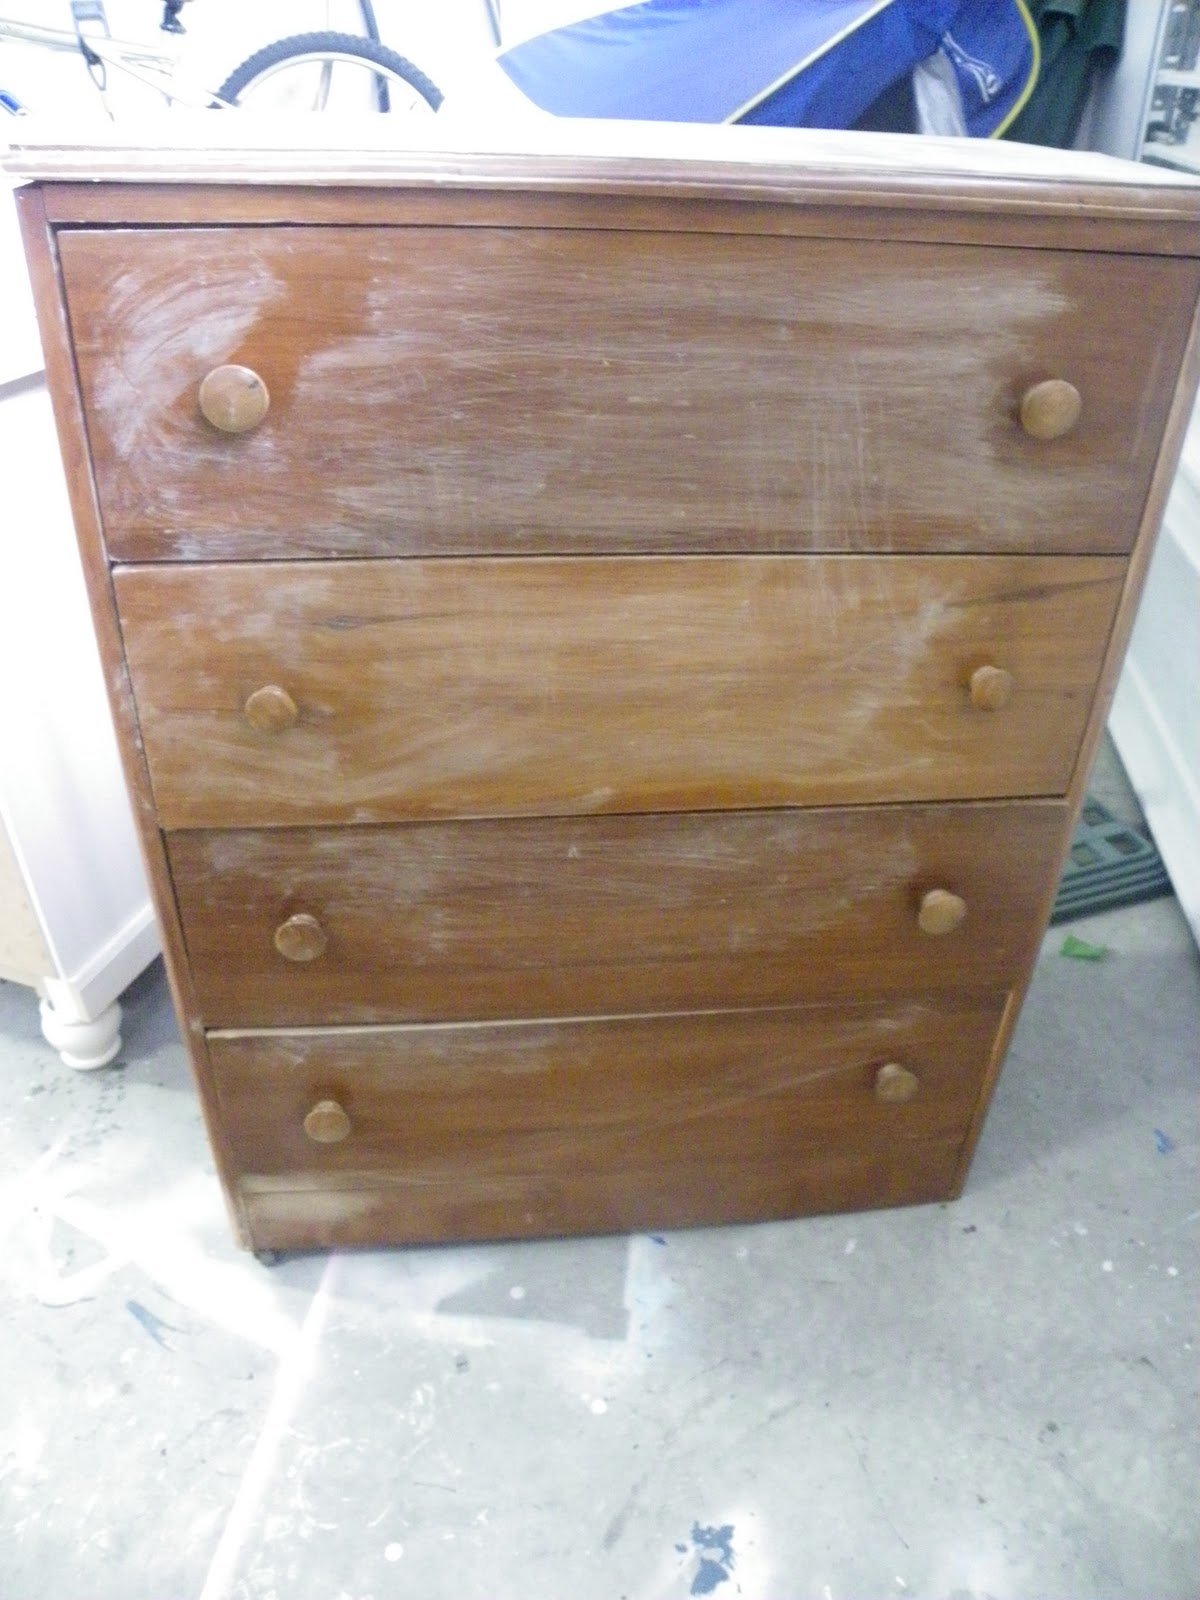
Here’s what I started with, a $10 garage sale find:
Someone along the way put on these tiny, little casters. It was missing one. See the sad, lopsided way the dresser is sitting? See the sad, splotchy garage floor I’ve created? Oops.
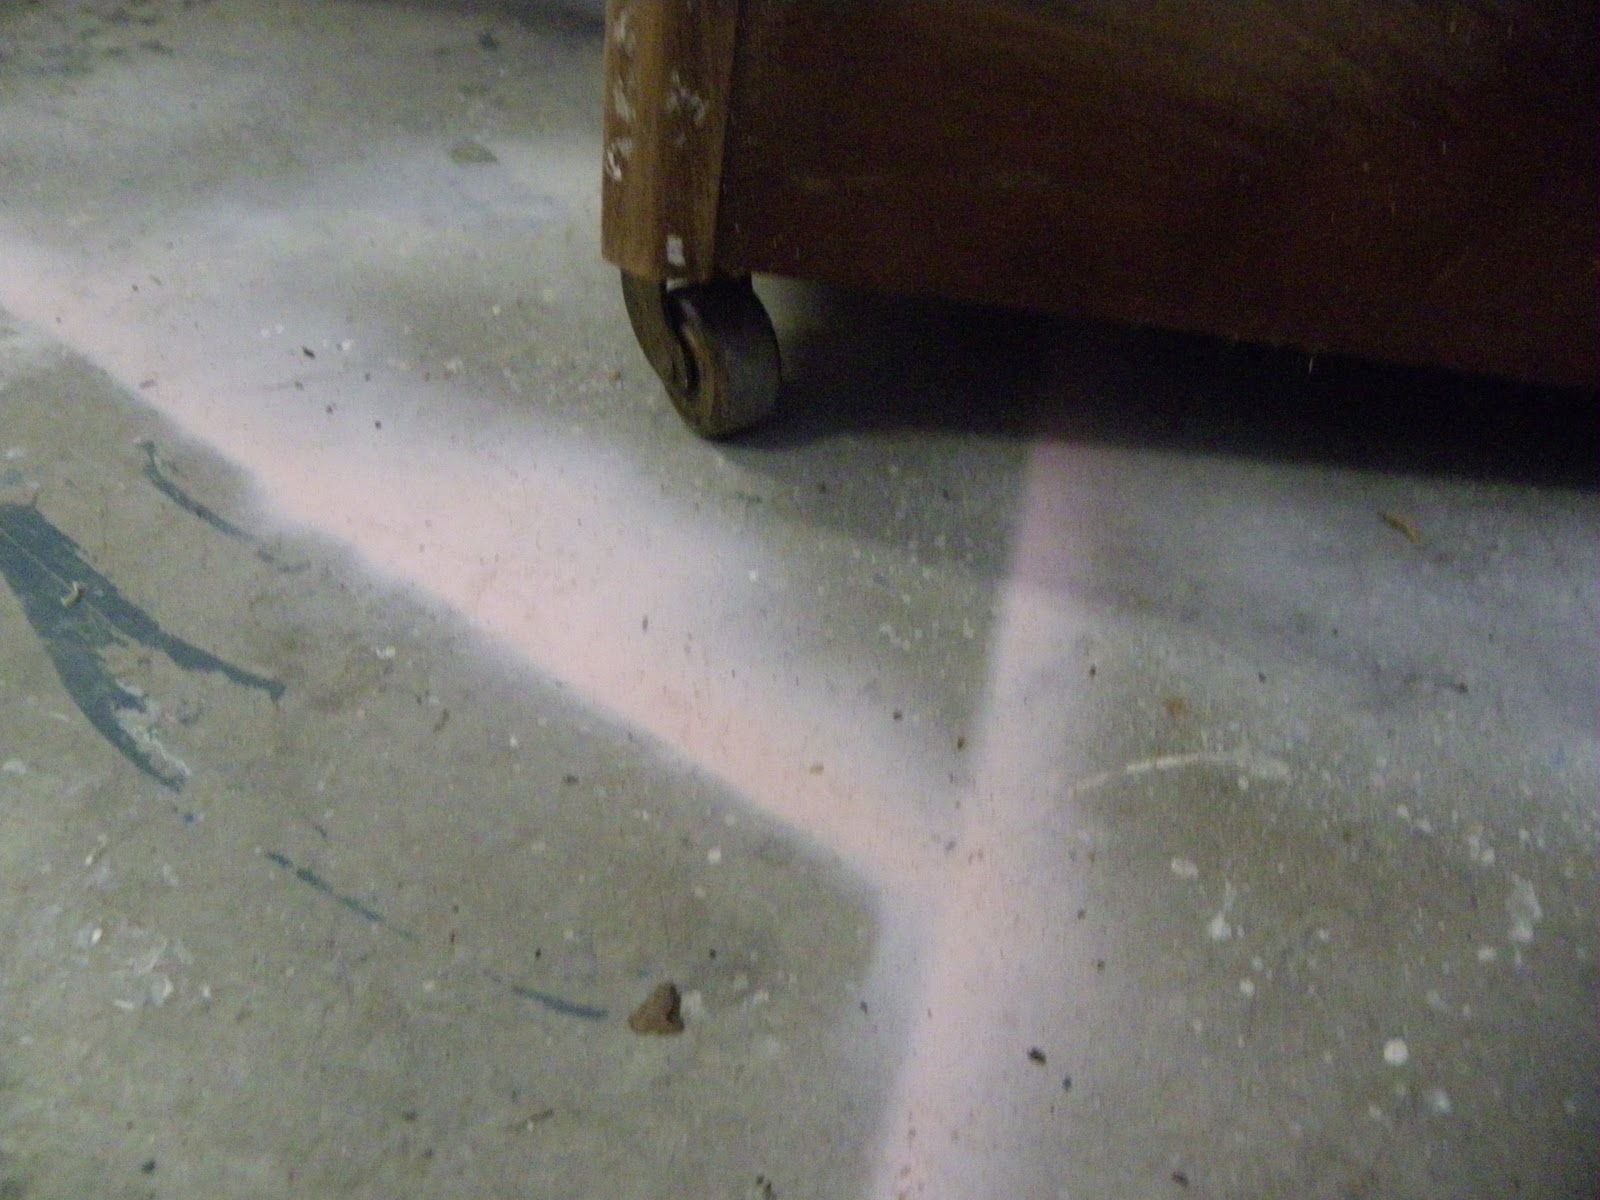
A missing caster did not deter us. A quick trip to Home Depot and I was home with these cute little table legs. HD had lots of different styles of legs. I had no idea stores carried these, but I’m glad I know now! They were only about $1.25 each and screwed right into the bottom of the dresser after Big K drilled some holes in it.

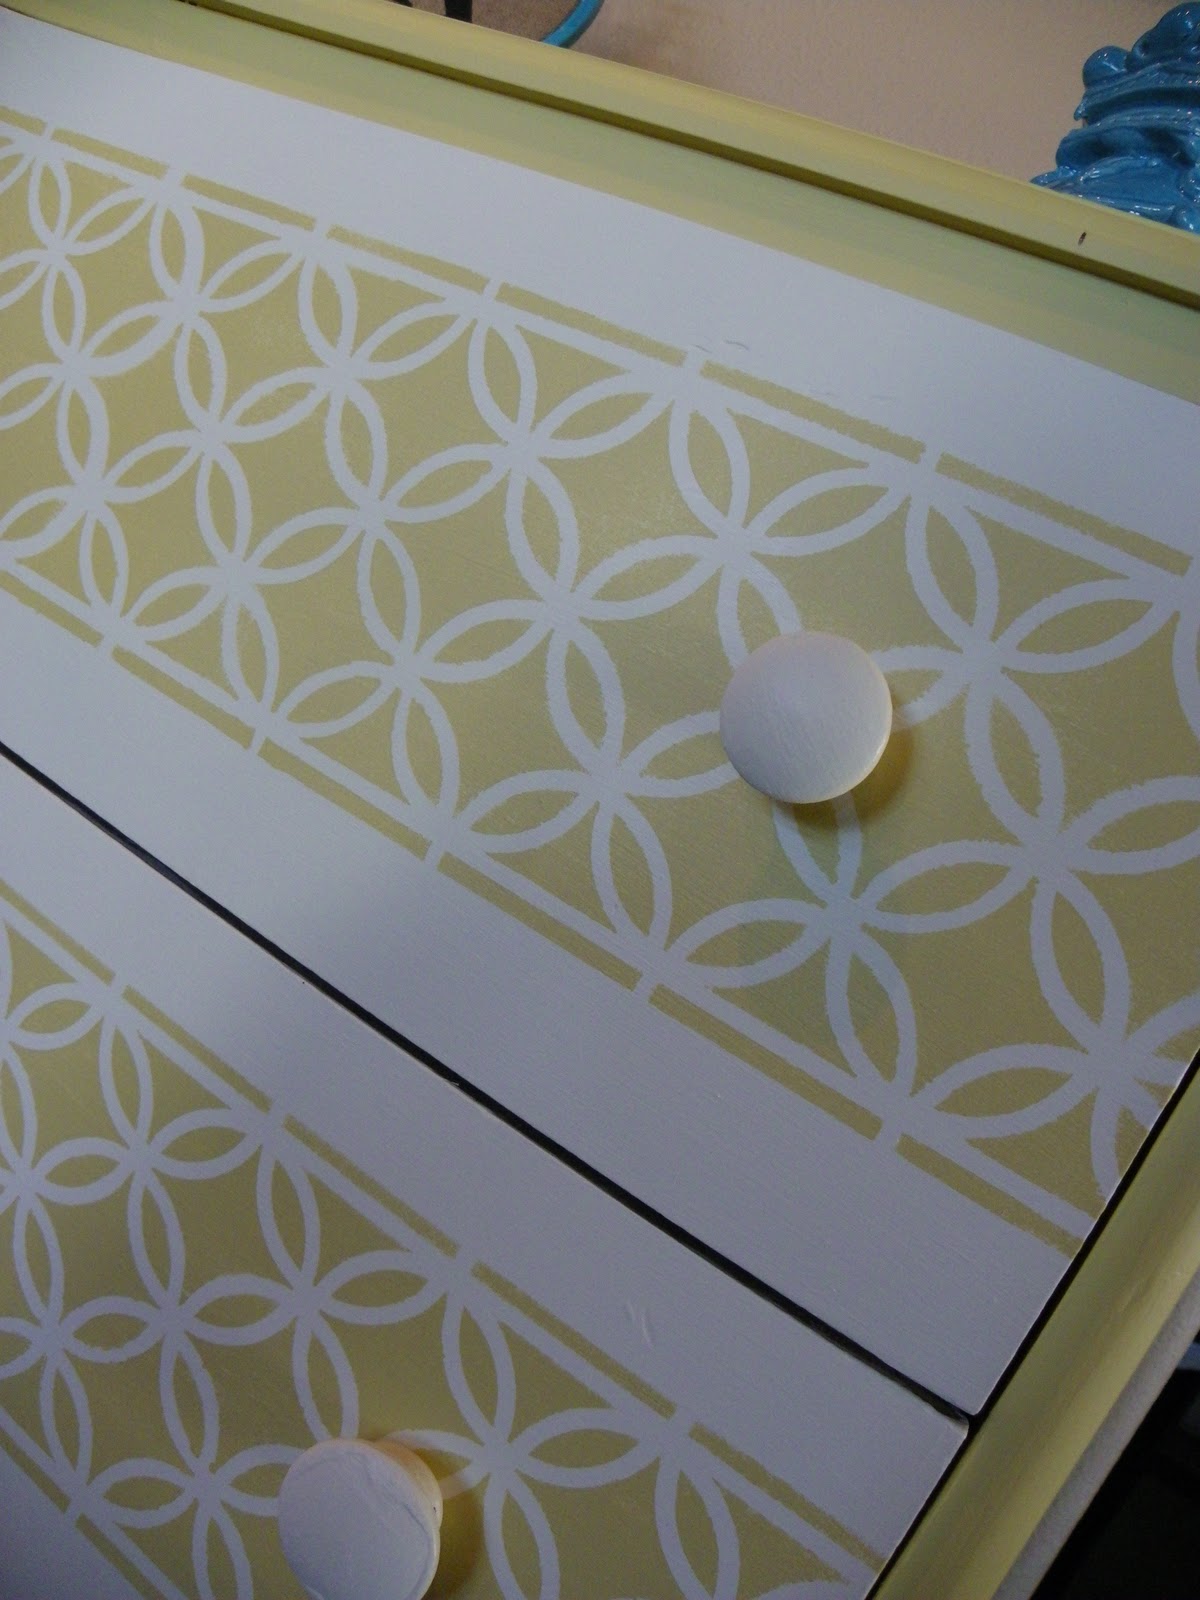
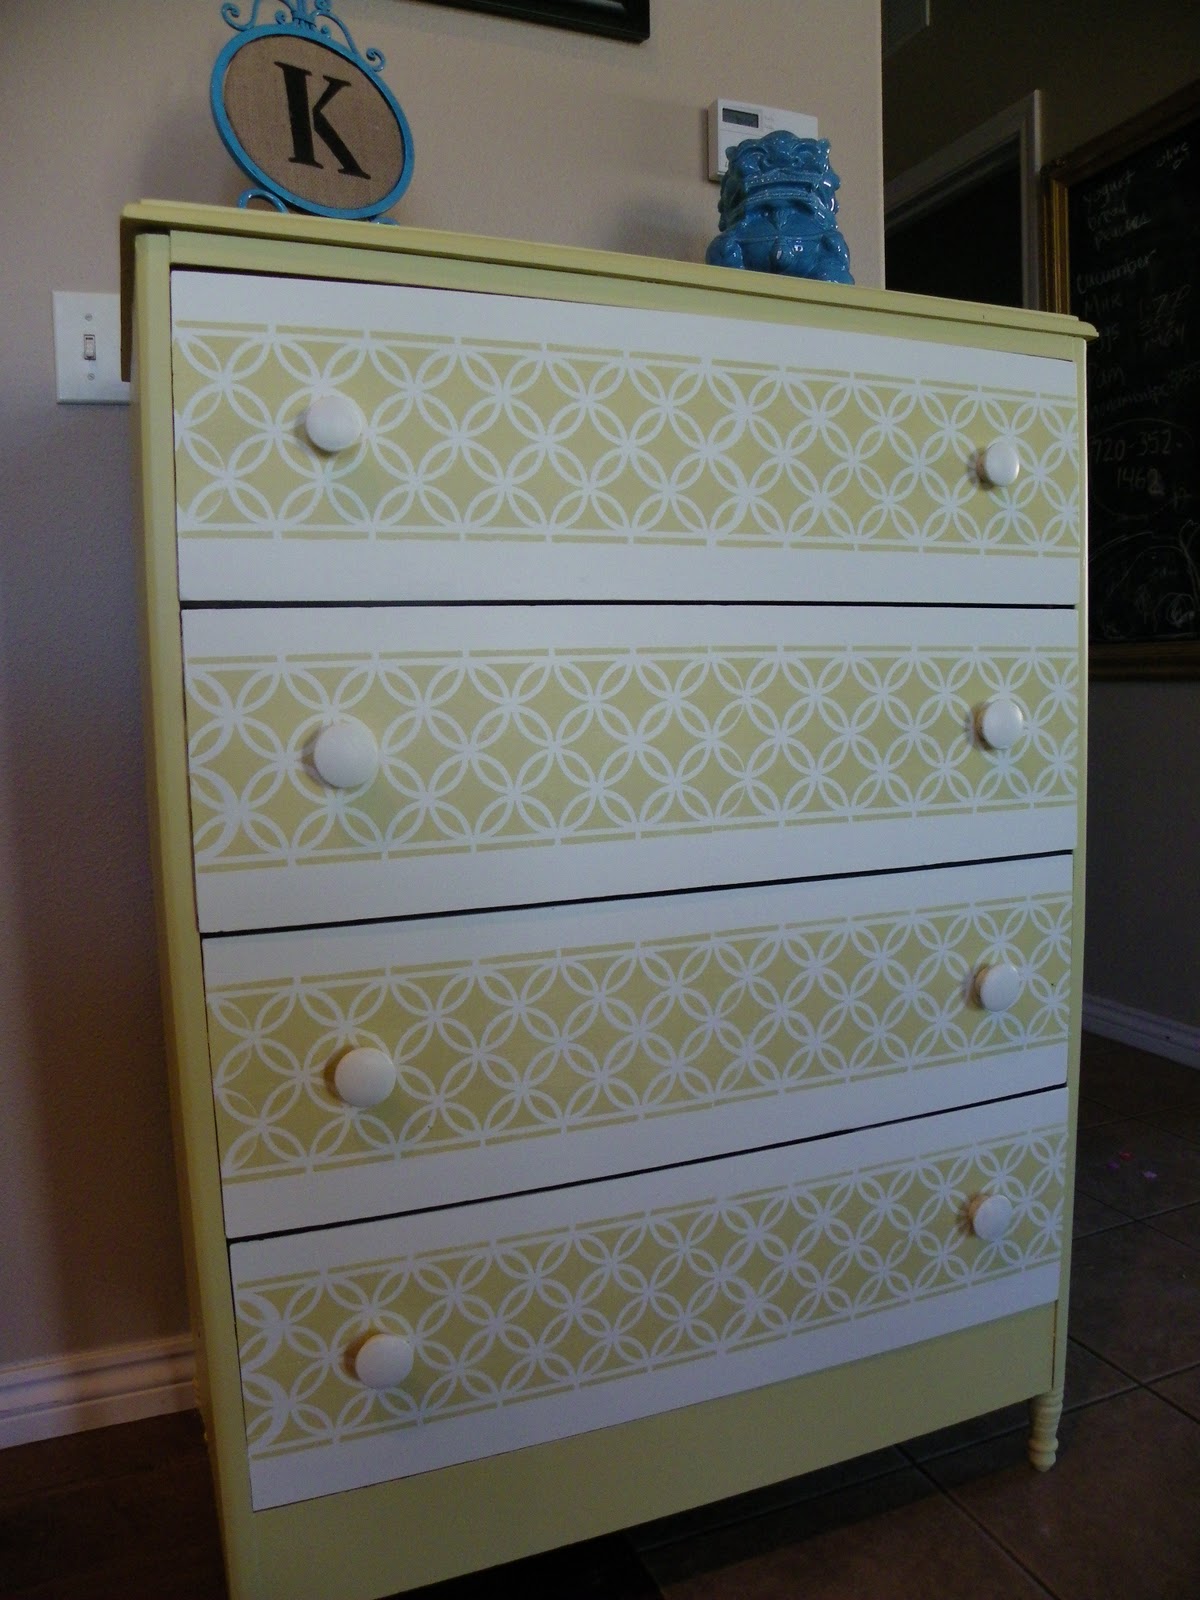
I have been wanting paint something yellow and I was happy when I found this oops paint at the hardware store. I painted the drawers white and then stenciled on the design. I used a Martha Stewart stencil that I found at Michael’s. Of course, I used the 40% off coupon that is available on my blog.
Let’s talk stencils for a minute. I LOVE the look of a stenciled wall. There are so many great examples of this in blogland. So, this spring I thought I would try it myself. I stenciled a wall in my dining room. It turned out horrendously! I don’t even have any pics it was so bad. I couldn’t get the stencil to line up, paint bled through everywhere, etc. It was basically a HUGE mess and a HUGE waste of time. I ended up painting over the wall the next day.
Needless to say, I have tons of respect for all of you bloggers that can stencil a wall. It is not easy!
After my failed stencil experience, I wanted to try to redeem myself. I’m never ever going to try a wall again, but I thought a small dresser would be a good place to give stenciling a second chance.
Here’s the result:

Stencil success!

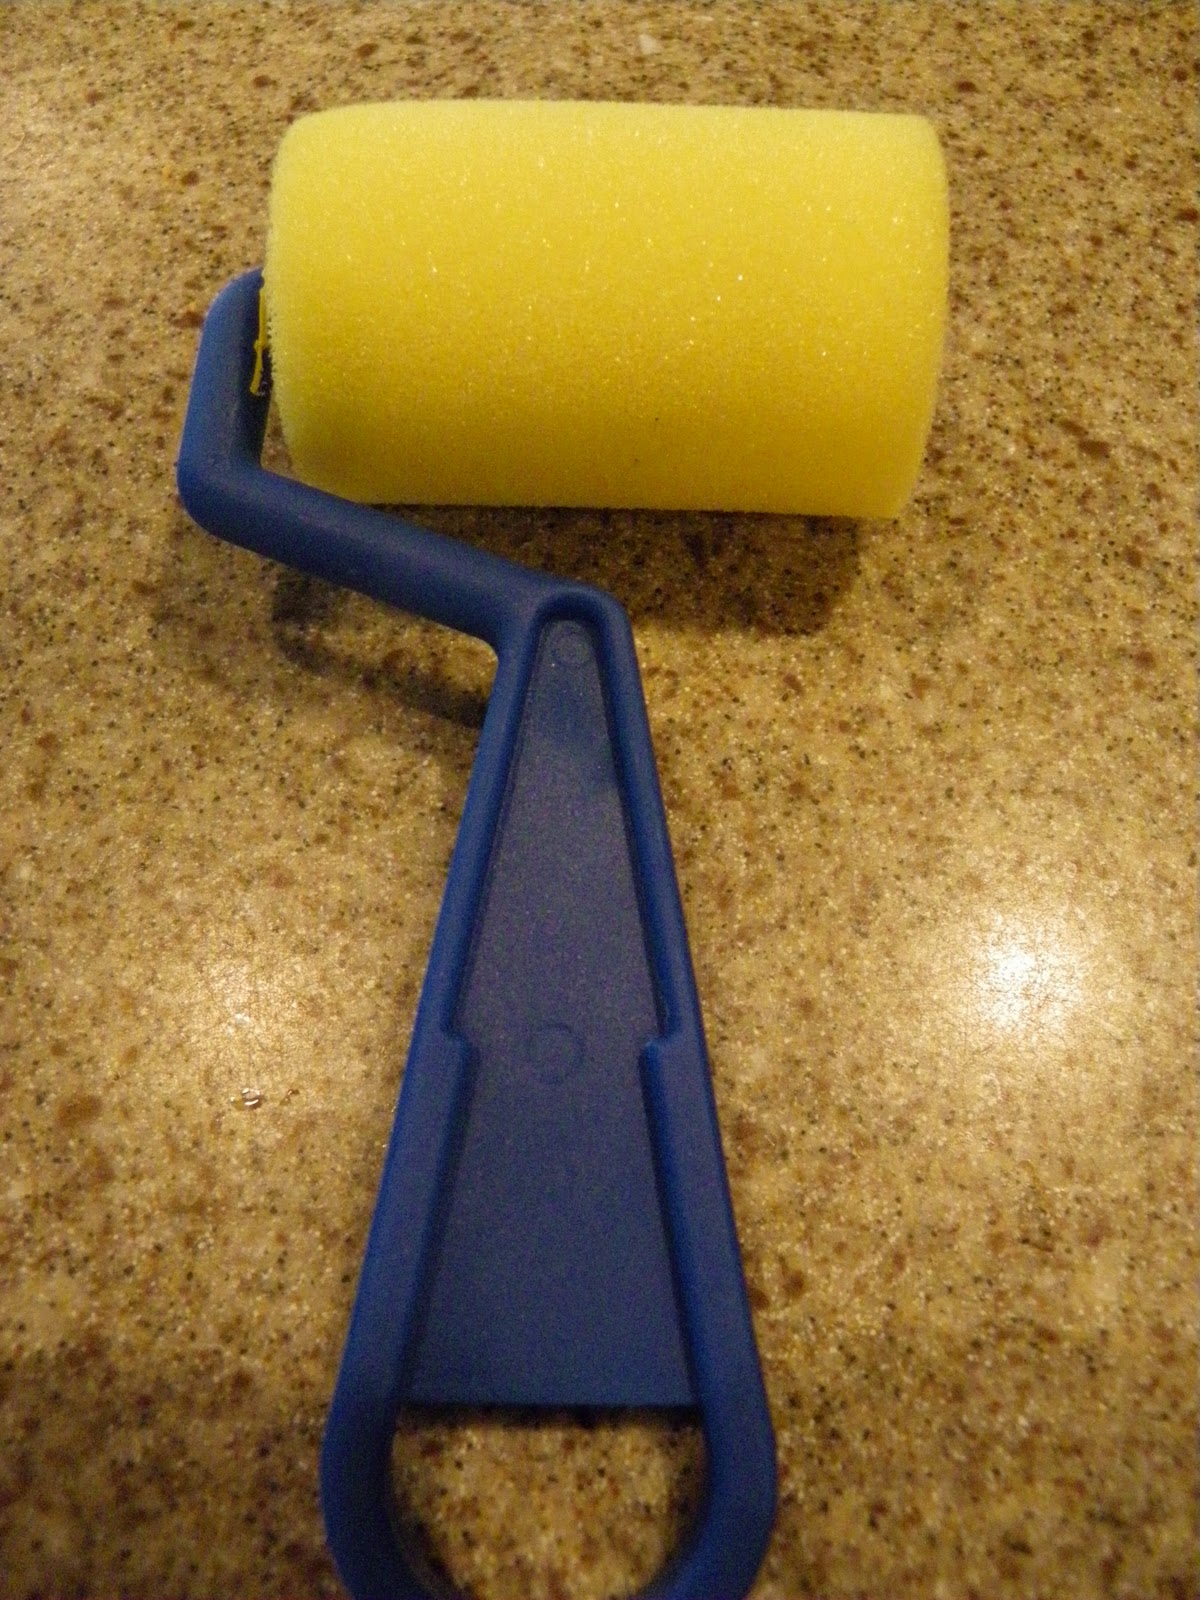
More on stenciling…I used this little foam roller (also from Michael’s). I made sure the roller was almost dry when I rolled on the paint. I also used very light pressure when rolling. Pressing too hard leads to the paint bleeding underneath the stencil.
Did you like this post? You’ll like these too I’m sure!
From Dresser To Kitchen Island
Wood and White Modern Dresser
Dresser to Vanity Conversion with Pink Interior
Cassity Kmetzsch started Remodelaholic after graduating from Utah State University with a degree in Interior Design. Remodelaholic is the place to share her love for knocking out walls, and building everything back up again to not only add function but beauty to her home. Together with her husband Justin, they have remodeled 6 homes and are working on a seventh. She is a mother of four amazing girls. Making a house a home is her favorite hobby.


Thanks for featuring my dresser!
I love it! Great idea and execution.
This is super cute! Love the stencil, the addition of the legs, and the color!
Wow! The dresser looks fantastic. Great stenciling.
Nice job Suzy! Love the happy color, new legs and stenciled drawers!
Cathy
Wow! That looks so pretty. That’s an amazing transformation for just a few dollars!
This turned out GREAT. I absolutely love it.
So cute! Yellow and Turquoise were my wedding colors 🙂 I would say those are a good choice 😉
This looks amazing. I’ve been scouring the internet for inspiration on how to paint my dresser, and you are the winner. I am going to copy your design as closely as I can. Thanks!