Neirmann Weeks Lighting Look Alike DIY
This project has been around the blog-o-sphere a little bit, but I still had to share it because it is quite genius. I love it when people have the ability to make from two separate, out of fashion pieces a unified, updated whole, that is just plain awesome I really respect them! So, this fabulous lighting remake comes from Amy of Playing Sublimely. I also really liked it cause it reminded me of college and looking through all the awesome Neirmann weeks collections no budgets in mind. They even still have my favorite light that looks like a decadent piece of jewelry the Biarritz Chandelier. Here is what Any did:
 Oh how I love the look of a Niermann Weeks chandelier, and oh how I hate the price of them. My friend Karen who is one of the most fashionable ladies walking the planet, got me thinking about how to create the look of a Niermann Weeks chandelier. She is a girl after my own heart and loves to decorate fabulous for less. I have told you before that I am a “faux, faux finisher”. I pretend a little with decorative finishes, but I had never experimented with applying any products to a fixture before. So I gave it a shot.
Here are a few finishes I liked from the Niermann Weeks collection, all priced over $5,500:


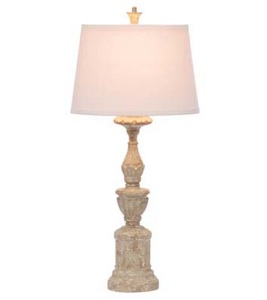
Here are a few of Brooke’s table lamps from her Giannetti lighting collection, love the finish of these as well:

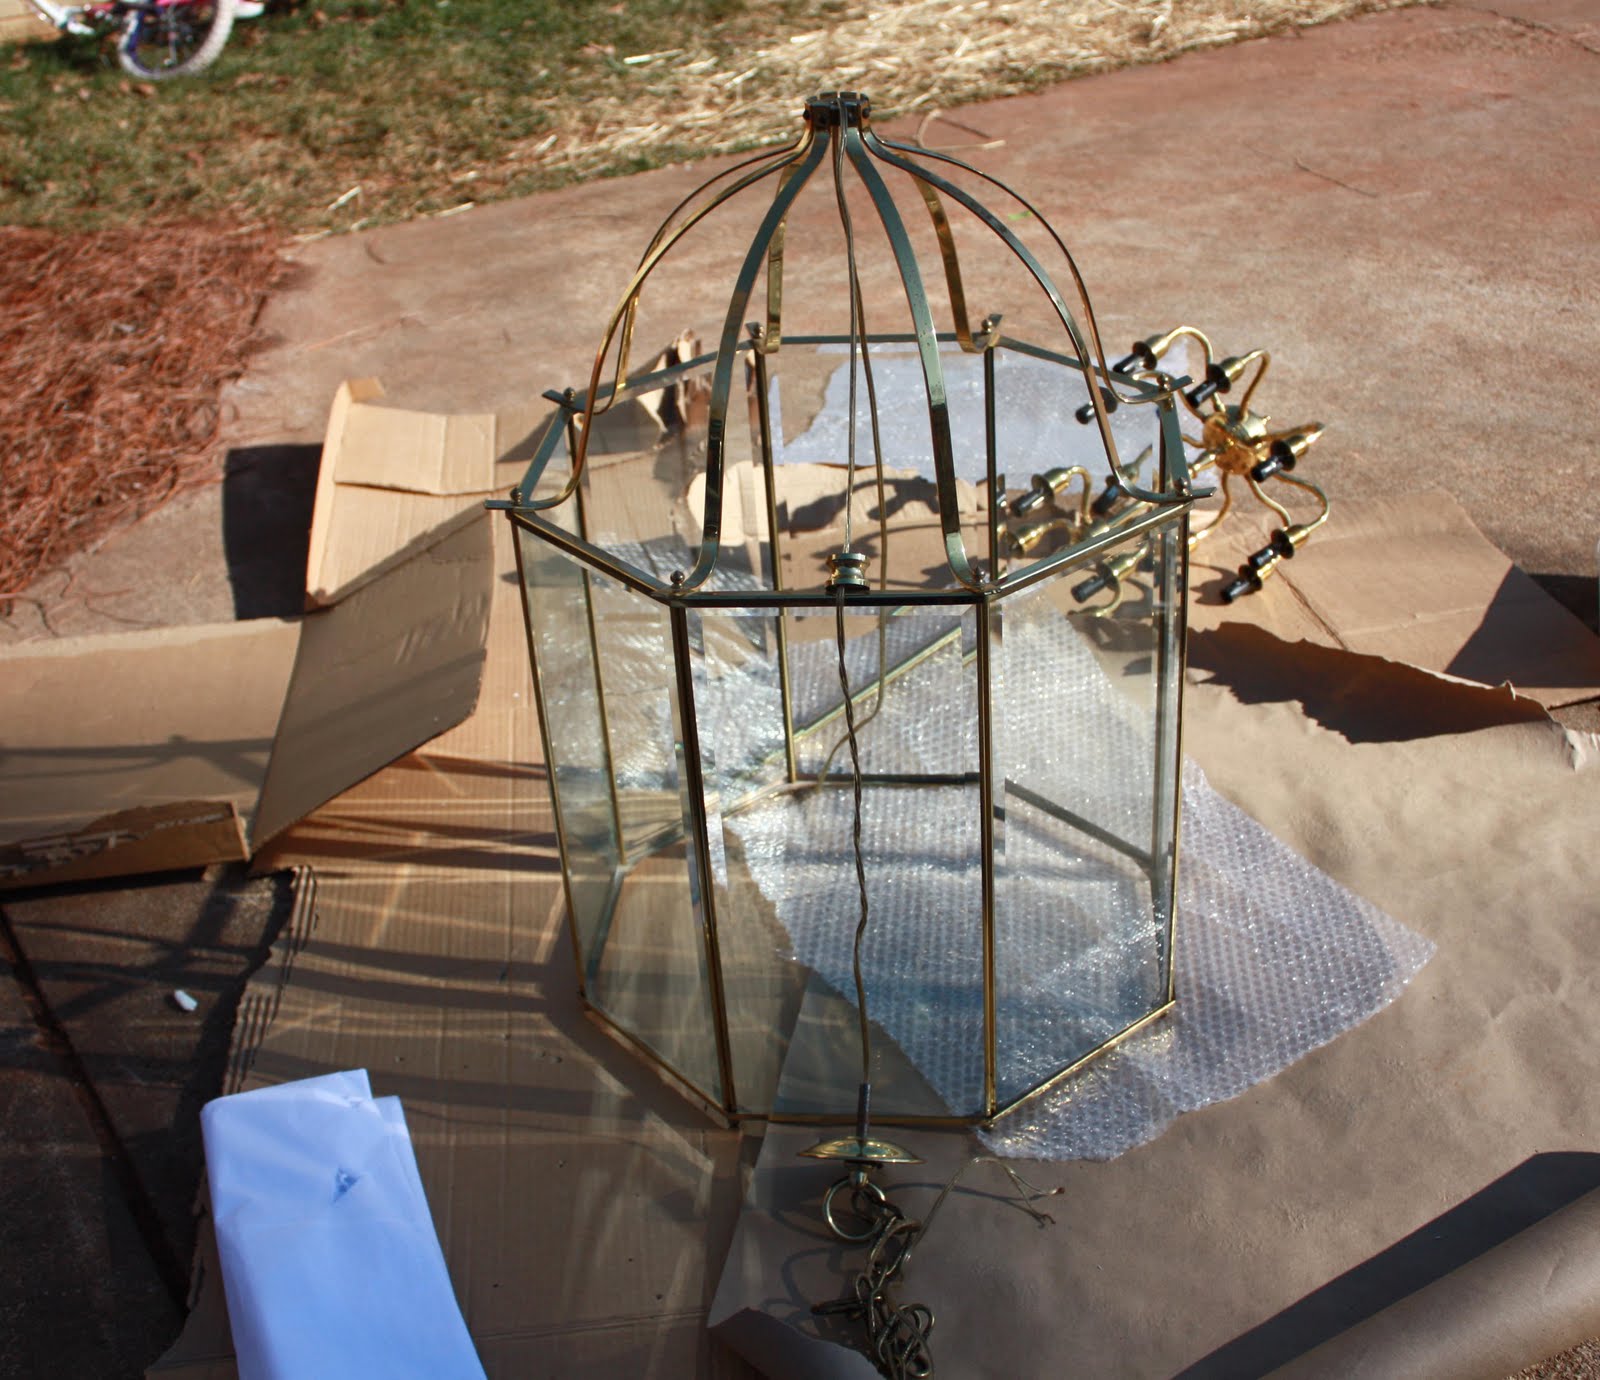
And this is what I wanted to transform into something lovely: a $25 brass consignment store find. I liked the lines of it, and it was large enough to go in my foyer.
 Everything I used was products that I had around my house (Faux Effects plaster), but you could use regular plaster and tint it any color you wanted. I scooped the product up in my hands and smeared it all over the chandelier. My first plaster color was a bronze shade. I let that dry and then I repeated the exact same “technique” with a neutral color plaster (I am using that term loosely as my five year old helped me cover the chandelier in plaster with her hands). Once both layers had dried I sanded it a little by hand to let the darker shade underneath show through.
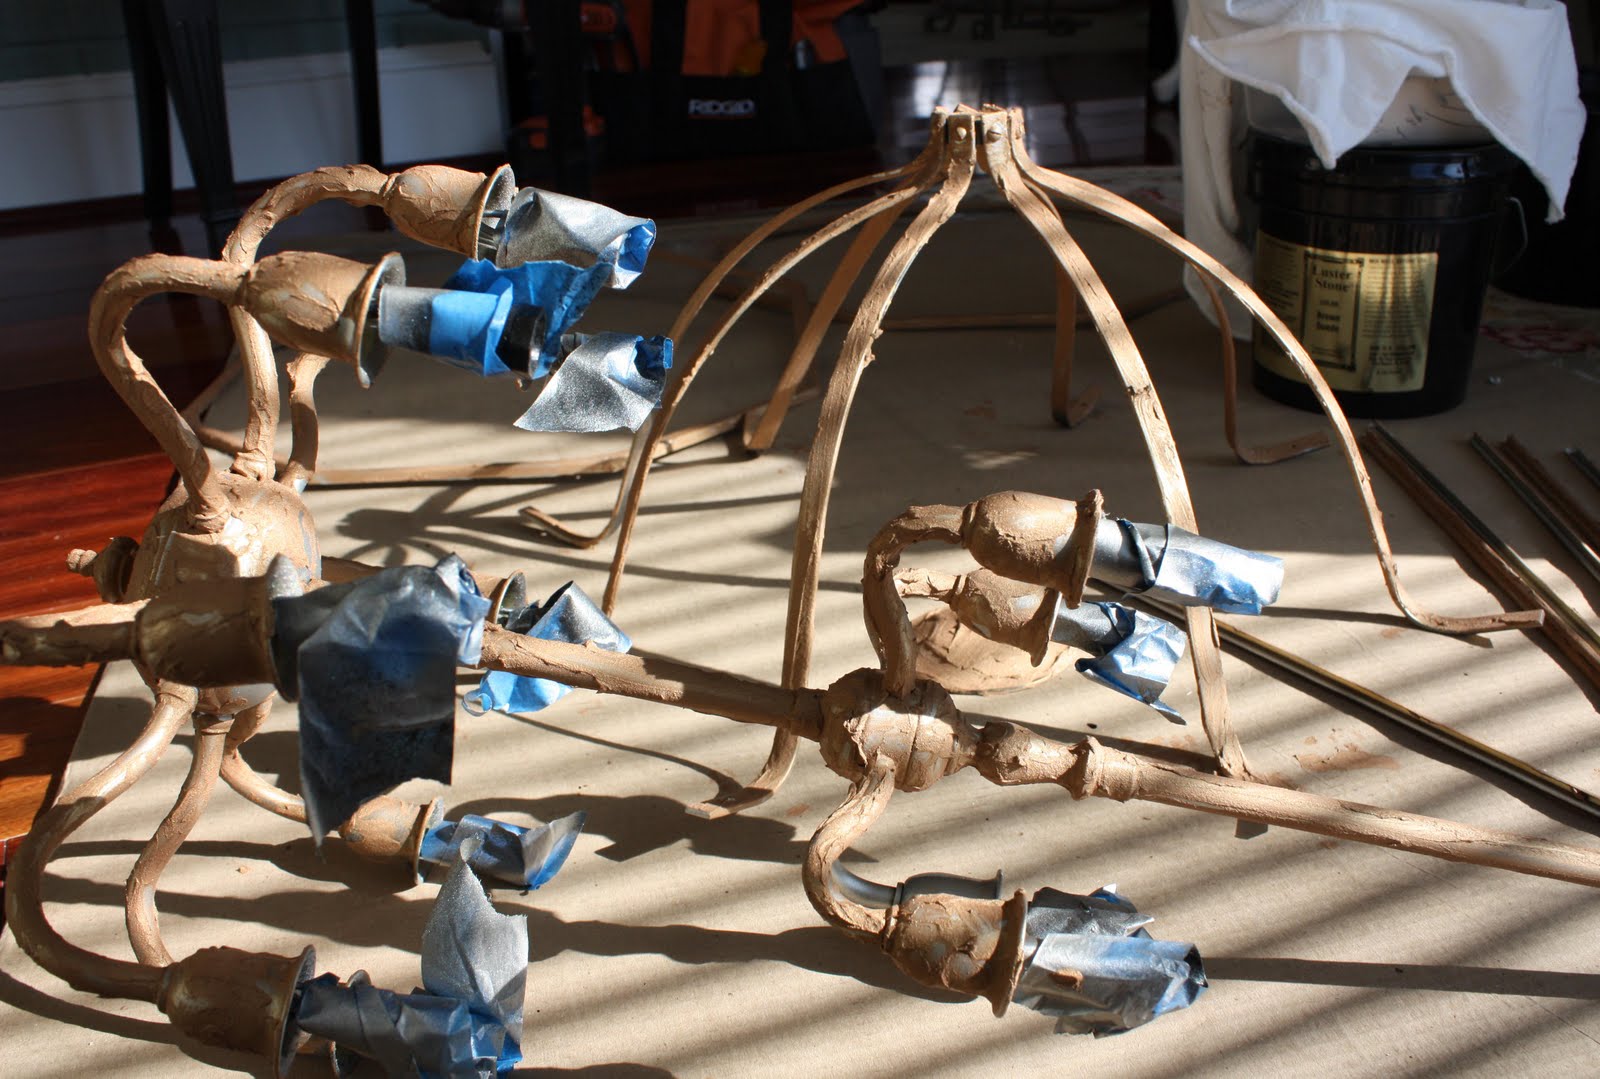 Then my cute carpenter risked his own life to hang my creation. He is a good man.
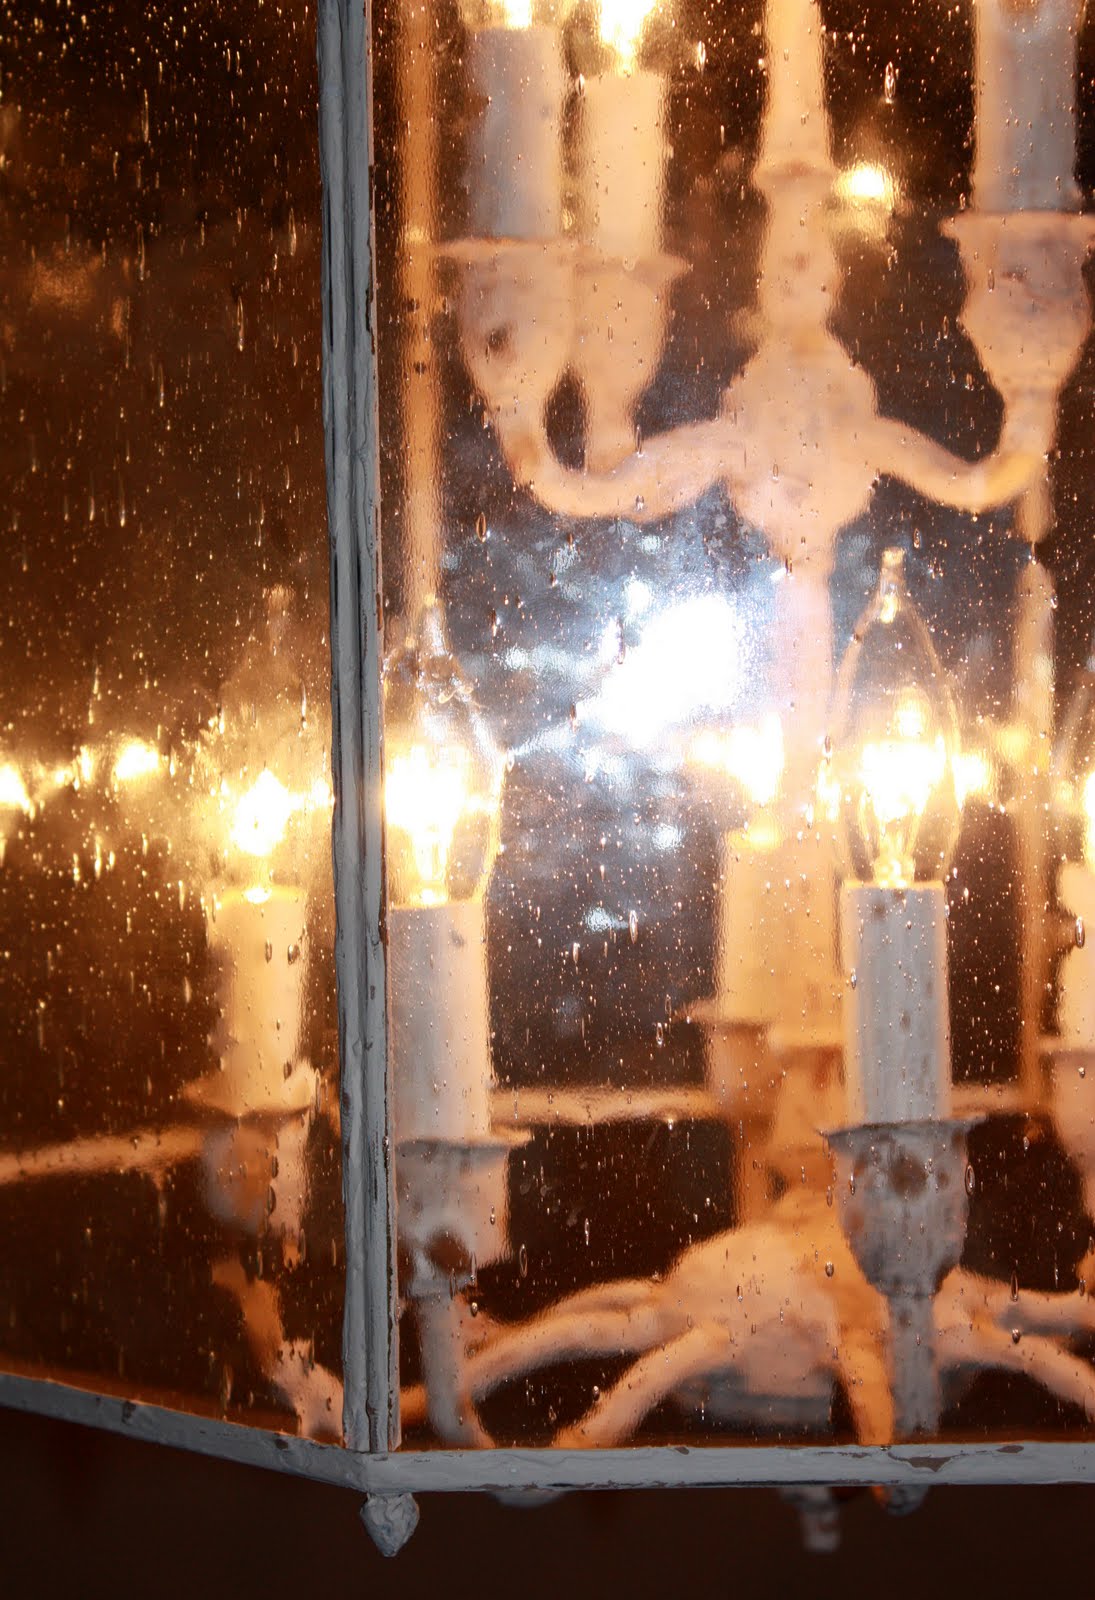
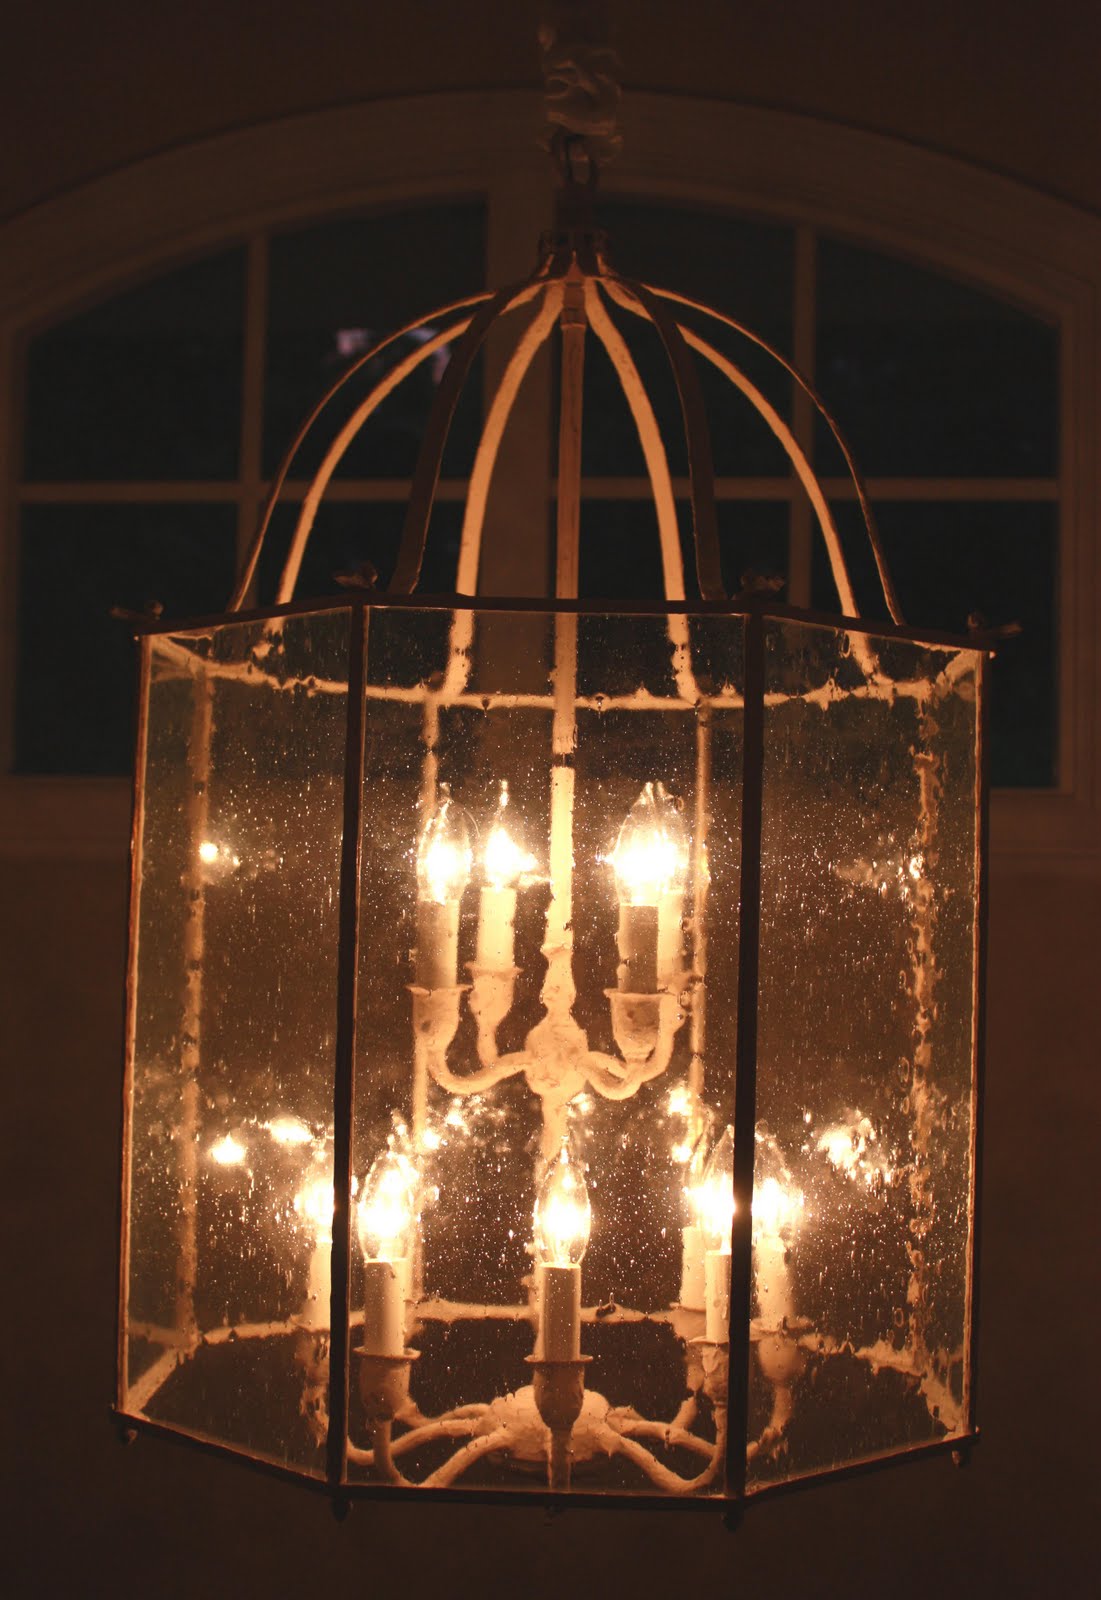
 Isn’t she lovely.
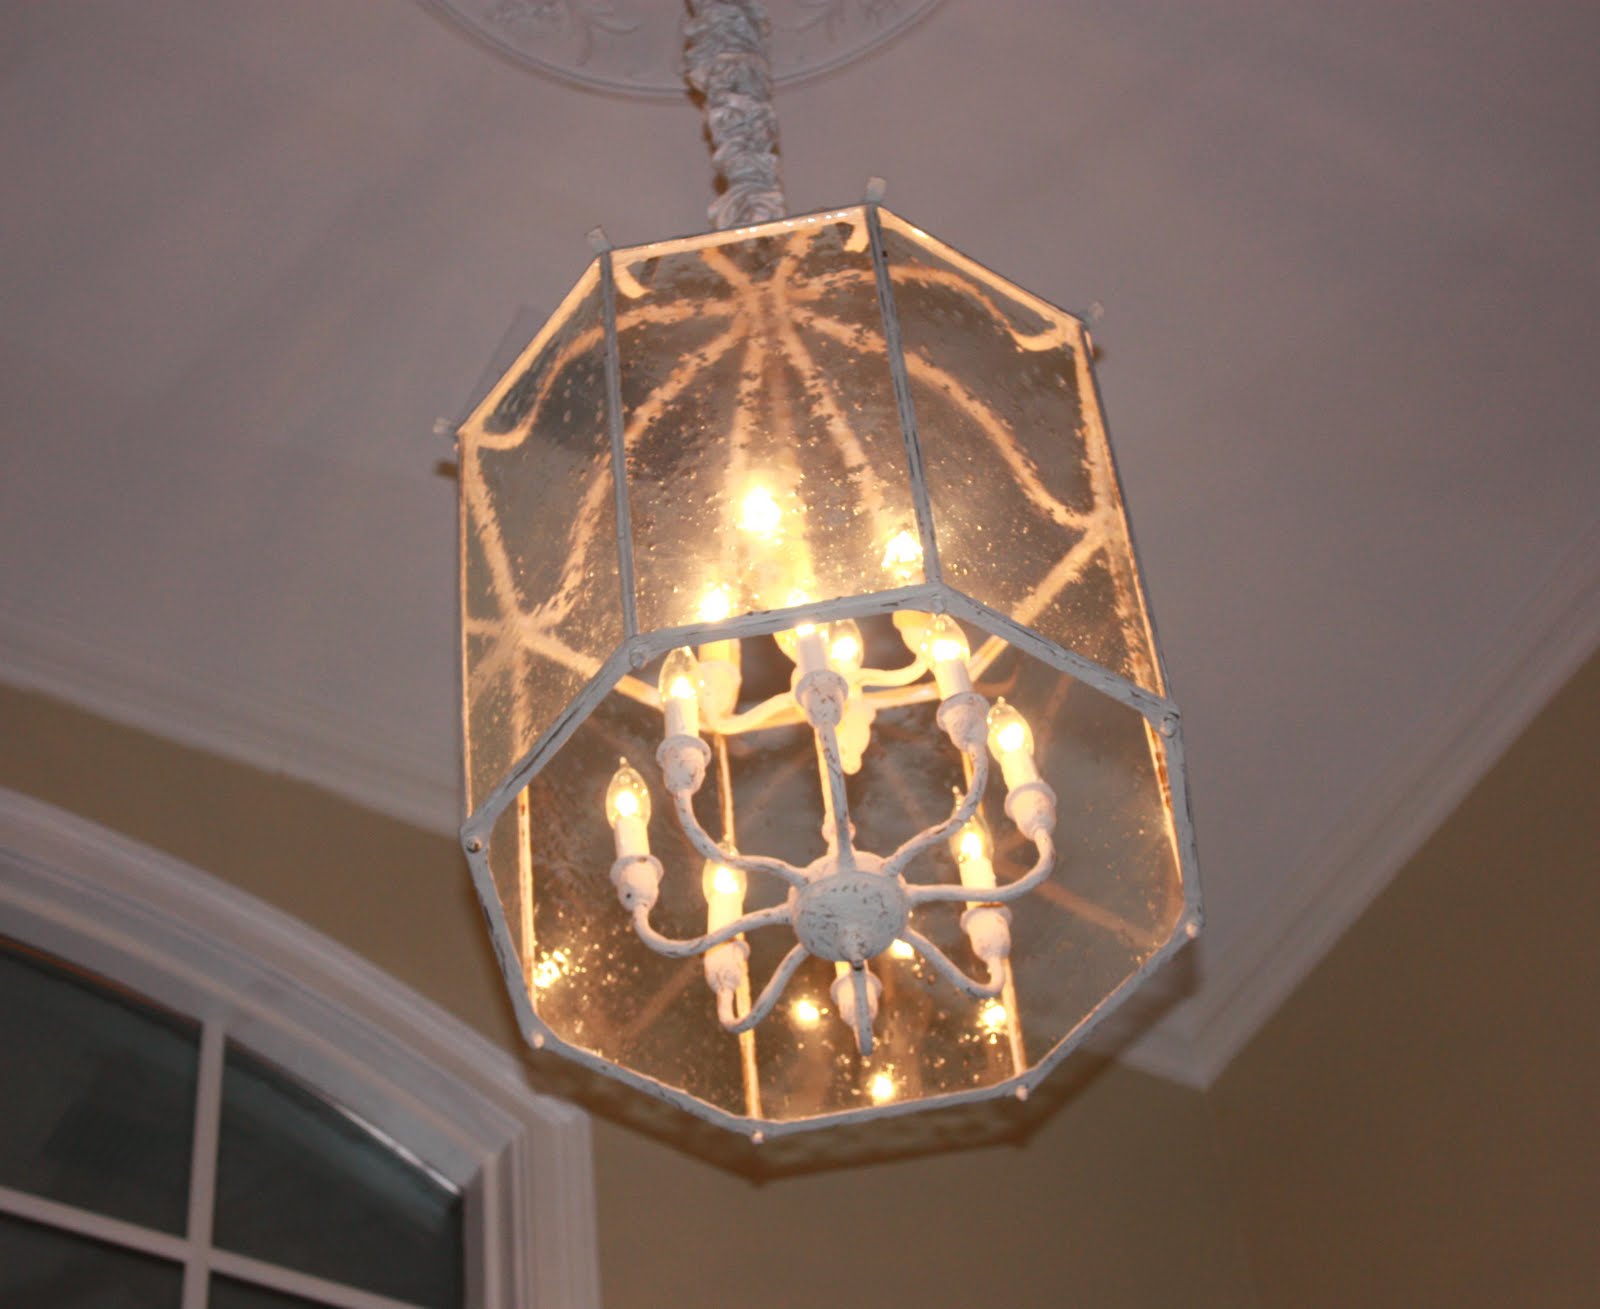 Can you see the finish and texture?
 The seeded glass reflects specks on our walls at night…it’s dreamy.
 I love not having to spend $5,500 to get the look I want, and I love Karen for convincing me to try this.

Cassity Kmetzsch started Remodelaholic after graduating from Utah State University with a degree in Interior Design. Remodelaholic is the place to share her love for knocking out walls, and building everything back up again to not only add function but beauty to her home. Together with her husband Justin, they have remodeled 6 homes and are working on a seventh. She is a mother of four amazing girls. Making a house a home is her favorite hobby.


>I LOVE the finished product but wow… seeing that picture of her husband on that ladder gave me goosebumps!
>Gorgeous!!
>You are truly an inspiration!! I love that you venture out into the world of used/vintage/discarded and have a vision of what it could be!!
We bought a gold chandelier yesterday the the D.I. , some Ballet Pink spray paint. My goal was to make dinner, prime the fixture, eat, clean the kitchen, THEN paint it. My husband got excited about the project and finished it, from start to finish in two hours! He even wired it hung it up! Beautiful!!!! Thanks so much for planting the seed in my brain!!
>oh.my.gosh. I am floored! This is lovely! Talk about earning some DIY stripes.
Love how this turned out.