How to Sew Ruffled Burlap Curtains

DIY Ruffled Burlap Curtain Tutorial
by Valerie of The Caldwell Project

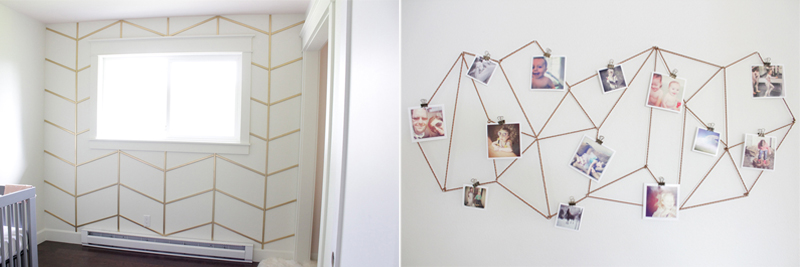
This is Valerie from The Caldwell Project and I’m all about making our home a place to love thru decor and style. The Caldwell Project follows how I’m learning to bring out my home’s style one room at a time. Sometimes it’s slow going (especially with our new baby) but we love the process and especially the final product. I love how each room takes on a shape of it’s own and morphs into something beautiful. With help from the hubs, and a lot of DIY, we try to create our perfect space on a tight budget and enjoy life as we go. Check out a few of our other favorite projects: The Golden Herringbone Wall, Geometric Photo Display, and Command Center.
Speaking of DIY…If I think I can make it, I will try, and that’s how these curtains came along. I spotted a knock off of the Anthropologie Wandering Pleats curtains and knew I had to make a set of my own.
However, I decided to give them a little twist. While at the fabric store my husband joked about making them out of burlap, little did he know the joke would become reality. It was a novel idea and I jumped all over it when I saw how cheap the burlap was, which was a good thing for the amount of fabric I had to buy…7.5 yards for the curtains and 5 yards for the ruffles!
The first thing to do was figure the width and length I wanted my curtains to be. We have a sliding glass door that I wanted to be able to cover, including a 12″ overhang on either side. That came out to be a 93″ span that I needed to cover. As for height, I wanted the curtains to barely touch the floor and be tall enough to hide the molding when they were closed, which put me at 87″.
I began by cutting three lengths of burlap to 90″ each.
FYI: To cut a straight line in burlap pull a thread and cut on the guide line that it gives you.

To get my panels to be wide enough to cover the long 93″ span, I needed to sew two pieces together. So, I cut one of my 90″ panels in half and attached it to a full width panel. That would give me 67″ of width (after adding the seam) for each panel and 134″ combined. Enough to cover the sliding door and have a little extra.

To attach them, I sewed a seam up the two panels with a wide zig zag stitch.

Once my panels were sewn together I folded over one inch on the top (a single fold not a double) and zig zagged it to keep it from fraying. I did the same on the bottoms, but folded over two inches instead of one.
The selvage on burlap requires no cutting and hemming since it doesn’t fray and it’s a nice edge without any writing, in most cases.
With the panels all put together I moved on to the ruffles. These are undoubtedly the show stopper of the curtains and for good reason…they are tedious and time consuming, but worth the end result.
The fabric for the ruffles should be about 6-7 inches wide and about 3 times the length of the curtain. My burlap was 45″ wide so I cut 7 equal widths out of mine to be just under 6.5″ each. The length of the the fabric I cut from was 90″. That meant I would need three strips attached to one another to get my curtain length tripled. I needed two 90″ panels to have enough fabric to make my ruffles and had two strips left over on my second panel.

To attach the 3 strips together I overlapped them about one inch and zig zagged them.

Now it’s a nice looooong piece of burlap to work with.

The point of these ruffles are to be messy, so when you start ironing your pleats don’t worry about perfection. I eyeballed all of mine. Each pleat is approximately 1 inch, some a bit more, some a bit less. Using the steam setting on your iron will give the pleats a nice crease. It’s okay if you end up with more than the length of your curtains, just don’t have less! You can cut the excess once you’ve attached the pleats to the curtain.

When the ironing is done pin the pleats in a few places to help them stay put, take them to the sewing machine, and put a baste stitch down the middle.
Take the basted ruffle and pin it well to your curtain panel. One of the ruffles will cover the seam where you sewed your curtain panels together, and the other ruffle mirrors that.

With the ruffle pinned, you now sew it to the panel. This part can be particularly difficult since there is so much fabric that you are working with. Going slow and making sure your ruffle isn’t moving all over the place is important. This is why pinning well is key.
Once all the ruffles are done (a million hours later) and sewn on, it’s back to the ironing board to make a mess of them. Use a spray bottle to spritz the ruffle and then bunch them up with your hand before applying the iron. The messier the better on this part. And last, with my extra fabric I cut 2.5″ strips for tie backs.
And that’s it…you’re done!


Source list and cost breakdown:
- 12.5 yards burlap – $30 w/ 40% off coupon from Joann’s.
- Thread – On hand
- Curtain Rod – $37.55 from Amazon
- 2 packages Drapery Clips – $13 from Target
Total: $80.55
They are definitely worth the effort and the cost is very affordable!
These curtains have held up wonderfully and look as good as the day I put them up. Here’s how they look now, almost two years later.


———————————————
Thanks for visiting, Valerie! A lovely look at a nice price!
Head over to The Caldwell Project to see more of Valerie’s beautiful home, like this super cute nursery.
[inlinkz_linkup id=450403 mode=1]
Lorene has been behind the scenes here at Remodelaholic for more than a decade! She believes that planning projects and actually completing them are two different hobbies, but that doesn't stop her from planning at least a dozen projects at any given time. She spends her free time creating memories with her husband and 5 kids, traveling as far as she can afford, and partaking of books in any form available.


Great Curtains.. Love the look!!
I Really love these curtains.. Great tutorial!