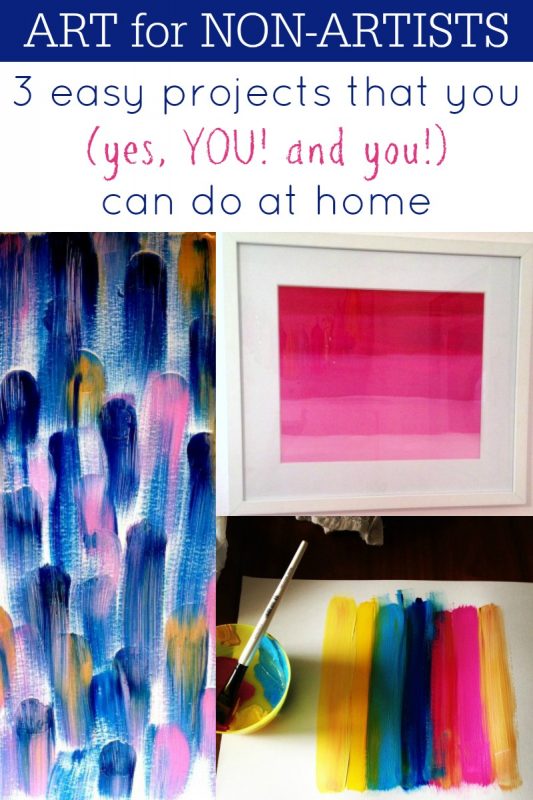
How to Successfully Paint an Abstract Painting

Hello, I’m Tamara, visiting again from Provident Home Design where I blog about design, decorating, and lots of DIY. I was here last on Remodelaholic sharing a simple tutorial on how to build a pedestal accent table. I’m glad to be back today!:-)
It use to be that abstract paintings were associated with a modern style of decorating but these days they are readily incorporated in a variety of decorating genres. Currently, stores such as Pottery Barn, Wisteria, and Ballard Designs all offer abstract paintings to their consumers (and they are not inexpensive).
Do you love the look of abstract paintings? Then you are in luck–this post will teach you how to create your very own abstract masterpiece! There is something very personal and rewarding about decorating a room with art you created with your own hands (and heart).
I am not an artist by trade however I have managed to create a few paintings my home. I recently re-decorated my living room and needed wall art for behind the couch. A large abstract painting was just what the space was calling for.

I reused a large canvas I already had. You can purchase a canvas in a variety of sizes at stores such as Joann Fabrics, Hobby Lobby, and Michaels (hint: print out a 40% coupon to make it even less expensive).

5 Easy Steps to Successfully Painting your own Abstract Painting

1. Choose colors you love
…and colors that are already in the room you are creating the painting for! I learned this the hard way.
Last Spring I fell in love with a painting with bright yellows, bright greens, and white. I worked hard on creating my own version of this painting and then once I put it up in my house I realized although I still loved the painting it wasn’t “my colors”.
I prefer my house to be calm and relaxing where as the bright painting was loud and energizing. Plus the colors didn’t really go with the color scheme I had already going in my family room (very pale yellow, blues, and turquoise). So don’t make the same mistake! Choose colors that you love and make sure they are the same as or at least complement the colors already used in the room.
For this painting I used white, gold, and blues to match the décor already in my living room.

2. Find inspiration.
Before you start, it might be helpful to look around at other abstract paintings to see what you like as a frame of reference or to inspire the design of your painting. For example, I was inspired by this Pottery Barn painting to use a lot of white in my painting and for my paint strokes to move horizontally.

via Pottery Barn
As you can see below my painting is very different than my inspiration painting. I used the inspiration painting only as a jumping off point in creating my own abstract painting.

3. Tissue paper.
I came up with this step when I painted the abstracts for my powder bathroom makeover (and I still love them). It helps to give the painting texture and makes it look more professional.
It involves applying modge podge adhesive with a brush to the canvas and then lying a flat piece of tissue paper over the modge podge and pressing the tissue paper down so it sticks to the canvas.
Below you can see that I have modge podged tissue paper to the yellow and green painting I no longer wanted in order to prep the canvas for creating my living room painting.

As you spread your hand across the tissue it will create ripples in the tissue paper that when painted look like an experienced painters elevated brush (or painting-knife) strokes.

4. Start painting.
I haven’t been very concerned about what kind of brushes or paints I have used for my abstract paintings. I’ve pretty much used what I have on hand. I’ve used a foam brush, I’ve used a paint brush, and I’ve even used spray paint.

Note: Don’t try to use spray adhesive instead of modge podge like I did this time- it doesn’t work!
As you can see below the tissue paper did not adhere as well in the middle of the painting.

After spray painting it blue and gold the tissue paper got so loose that I just tore the middle tissue paper off which left some cool tissue paper debris behind.

For the rest of the painting I used wall paint. I often like to use the wall paint I have on hand because I feel like it is a little thicker than acrylics and I’m use to working with it (since I’ve painted almost all the rooms in our house at least once).:-)
The beautiful thing about paint is that once it dries (or even before it dries) if you don’t like it or if you want to add more dimension you can just paint over it, which leads us to our next and last step.
5. Layer, layer, layer.
The last step to successfully painting an abstract painting for your home is to keep adding layers of paint to your painting until you are happy with it. In the photo below I labeled each part of the painting with a letter. Find the letter below to learn how I used layering to create that specific part.

A- This area was created by the overspray of blue spray paint on the white tissue paper.
B- Same as A but I added white paint over some of the blue spray paint.
C- The line of blue was where I had directly sprayed the blue spray paint. The touch of gold in the line was created by overspray from the gold spray paint. The line accidentally formed when I ripped off the middle layer of tissue paper (proof there can be good accidents in painting).:-)
D- SW Sleepy Blue wall paint was added directly to the canvas in short brush strokes.
E- I sprayed painted the gold directly onto the canvas. Then I carefully sprayed a thin layer of oil-rubbed bronze right above the gold. Then I lightly painted with a brush light wisps of white around it all and SW Sleepy Blue in the right hand corner.

I purposely left some greenish yellow peeking through from the previous painting to add dimension.
F- The gold mark right below the F was creating by spray paint after I removed some of the tissue paper. Then I painted SW Sleepy Blue around the gold mark as well as around the blue and gold tissue paper that was left behind.
G- The gold pieces are tissue paper left behind when I ripped the middle chunk of spray painted tissue paper off. I left some green paint showing from the previous painting. I added a few strokes of SW Sleepy Blue above each gold piece and then lots of white paint around all of it.

H- The right side of H is tissue paper left behind with gold on it. I decided that I wanted the gold line to continue though so I sprayed some more gold directly to the canvas. You can see a dark shadowy area to the left of the H. That was created when I sprayed oil rubbed bronze there. I didn’t like it so I added white paint over it to lighten it. And now I like it. I like how it adds interest and dimension.
I hope you feel inspired to give an abstract painting for your home a try! Remember to add some tissue paper and to add plenty of layers. And don’t forget with painting mistakes are good because you can paint over them and then it just adds more layers and dimension which is a good thing!:-)
I really enjoyed visiting you all today at Remodelaholic!:-) If you would like to view my other two painting tutorial you can Here and Here. And if you are interested in making a frame for your canvas like in the Pottery Barn inspiration photo you can learn, Here. Have a great week!
————————————-
More easy DIY art tutorials:

Hello! My name is Tamara and I am the author of Provident Home Design, a blog devoted to deals, DIY, and design. I'm a big advocate for getting "the Look" for less and love to share lots of tips on the subject! Currently i am turning my builder blah home into my own one (or 5 or 6) DIY projects at a time.


You can buy old paintings at thrift stores and reuse the canvas for your project. Just make sure the painting isn’t a collector’s item first.
Great idea, Pat! Thanks for sharing!!
I absolutely love this tutorial. I have always thought I could do something like this but didn’t quite know how to go about it. I appreciate your step by step guide. Thank you for sharing today!
You are so welcome, Debi! Im excited for you to create your first masterpiece!:-)
This is truly a step-by-step guide that even a beginner like me can try. I also love your tissue paper tip! Very creative and I love the way your painting turned out.
Aww, thank you Jennifer!:-)
You’ve inspired me to create! I love your painting and suddenly have all sorts of ideas for something of my own. Thank you.
Thanks, Sue! Be sure to send us a picture of your creation! 🙂 https://www.remodelaholic.com/share-brag-post/
So I saw your blog this week and i just HAD to do this! I’ve been wanting to paint a piece for my living room but was too nervous about messing up or using the wrong colors. Thanks so much for the inspiration. I already got the supplies. QUESTION: did you use regular cleenex tissue paper or like the ones you stuff gift bags with? Thanks!
Hi, Leis, it is the gift bag tissue paper type! Happy painting!:-)
Thank you so much for the very detailed tutorial. Really really helpful. I might have to try try this even though I am so bad at art!
can’t wait to try this. I never thought to use wall paint. Is it semi gloss or egg shell?
I love this tutorial! This turned out beautiful! I’m anxious to try it myself!
This is Great! Thank you so muc, I feel confident now to try one :)))