How to Build a Tripod Lamp from a Music Stand
How to Build a Tripod Lamp from a Music Stand
Prepare to be amazed!!! Kristine sent this in to feature it, TOTALLY AMAZING recycled project! Don’t you agree? Check out the transformation below! –

Don’t get me wrong, I l-u-r-v-e living in Australia though a word of warning to anyone thinking of moving here (particularly if you’re from the USA). Sure, we might have lovely weather (most of the time), beautiful beaches and kangaroos frolicking about though, you can pretty much kiss good-bye to easily obtainable chalkboard spray paint, tinted wax sealers and Hershey’s Bars (whatever they are) amongst many other wonderful things 🙁
So why the rant? Well, I’ve seen a tonne of really affordable DIY lamp kits readily available from a heap of international sources though do you think I could find any here in Oz?
Course not, though never fear, there’s always a longer, frustrating, more expensive way around these things 🙂
Anyways, enough venting and on with the actual project.
There are many different ways you can create your own custom lamp so for the purposes of this tutorial I’ll focus on how I did it.
Of course, depending on which country you’re in electrical components may vary and I do gotta say that technically any wiring should be undertaken by a qualified electrician – technically 🙂
So, you will need….
Something to form your lamp base:
")
On a recent thrifting adventure I found this really cool old music stand for just $6 and knew straight away I wanted to try a lamp conversion. It has a wonderfully grungy patina with crud and rust in all the right places:
")
And the following items (all available from pretty much any hardware store)…
A lamp switch:
")
A power outlet head:
")
A length of power cable:
")
The steps….
1. I removed the sheet music holder from the top of the tripod which left a nice hollow shaft perfect for housing the power cable.
2. To securely attach the lamp switch to the tripod, I first inserted the plastic thread (which comes with the lamp switch as shown above) into the top of the shaft and glued it firmly in place (you can see what I mean by this in one of the following pics).
If your lamp base won’t easily accommodate the plastic thread then put your thinking cap on for a way to make it work.
When faced with a conundrum like this, I usually just browse the hardware store isles til I find something I can adapt.
3. Once the glue dried, I inserted the power cable into the hollow shaft so it protruded from both ends.
4. I wired and attached the power outlet head to the rear end of the cable as per the packet instructions.
")
If you’re lucky enough to have a lamp kit this step is already done for you.
5. I wired and attached the lamp switch to the top end of the cable as per the packet instructions and screwed it onto the glued-in thread.
")
Because the thread would only fit into the fat section at the top of the shaft, half of it was still visible once the head was attached (as can be seen above). I could have cut it down though instead decided to keep the extra length for greater stability and simply wrapped it in some twine as a camouflage.
")
6. I inserted a globe, turned the power on and crossed my fingers…it worked! I was momentarily blinded by light – mental note, do not stare at bulb in anticipation during testing!
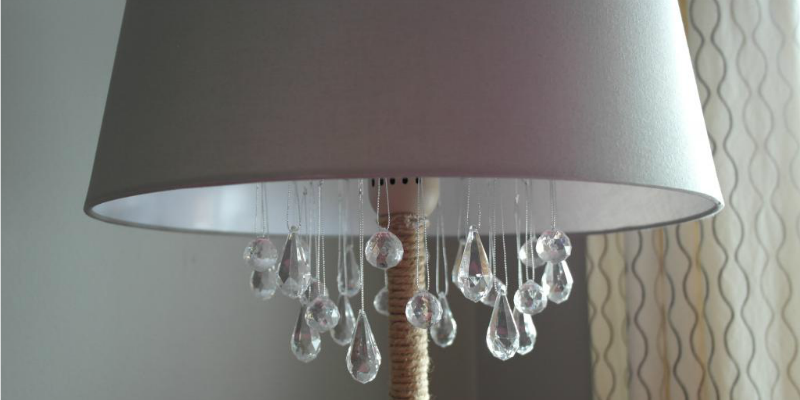
7. To finish I simply added a budget K-mart linen shade.
Course, if you are lucky enough to have a DIY lamp kit then this project gets a whole lot easier.
Sooo, from this:
BEFORE
")
To this:
AFTER

I love this lamp…even though I don’t really have anywhere to put it at the moment 🙁
I especially like that the upper shaft and tripod base are both adjustable so the height and splay can be easily altered to best suit its chosen location. I’ve rarely seen industrial style tripod lamps like this selling for under $150 so for around $30 I’m pretty chuffed with my little re-invention – if I do say so myself 🙂
Oh, and I’m also loving my new green enamel alarm clock I picked up on the same thrifting adventure for just $5.

Even if it doesn’t work!

Cassity Kmetzsch started Remodelaholic after graduating from Utah State University with a degree in Interior Design. Remodelaholic is the place to share her love for knocking out walls, and building everything back up again to not only add function but beauty to her home. Together with her husband Justin, they have remodeled 6 homes and are working on a seventh. She is a mother of four amazing girls. Making a house a home is her favorite hobby.