How to Build a Newel Post
Sandra @ Sawdust and Paper Scraps!!
Trying to reach my goal of finishing EVERY project on my list so I can sell this house and move…


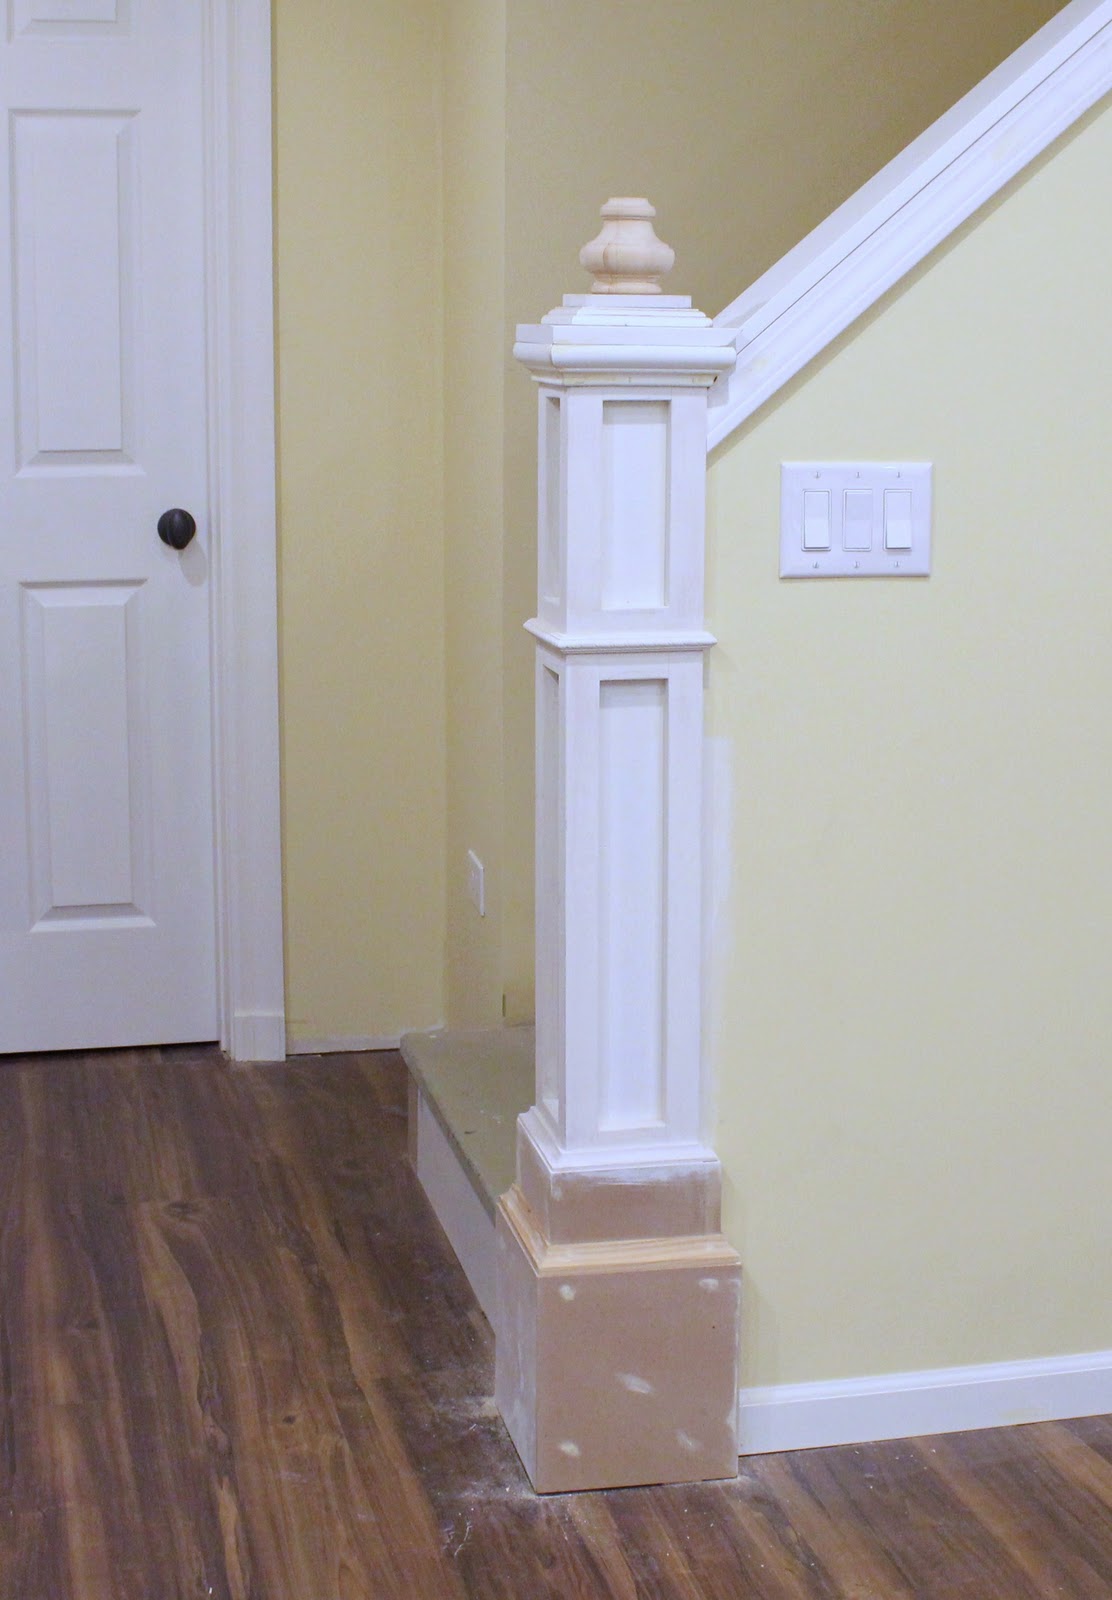
- I nailed and screwed two 2×4’s onto the end of the wall
- Covered that on 3 sides with MDF
- Primed and painted that.
- Added some more MDF on the bottom to “stack” the base.
- Added some 1×2 pine (just cut and nailed in place…no fancy joinery or anything!)
- Added some moulding
- Primed and painted that!

8. Topped it off with a piece of MDF (making sure the top would extend over the edge far enough to cover the crown moulding I was going to attach.)
9. Added a small Crown moulding.
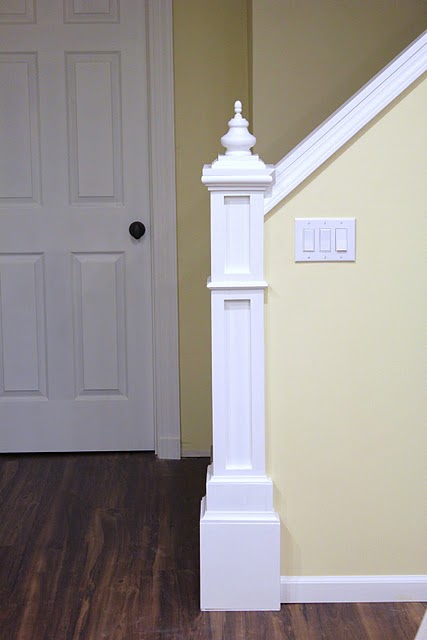
10. Added some more MDF, moulding and a finial on the top (because I thought it needed something more.)
11. Added another, even smaller finial to the first finial because it was flat on top and I thought it looked weird being flat!
12. Primed what needed to be primed and painted everything again!
Cassity Kmetzsch started Remodelaholic after graduating from Utah State University with a degree in Interior Design. Remodelaholic is the place to share her love for knocking out walls, and building everything back up again to not only add function but beauty to her home. Together with her husband Justin, they have remodeled 6 homes and are working on a seventh. She is a mother of four amazing girls. Making a house a home is her favorite hobby.


>Wow, I am the new blogger on the block and I am in awe… at all the DIY women out there. Inspiring and amazing.
>Wow this looks wonderful! I'm trying to think of where I have a stairways to put this! Maybe the basement….lol
>I'm a new follower of your blog! I can't believe it took me this long to find you! Your house is gorgeous and all your ideas, wow! I am going to poor myself another cup of coffee an start reading!
Love Sandra! Talk about amazing talent!
Megan
https://1funkywoman.blogspot.com
>That looks fantastic!
>Gorgeous!
>SOOO nice. A transformation of a very common design dilema. Very good use of material for the overall effect.
>It looks great! You make it look so easy to achieve. Now I'm longing for a staircase to give it a try. Keep on! not so much on the (this) list to go. IAMSNWFLK – https://dondehogar.blogspot.com/
>Are you serious?! This is so stinking cute!!
>Wonderful! I need to make a list too…
>I love your stair rail thingie. Very pretty!
>That is one of the coolest things I've seen!! Wishing I had a stair case…
That sure took it up a notch ,from dull to classy looking
Love it ,great job !