Easy Slide-Out Under Cabinet Storage Drawers

Hi everyone! It’s Jill from The Rozy Home!
Over the last few months I have been wrapping up a project that I’ve been working on for 5 years – the kitchen (check out the reveal here)!
After making a lot of poor design choices I decided to just wait until motivation struck me. It (finally) did and now I’m loving my new kitchen!
One of my favorite projects in the kitchen had to do with storage. For years I have loved pull out storage drawers – especially under the sink. I did a bit of research and the absolute best price I found for the wood drawers was around $100/each! I headed to a retailer to look at them to see if it was worth the price. The largest size offered still wasn’t wide enough and I decided that if I wanted them in 7 cabinets, $100/each was a bit too much for something that wasn’t really what I wanted. At this point I did what I normally do. I looked it over and realized I could make these easy peasy. I grabbed a few materials then headed home and knocked out the project in less than an hour. Even better it was 1/2 the price of the ones sold in store!
To build this size, I spent around $45.The majority of the cost came from using good wood; the sliding drawer hardware was only $8. The plywood was $12; the the side pieces were $20 and the dividers were around $8. If you’re looking to save money, you could use an MDF base and less-expensive common board. But if you know me, I spend more on quality materials to make my projects last longer. This is my forever house and something like that (that gets used so often as is in a wet environment) needs higher end materials. But again, you could use 2x4s and MDF and make it for around $20.
How to Build Slide-Out Under Cabinet Storage Drawers
Note: I made my pull out drawer 28 1/4″ W x 21 1/2″ D. This was the widest and deepest I could make it and still clear all plumbing, cords and the door opening. If you want to do this under your sink, make sure you account for plumbing when determining the size. For pull out drawers for pots and pans or small appliances (like this) you simply need to measure the width of the door opening and the depth of the cabinet. After measuring, adjust the materials as needed.
Materials
1 – 1″ x 4″ x 10′ Select Pine Whitewood Board
1 – 1″ x 3″ x 6′ Select Pine Board
1 – 1/2″ x 2′ x 4′ Project Panel
22″ bottom mount drawer slides
Brad nailer or wood glue
Instructions
Step 1: Cut your plywood panel to size
Determine the overall size of the pull out drawer you would like and subtract 1 1/2″ from the width and depth. For my drawer this equaled 26 3/4″ W x 20″ D. Cut the panel to size.

Step 2: Cut your side pieces
You can either cut each end of your 1″ x 4″ x 10′ side pieces with a 45 degree miter or simply butt the wood end to end. If you cut them with a 45 degree angle, cut your side pieces 1 1/2″ longer than the width and depth of the pull out drawer. If you butt them up end to end, you will cut you vertical pieces 1 1/2 inches longer than the width of the drawer, and will cut the horizontal pieces to the exact depth of the drawer.


Step 3: Attach side pieces to plywood
Using either a brad nailer or wood glue, attach the side pieces to the plywood base.


Step 4: Cut your dividers
Cut the 1″ x 3″ x 6′ to the depth of your drawer minus 1/8″. For my drawer, this was 19 7/8″. Doing this allows the divider to sit snugly inside the drawer and allows you to move it as needed. For the horizontal dividers, this is entirely based on your preference. I opted for 12 1/4″ and 13 1/4″.


Step 5: Optional step – Paint or stain the pull out drawer
I painted my drawer white but you could easily leave it natural. It’s totally personal preference.
Step 6: Optional step – Line the drawer using contact paper
I opted to do this for two reasons: It gave me a bit of a barrier between the wood and the products and it made it pretty. 🙂

Step 7: Attach your drawer glides
Normally I would tell you to follow the manufacturers directions, but if your glides are like mine, the directions were a bit hard to follow. Basically, you attach the drawer bracket to the drawer and cabinet bracket to the bottom of the cabinet. Which is which? I found this handy graphic from Home Depot that explains it.

Step 8: Add your dividers and attach the drawer to the glides
This one is pretty self explanatory. After putting your dividers in, attach the drawer to the cabinet glides, fill your pull out drawer with products and enjoy!


I have absolutely loved having this under the sink and am already working on making more for the other cabinets (for pots/pans/appliances). All-in-all, the project took me a little more than an hour (mainly because I had to wait for the paint to dry). Of all of the projects I’ve done in my home, this has been one of the most useful! Easy and useful – the best kind of projects!
Just think of all the possibilities with these easy drawers — pots and pans, tupperware, linens — check out more ideas here.

—————————————
More cabinet storage ideas:

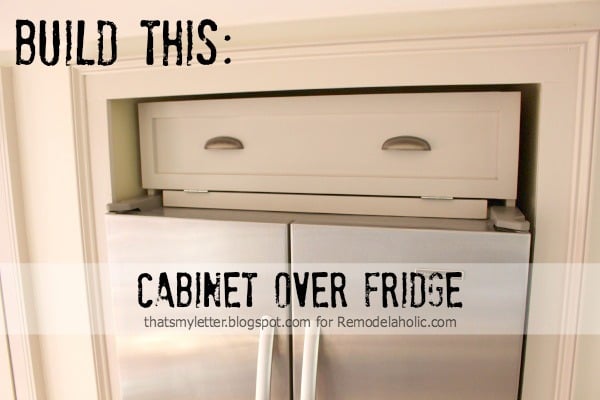
add a cabinet to an awkward opening
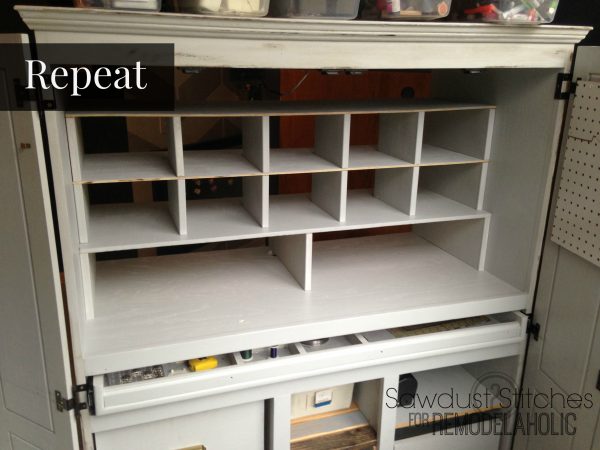
add custom cubby shelving to a cabinet
Jill has been working for years to make her house into her forever home. With a love of high-end details, Jill works to recreate a high-end look on a DIY budget.
get the reader favorite
Cleaning Binder & Custom Cleaning Calendar
This 18-page editable cleaning binder printable pack will help you establish a cleaning schedule based on the custom tasks you actually need for your home. From the spring cleaning checklist to everyday cleaning recipes, this printable set is great for kick-starting a cleaning routine and staying on task with annual and semi-annual tasks, too.


Wow, you make it look so easy! I gotta say the cabinets under my sink could most definitely use something like this – it’d make easier for me, with shorter arms, pull out stuff from the back much more easily. Thanks for sharing!
Hi Jordan! It is easy – PROMISE! To be honest with you, I was shocked at how easy it was to make. It’s been great because it keeps things organized and I can find things easily!
You did an amazing job! We got lucky with out house because all the lower cabinets (except for the sink cabinet) have the pull out drawers. Since we don’t have one under the sink I may just have to do something like this, thanks for sharing! Heading over to see your kitchen reveal post now!
Awesome! I may try this myself. What kind of saw/ brand did you use to cut the boards and what brand of brad nailer? Thanks!
We got a quote from a professional company for them to install the pull out drawers for our pantry and it was crazy! It was near $2000.00! I can’t believe I even considered it after seeing this post now. Thank you for the inspiration and making it seem possible.
I have a couple of cabinets that are really wide, too wide for 1 pull-out drawer. How would I make it into 2 pull-out drawers? For example, the 2 doors to the cabinet open in the middle?
I’m having trouble visualizing the glide part – can you show what the underside of the drawer looks like? Thanks!
Hi, Rozy, thanks for your post! I have always been into home organizing, so I love posts, such as yours. I am trying to figure out how to make a slide-out drawer/tray for my adjustable 3-tier wire Shelf (looks something like this:
https://www.target.com/p/adjustable-3-tier-wire-shelving-black-room-essentials-153/-/A-13892292?ref=tgt_adv_XS000000&AFID=google_pla_df&CPNG=PLA_Storage+Organization+Shopping&adgroup=SC_Storage+Organization&LID=700000001170770pgs&network=g&device=c&location=9030943&gclid=EAIaIQobChMItoLggYmm2gIVT4J-Ch1orwvhEAYYCSABEgLncPD_BwE&gclsrc=aw.ds
I would love to start building and making things, except my current home is not my home and the owner would not like for me to start building and renovating the place. In order to do something with storage and pantry options, I placed that 3-tier shelf to solve my problem, except it only fits in one location — and only sideways. The result is that I either have to remove everything on the shelf to get what i want in the back or just store things in the back that I currently don’t need (and forget about it and grudgingly remove everything in the front again to get to the back). I love your idea about the drawer, and I would love to assemble some kind of slide-out tray (so to reach easier with the things in the back). The problem with attaching the drawer glides is that the shelf doesn’t have anything to cling onto, except for the four metal poles in the corner. What do you think of this? Can you help me find a solution?
Much thanks,
M
Oops! Jill from the Rozy Home 🙂