Dresser Redo From Wood To White
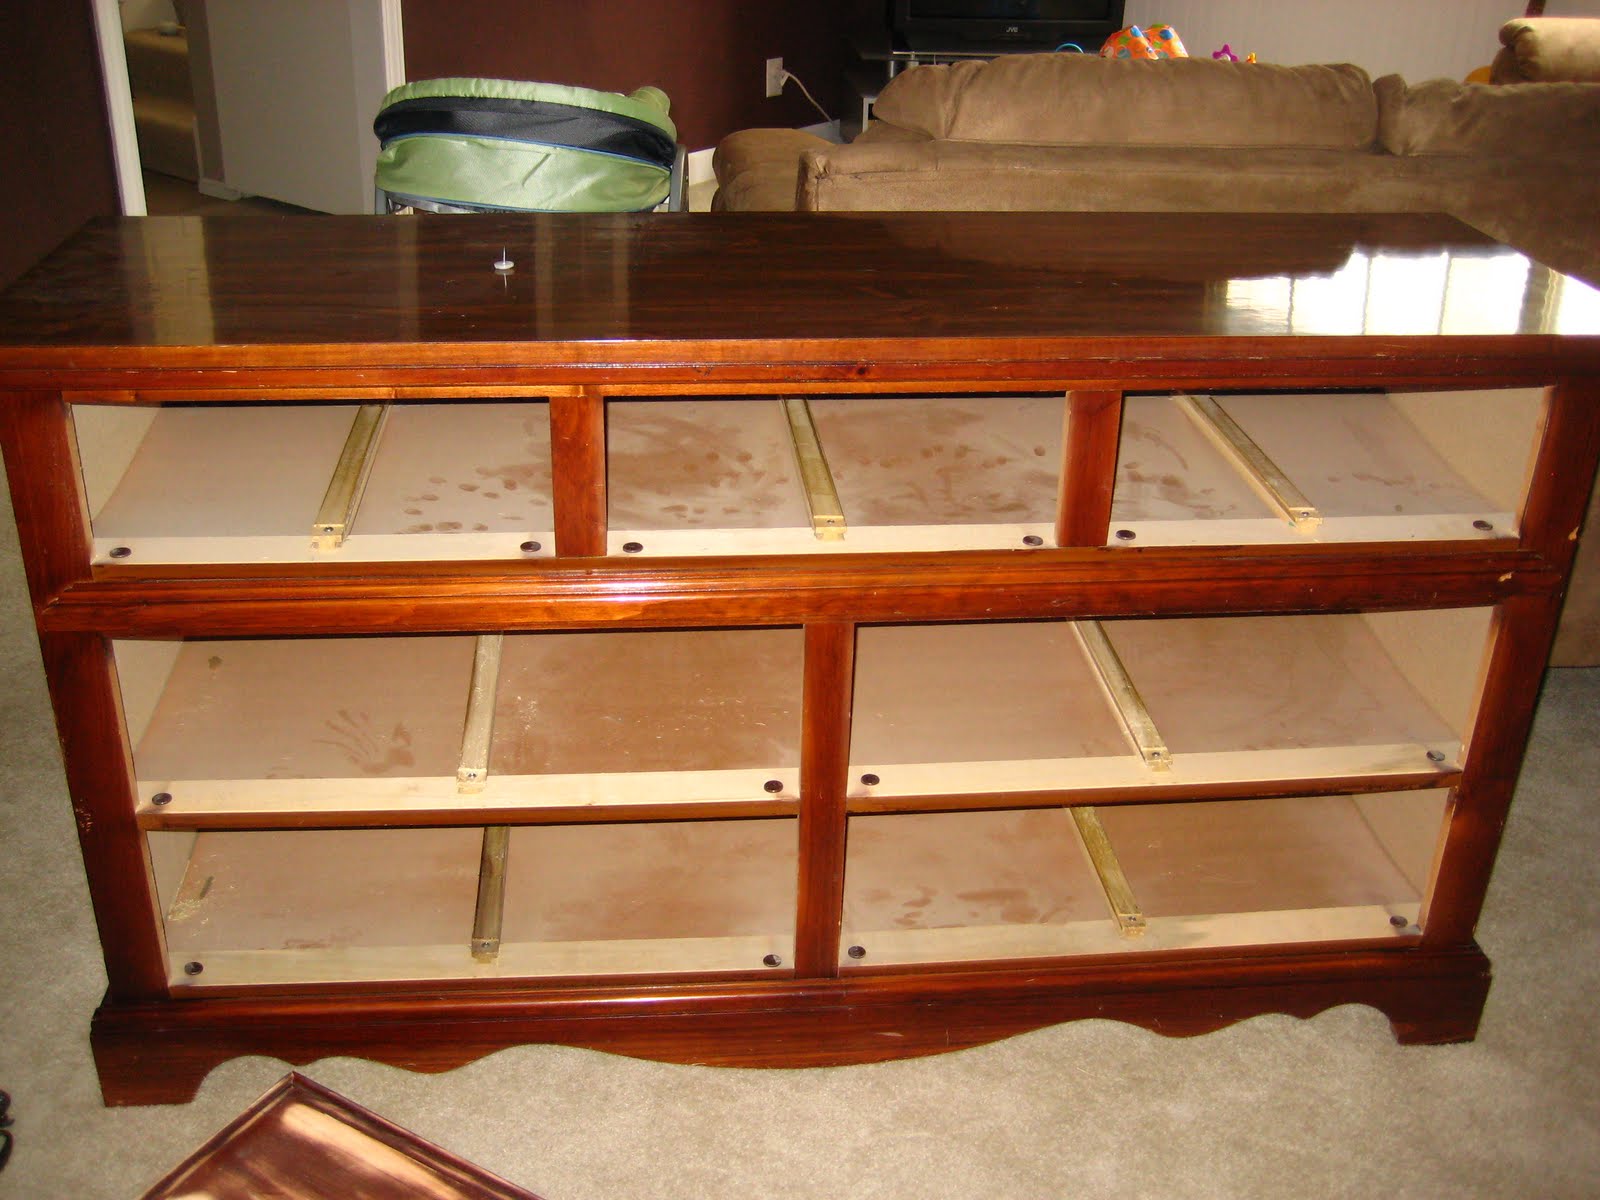
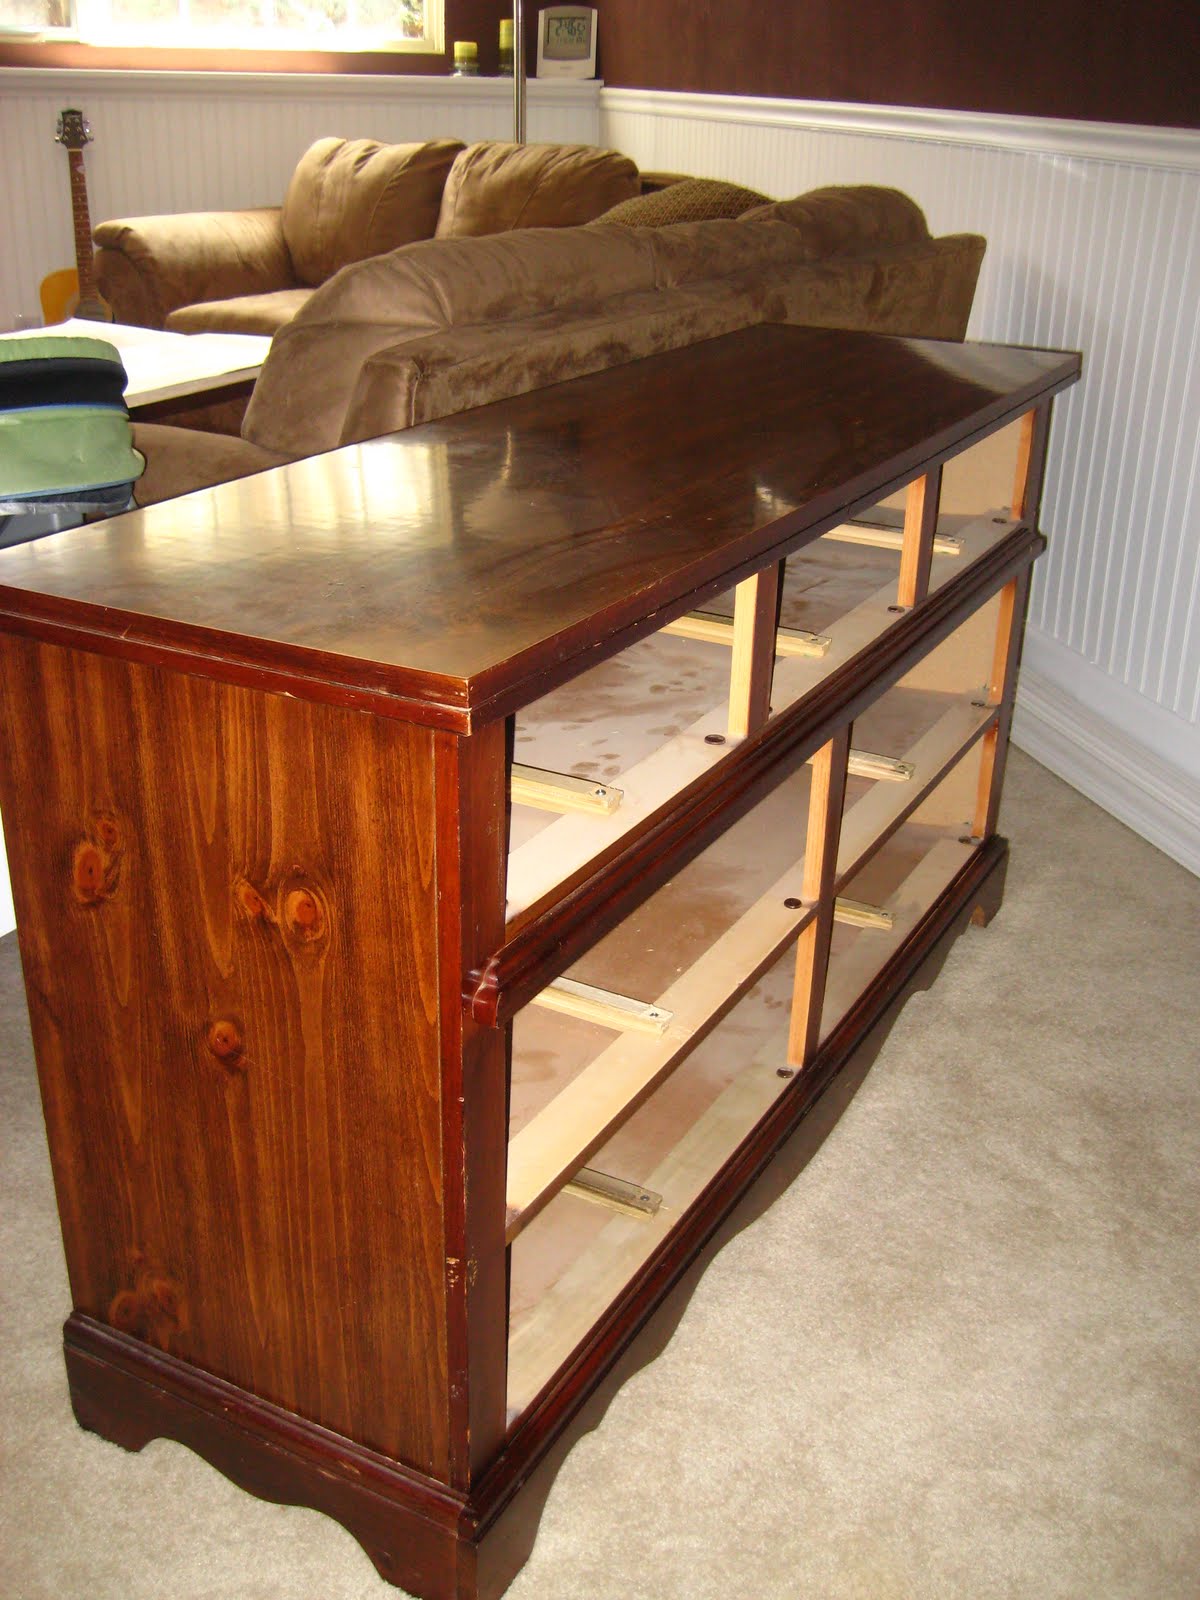
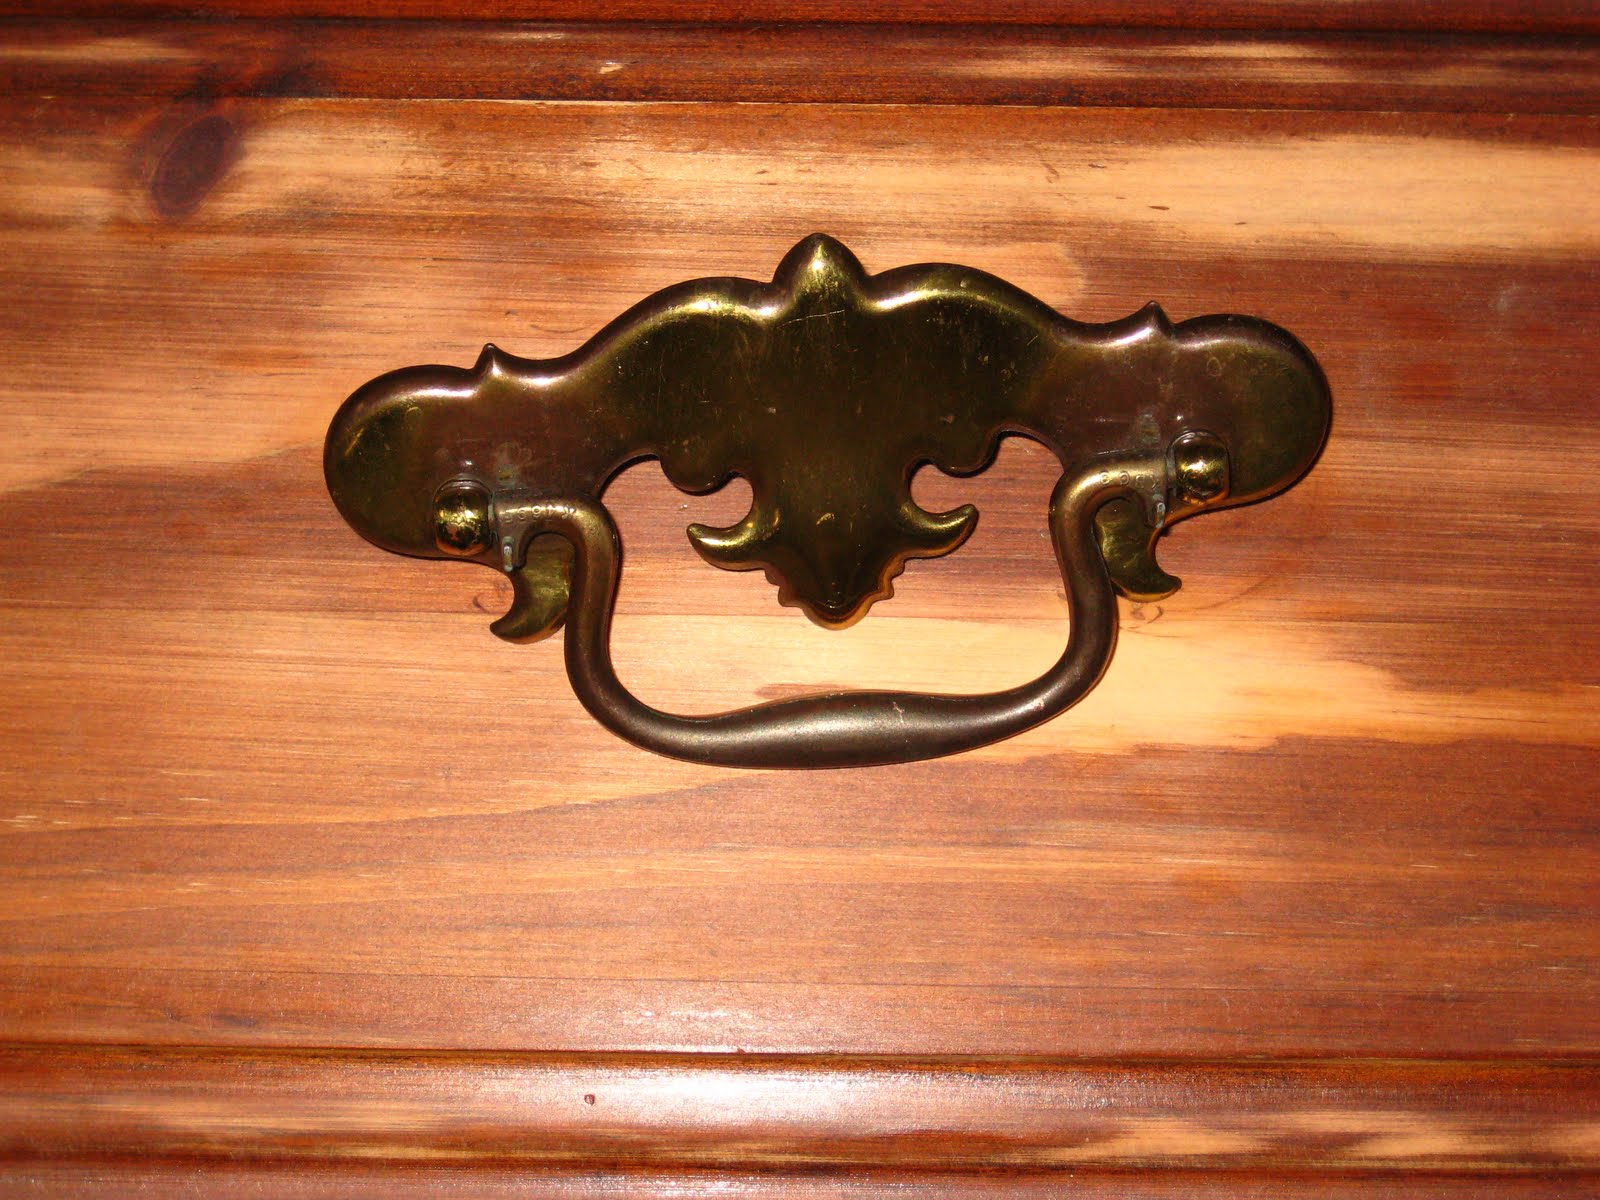
It’s finally finished! Our $30 craigslist purchase made back in April for our son’s bedroom. It took what seemed like forever for us to find matching hardware that we liked and that would fit the holes. The problem was that the small drawers holes are 3 in. centers and the big drawers are 4 in. centers. Most hardware only comes in one or the other, but we eventually found some online and are so pleased with the way they look. I was a little nervous to order something like that without seeing it in person first, but it worked out and I couldn’t be happier with the finished product. So, first we’ll take another look at the before pictures and then the reveal of the after!
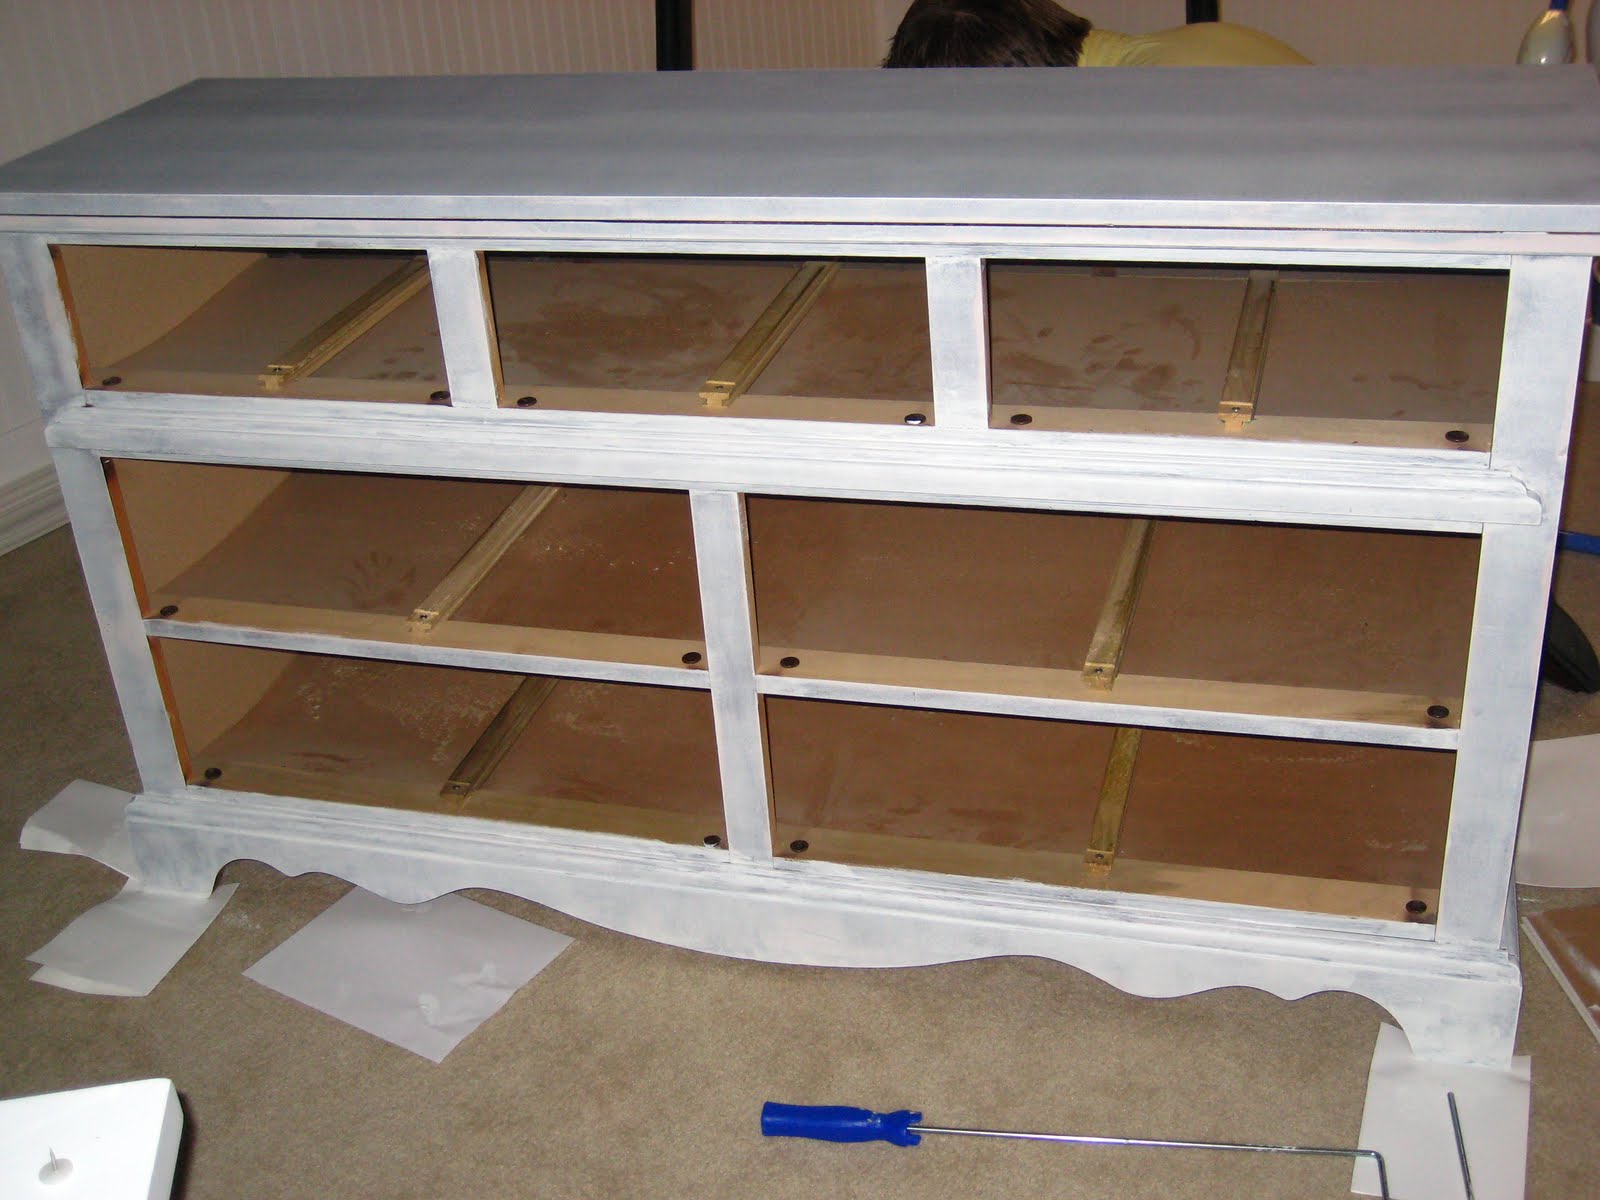
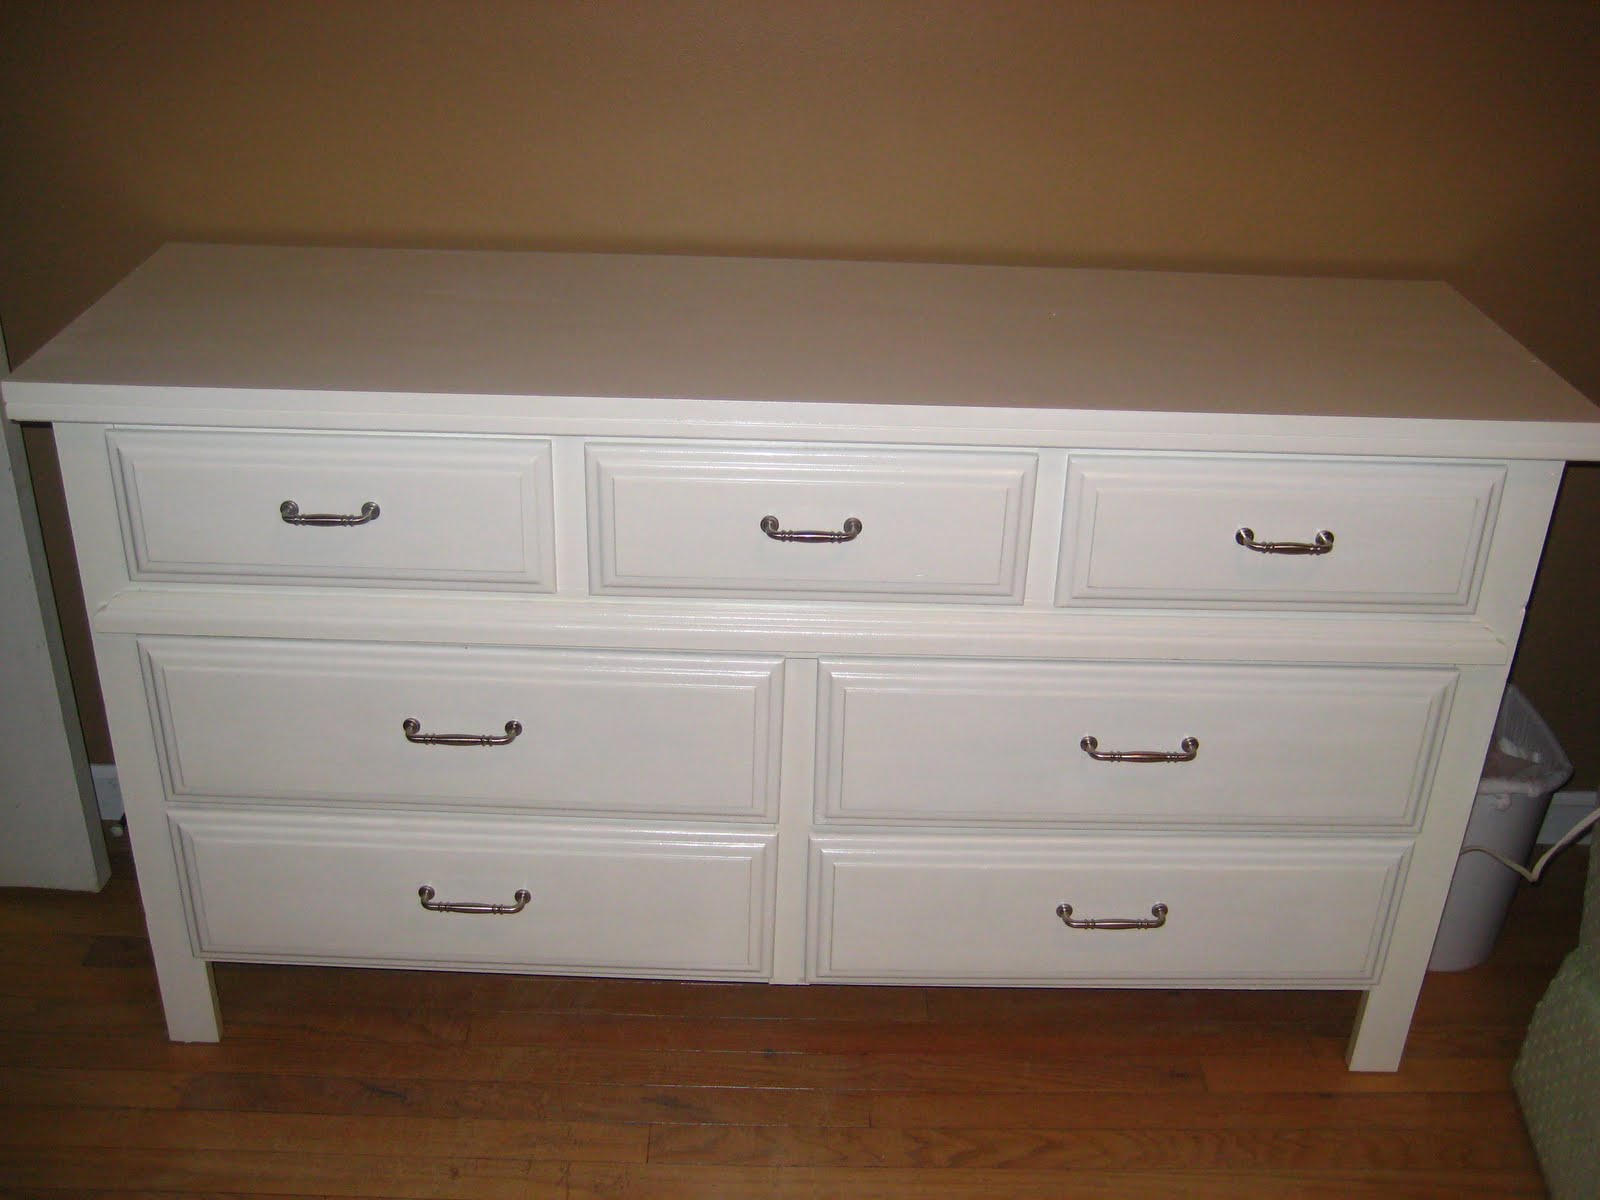

This project took longer than anticipated due to the problem finding hardware that would work and that we both liked, but now that it’s in the room, it was worth the wait. This is my first big redo and I’m so proud of the way it turned out! I hope you like it too! I can’t wait for the next one!
Here is the cost break down:
Dresser $30
Hardware $38
Total Cost: $68 I love a good deal!!
Cassity Kmetzsch started Remodelaholic after graduating from Utah State University with a degree in Interior Design. Remodelaholic is the place to share her love for knocking out walls, and building everything back up again to not only add function but beauty to her home. Together with her husband Justin, they have remodeled 6 homes and are working on a seventh. She is a mother of four amazing girls. Making a house a home is her favorite hobby.


>Looks great. I love the hardware you found. Is the top of the dresser wood? It looks so shiny in the before picture. We have a dresser that we redid that has formica on top and ended up leaving the top alone.
>awsome and GREAT deal!
>We have two dressers just like this, and we are wondering, how did you get the straight legs? They look taller than the original! We have a pair from when my hub was a kid and would love to update them for our girls' room!
>This looks so great! Love it! <3
>Pearl, the top of the dresser was veneer and was super shiny, but we just sanded it down really well with 200 grit sandpaper to get rid of the coating. It worked great.
Stephany, the straight legs were just behind the decorative trim. However, once we removed the trim, the center did sag just a bit, so my husband attached a small block of wood to the bottom of the dresser and that did the trick!
>Can you tell us WHERE you got that hardware and what it's called? I have TWO dressers like this and I want to change them both out to painted, and the pulls you picked are perfect!
THANKS
A Little late!!! But helpful post!…If you still out there…:
How did the process of taking off the bottom trim go for you? I bet if I turn my dresser upside down I’d probably view a pretty easy answer…but just starting research now. I dislike the decorative bottom part on my dresser
and it just like the “before” on your dresser.
Thank you!