DIY Mirrored Closet Door Makeover
DIY Mirrored Closet Door Makeover
Submitted By The Savvy Stylist

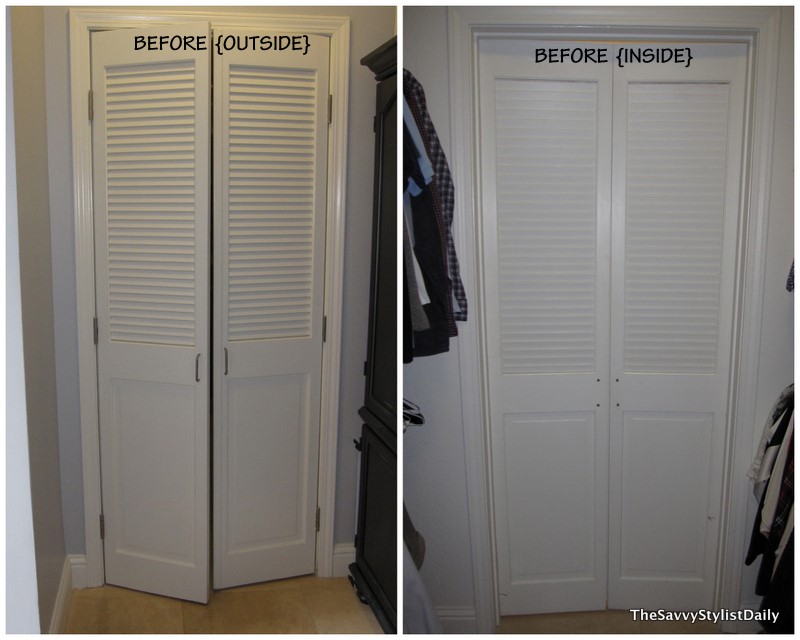
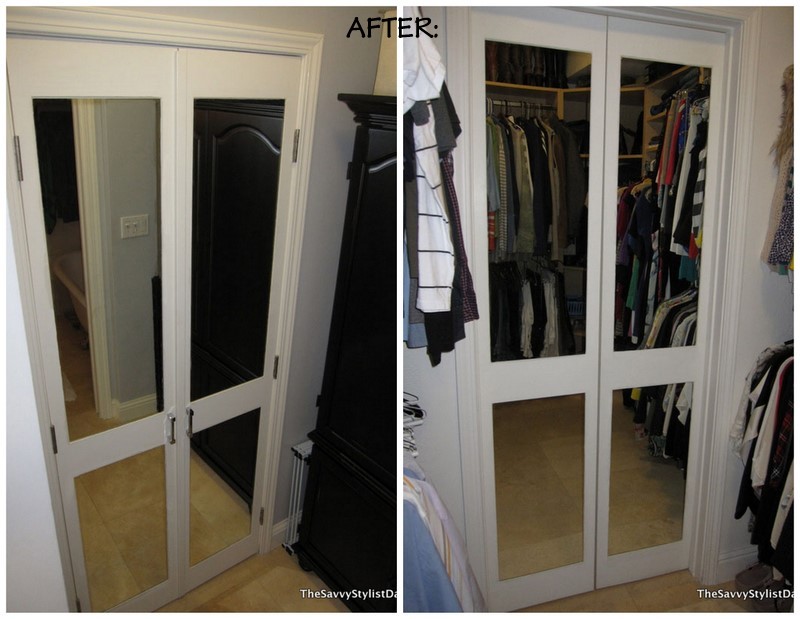
For the past 3 years, our master closet doors have been on my To-Do list for our condo. The doors were half louvered, half solid, and had blah hardware. I had called a few local places and searched the web to find doors to replace them. Apparently the door sizes were not in stock anywhere and would have had to be custom made – which we all know what that means! I was quoted $300…PER DOOR!!! Uhhh, no thanks!


 This project was contributed by one of our fabulous readers! We love to share your projects with this great blogging community. So, if you have projects from kitchen renovation ideas to small bathroom remodels, overhauled and repurposed furniture, spray paint updates you name it please send it in! Thanks for reading Remodelaholic!
Cassity Kmetzsch started Remodelaholic after graduating from Utah State University with a degree in Interior Design. Remodelaholic is the place to share her love for knocking out walls, and building everything back up again to not only add function but beauty to her home. Together with her husband Justin, they have remodeled 6 homes and are working on a seventh. She is a mother of four amazing girls. Making a house a home is her favorite hobby.


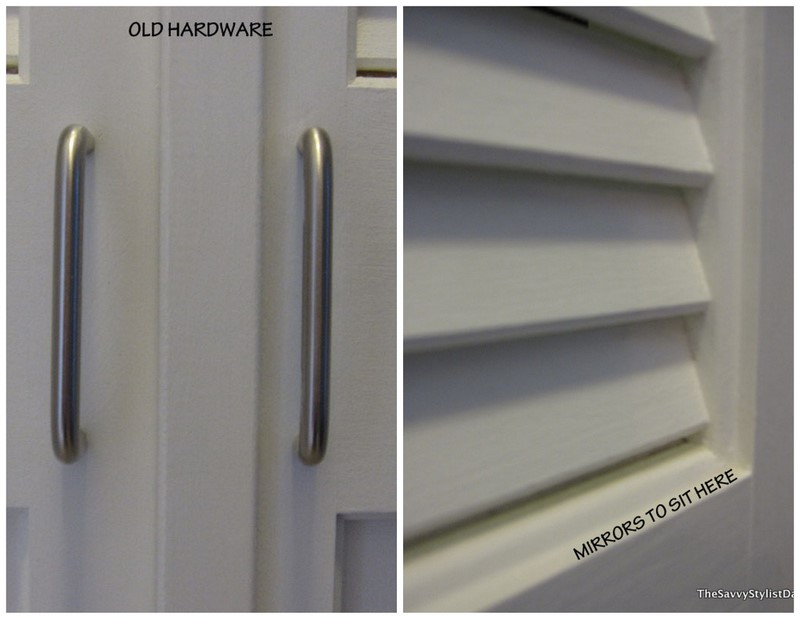
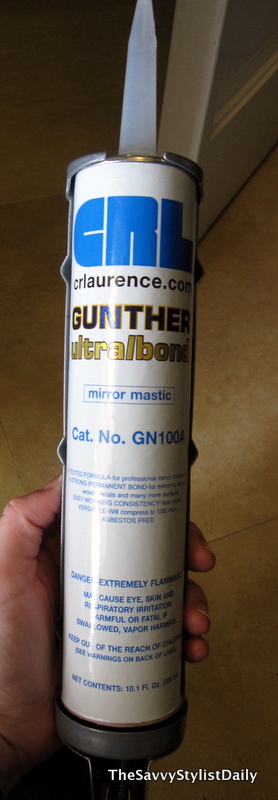
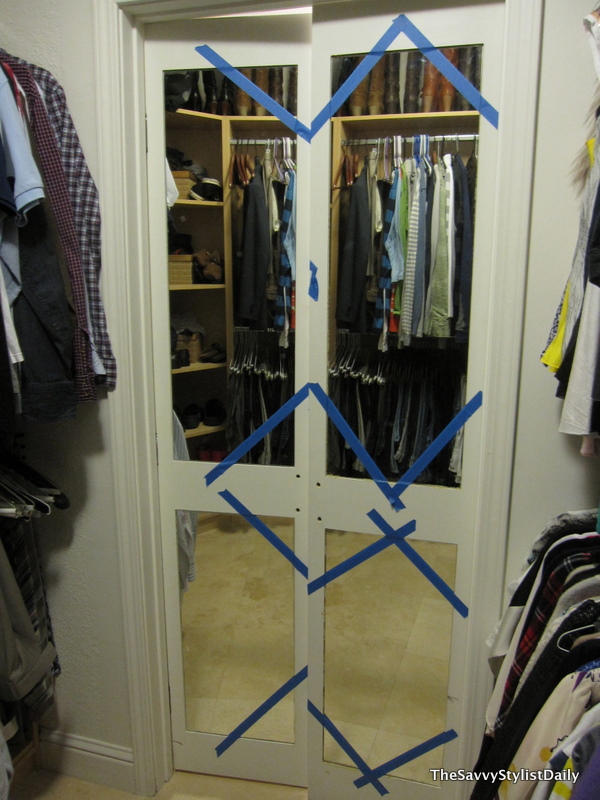
I have been dying to redo our louvered doors too. We have a condo w/ the laundry space right off of the kitchen. The louvered doors make it lok too dated. I have a question: How did you get the mirrors to stay once you removed the louvers? It looks like you installed a piece of wood after you took out the louvers. Yes? If not, what did you stick the mirrors to? Each other? I see in one photo that you put caulk all over something.
A super interesting series you have layed out on doors. I don’t think you missed anything in this article. It is well presented and the door photos are superb.
Did you remove the louvered part or did the mirror glue too it?
I think you missed a step…did you get rid of the louvers and if so what did you glue the mirror to. Thanks.
Hi Suzanne, This post is from a guest but I believe she left the louvers and just glued the mirrors over the top. The photo shows the mirror being glued to the bottom non-louvered part of the door.
Thank you, that helps a lot. Much easier to leave louvers.
I agree!
where did you purchase the mirrors?
You can purchase inexpensive mirror at Lowe’s. I covered two large 8 drawer dressers. They would have cost me approximately $4,600 for each if purchased from a furniture store! You can find the mirror sheets where they cut glass and plexiglass. I bought atleast 2 of the largest size and had them cut to fit my drawers. I brought the face of the drawer in for an exact measurement. FYI… you can dull the razor-sharp edges with a few passes of sandpaper to prevent cuts.
Thanks for the tips, Tracey!