DIY Metal Table Top Tutorial
Using different metals and metallic finishes in decorating is compatible with many different styles — it can be sleek and modern, aged and vintage, gold and glam, or somewhere in between by adding an industrial edge. Using metal in an unexpected place — like this metal table top console upcycle and the earlier metal accent wall — is a great update to add a modern touch to a classic look:


or a patterned wood overlay (tutorial from Southern Revivals)

or learn how to make a solid tabletop look like a vintage planked tabletop from Maison de Pax!

DIY Metal Table Top
by Emily from Table and Hearth

We had a boring and cheap dark wood entry console table area that was just not cutting it anymore. There was just too much brown: wood table, wood art, wood mirror, tan/beige accessories…so I decided to paint the table. Somewhere between deciding on the color and getting started, I saw a metal-topped dining room table and a lightbulb went off to put a metal top on it! I did a little more research but there really weren’t a lot of detailed tutorials so I was just going to have to wing it.

I was afraid I would have to go to a metal fabricator since most of my inspiration photos went that route, but I figured I’d check and see what I could find first at our big box store. I found 2’x4′ sheets of various metals: aluminum, galvanized, stainless steel, perforated aluminum, brass, etc, but they were all mixed up so it was hard to tell what price was what (some of the sheets were $77!!). I got the aluminum which the thinnest one available.

To adhere it, I generously squirted Liquid Nails all over the top, then placed the table top-down onto it, lining up the edges (make sure and put a towel down first so that the metal doesn’t get scratched up if you have hard floors). The table was just as wide as the sheet so to cover the smaller ends, I had to go back and get two smaller 12″x24″ pieces. I’m so glad our store had all of this and I didn’t have to go to a fabricator!

I let the table sit like that for a few days to make sure it was stuck well, and I painted it while it was like that. I REALLY didn’t feel like sanding this thing so I gave in and finally joined the chalk paint train. I put one coat of Annie Sloan “Graphite” on the table and, while I got some Napoleonic Blue too thinking I would mix them for the second coat, the Graphite came out with such a blueish tint to it that I loved it and just went with all Graphite (and clear wax).
Then it came time to start bending the metal around the sides. I got the thinnest metal there was but it still took some muscle to bend it cleanly around the edges. I used a rubber mallet to help if it needed it, although it made dents if I wasn’t careful.

To attach the sides, I initially thought a heavy-duty staple gun would work for the underneath but they wouldn’t go through the metal. So, I was going to have to drill pilot holes and nail it all down. Back to the store. I totally scoffed at the employee when he said I’d need something called a center punch but it was definitely an essential part of this project! Without the punch, the drill bit just spun around on the metal, scratching it. So, I made a dent with my punch, then pre-drilled a hole with a 1/16″ bit and hammered in 3/4″ x 16 gauge nails. The front didn’t need trimming so it was a nice clean edge, but the back had no lip so the metal had to be trimmed with metal snips that left a pretty jagged edge (which I was injured by a number of times…wear gloves!!!). I hammered the sharp parts down but will put a small piece of trim or something over it down the line.

For the ends of the table, I measured how much of an overhang would give me a clean fold-over, and let the rest overlap the top, attaching by nails which would look like rivets. I clamped the sides on, marked where they needed to line up, then Liquid-Nailed them on and put the table on its top again overnight to make them stick. They did pop up a little, no biggie to me though. I marked all my nail holes for the top seams then nailed a few in to make sure the pieces stayed put while I cut and bent the edges.

The corners were pretty rough from trying to trim them to fold so, after failing to find corner brackets that fit at the store, I cut some scrap pieces of the metal to use and nailed them on. Everywhere I had to drill into two layers of metal, it took a good minute or so to pilot drill for each hole so just be patient with it. I did not treat the metal with anything to “age” it. I just lightly sanded it all with fine steel wool.


Oh man how I love those “riveted” seams on the top!!!


Materials for the top:
Metal sheeting – one 2’x4’ sheet, two 1’x2’ sheets – $50
Liquid Nails Heavy Duty- $3/tube
Automatic Center Punch – $10
Drill bits – three 1/16” – $2 each
Wire nails – ¾” by 16 gauge – two boxes – $1.50 each
Rubber mallet
Gloves
Tape Measure
Sharpie marker
Total spent: around $80

So although my simple “paint the table” update turned waaayyy more complex, I’m pretty proud of it! All the speedbumps I worked around, the dozen and a half trips to the store, and all the cuts, it all worked out in the end and it looks so good! The brightness of the metal makes the space look bigger and the hint of blue in the paint is just right. No more brown blob! I am so glad I didn’t just paint it cause it really feels like a new unique piece now 🙂
———————————-
Emily, thank you so much for sharing with us! Such a big difference!
Visit Emily over at Table & Hearth to see more of her home, like her pergola and diy industrial pipe shelves.
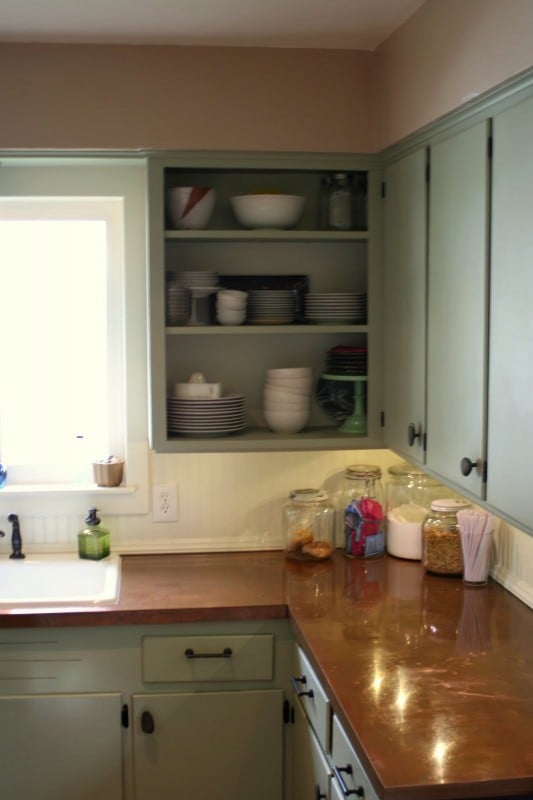
And did you know you can use the same metal-wrapping idea for your countertops? Head over to this steel kitchen countertop tutorial:

or create the same idea with copper!
Lorene has been behind the scenes here at Remodelaholic for more than a decade! She believes that planning projects and actually completing them are two different hobbies, but that doesn't stop her from planning at least a dozen projects at any given time. She spends her free time creating memories with her husband and 5 kids, traveling as far as she can afford, and partaking of books in any form available.


Wao, Great effort but the best result 🙂 thank you for sharing with us!
This idea would be fabulous to use on a kitchen Island. I’m also thinking our entranceway could use some sprucing up. Love that metallic glam! My 5 year old is into all things kitchen so I’m nagging, ok, hmmmm, maybe I can think of a better work, encouraging him? to make her her own countertop where she can use all her pretend food and appliances. Maybe he could use the scrapes from the entranceway project to make her her own little kitchen countertop! She’d be so excited.
What a fun idea! I love mini-sized kitchens for kids.
O…M…G! That looks great! I have been trying to find a frosted glass table top for some cabinets I am repurposing in my dining room. This may be a better option!