Dining Room Remodel: Guest
Katie @ Lucky In Love is showing off her new dining room remodel.
when we first moved into our house, i knew which room had to be altered pronto. our dining area. the people who owned the house before us didn’t exactly have bad taste, just very different from our own. call me crazy, but i wasn’t interested in an octopus chandelier, merlot mixed with band-aid tan, and a chair rail for midgets. the one thing the dining room had going for it was lots of great natural light. also, we were super lucky to inherit these faux white wood blinds all over the house!

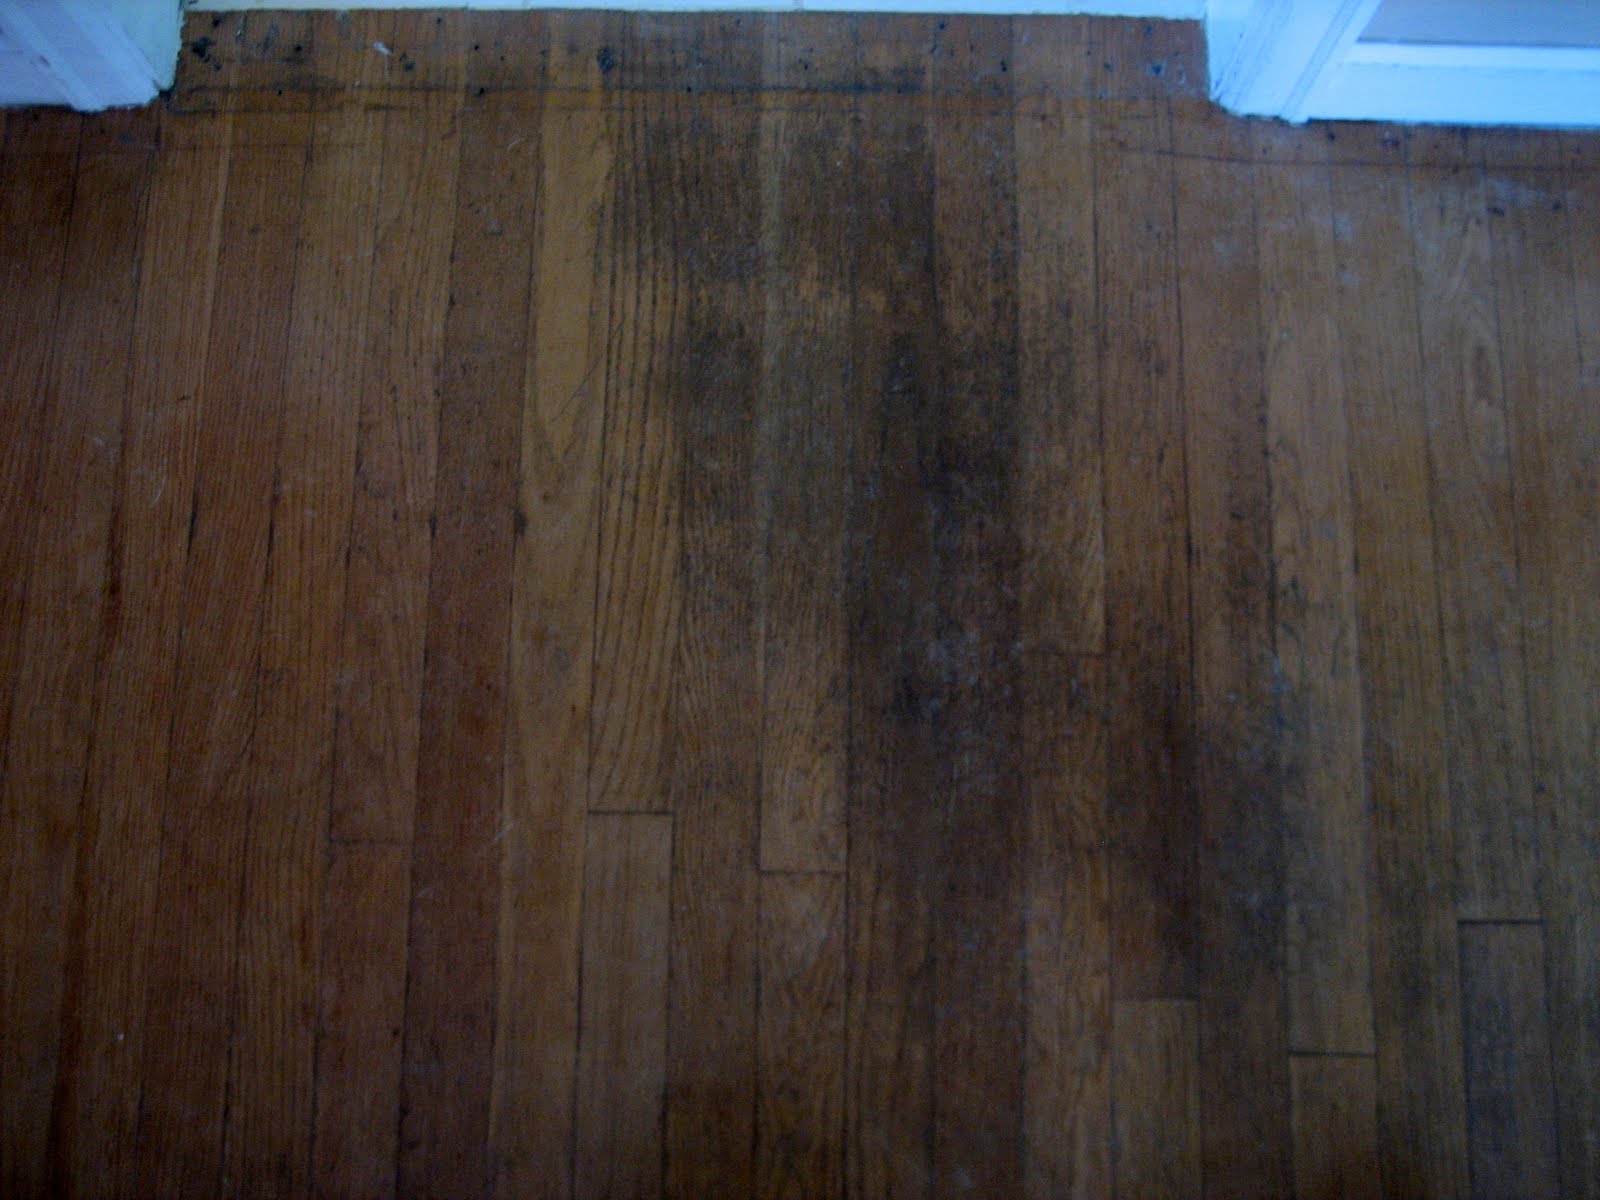 so our first weekend as home-owners, we refinished our hardwood floors. you can read about that in this post.
  two weeks later, dad came back to help kyle with the molding, and brought his handy saw. i created the game plan, we went to buy lumber and railing at home depot, and then they did all the hard work. nice trade off huh?
 the guys used a nail gun to secure the wood to the wall. this meant i had the very tedious job of filling the nail holes with wood putty. kyle used the caulk gun in three places on the molding. where the crown met the ceiling, where the crown met the base, and where the base met the wall. basically anywhere there is a seam.
then the guys ripped out the old chair rail which was way too low and made the room look awkward. you can see the white spackle that we used to cover any holes and make the wall smooth. they installed new chair rail at the recommended height of 36 inches. then (this is my favorite part!) we created the look of wainscotting by creating these boxes out of quarter round beneath the chair rail. a much cheaper option compared to actual wainscotting!

looking good guys! now, all we need is a few coats of paint. we chose martha stewart’s white picket fence on the bottom half of the room. we also gave everything in the room a coat of white while we were at it: base, crown molding, chair rail, and window frames.
 now ideally, all the boxes would have been the same size, but the three walls in our dining room were all different. so the wall with the doorway got two skinnier boxes, the back wall with the most space got four regular boxes, and the wall with the long windows got three wide and short boxes. it might sound goofy, but my dad suggested it, and he’s the expert in the family!
 for the top half of the room, we must have looked at 100 different shades of blue. i love the way this turned out, but it definitely did not look like the color swatch we chose! i looked everywhere for a black and white patterned curtain (like fancy chandeliers or fleur-de-lis), and finally settled on a simple white curtain.
 and our octopus chandelier? that got upgraded too. i’ll take this one any day!
 you know that question that people ask, “if your house was on fire, what’s the one thing you would grab?” mine would be this window frame. i know that is illogical. i mean, this thing weighs like 25 pounds! but this frame means a lot to me. i took several of these old window frames from an old building on campus that was being renovated. a few of them survived all of my college moves, and some even held dried flowers or wrapping paper at christmas. but i always knew that one day i would put black & white wedding pics into this window. this is my favorite part of the room, maybe even the whole house!

 kyle and i celebrating our one year anniversary in our favorite room!
 isn’t he sweet? he remembered our wedding topper and added headless bride and groom keychains!
 and they lived happily ever after!
What do you think of the new moldings?
I love molding!
Cassity Kmetzsch started Remodelaholic after graduating from Utah State University with a degree in Interior Design. Remodelaholic is the place to share her love for knocking out walls, and building everything back up again to not only add function but beauty to her home. Together with her husband Justin, they have remodeled 6 homes and are working on a seventh. She is a mother of four amazing girls. Making a house a home is her favorite hobby.


>looks beautiful.. we just refinished some wood floors so I know what work it is.
Love the colors.
>You did a great job on this transformation. Your colors are so more refreshing and clean choices. Love the chandelier…picture wall is great too! Happy 1st anniversary and many more is your fabulous space.
>awesome transformation!
>My favorite part is the wainscoting! Excellent architectural detail! You are right, the chair rail was awkwardly low before!
>It turned out beautifully. I love the color and your window turned picture frame. Great job!
>I've seen the idea of putting regular molding below the crown molding. Does this make it easier to put the crown molding up, or is it just for looks?
>What a transformation. Nothing that some paint and GREAT molding won't fix. We have a dining room that needs some help as well and would LOVE to add in some molding. 🙂
>Looks fabulous! I love the colors you choose and all the molding effects–wonderful job!
Jeanette
>love the idea for the faux wainscoting! beautiful redesign…
>I love everything about this remodel. I love your window too. I even like the different size boxes for the bottom. LOOKS SO GOOD.
>Looks so nice and charming! Our house also has about 5inches of crown molding. I have never seen the idea of putting regular molding below the crown. Looks awesome! 🙂
>Love this dining room makeover. The end result was such a suprise and very different from the red that was going on in the "before".
xo
Coco
https://www.cococozy.com
>I absolutely LOVE your window!!! May I ask how you were able to get the photos to stick on the window?
>Looks fabulous! I love the colors, details, and mostly the crown molding. Great Job! and congratulations on your anniversary. Many more!
funwithnancy.blogspot.com
Love this! Where did you get your dinning room table from?