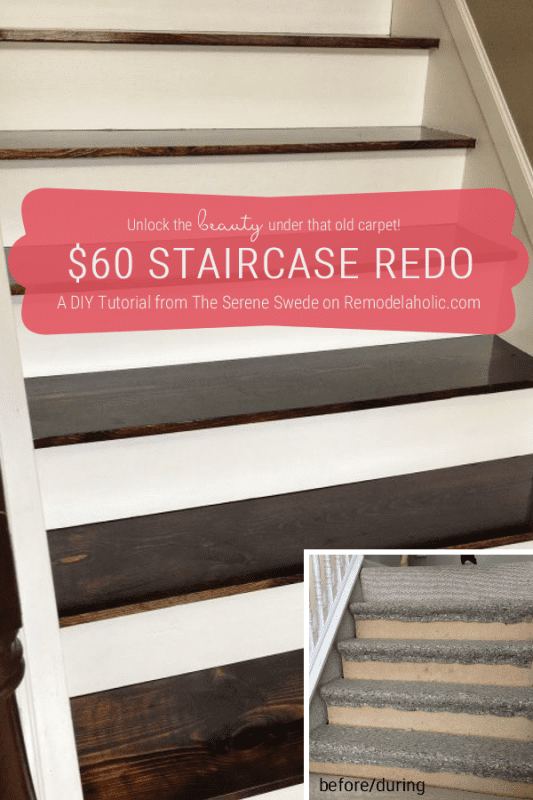
$60 Carpet to Hardwood Stair Remodel
We love stairs! Something about the beauty of a nicely stained and painted staircase… or the satisfaction of ripping the carpet off the stairs! Our guest today has a lovely hardwood stair remodel to share with us:
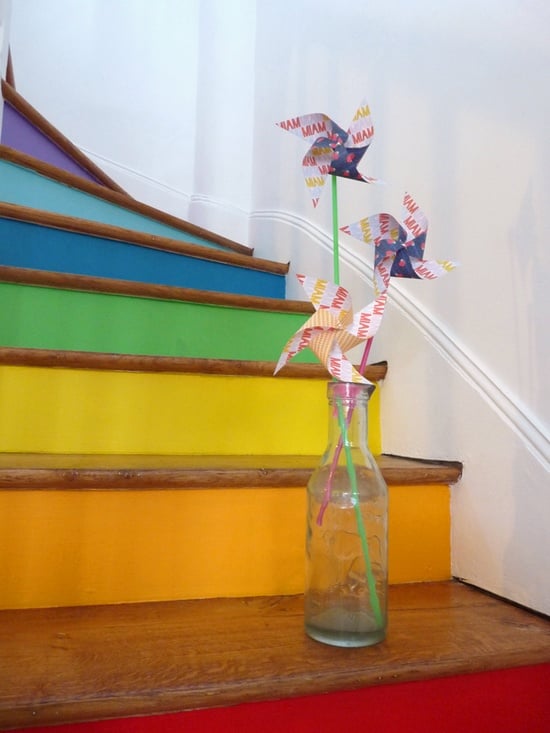
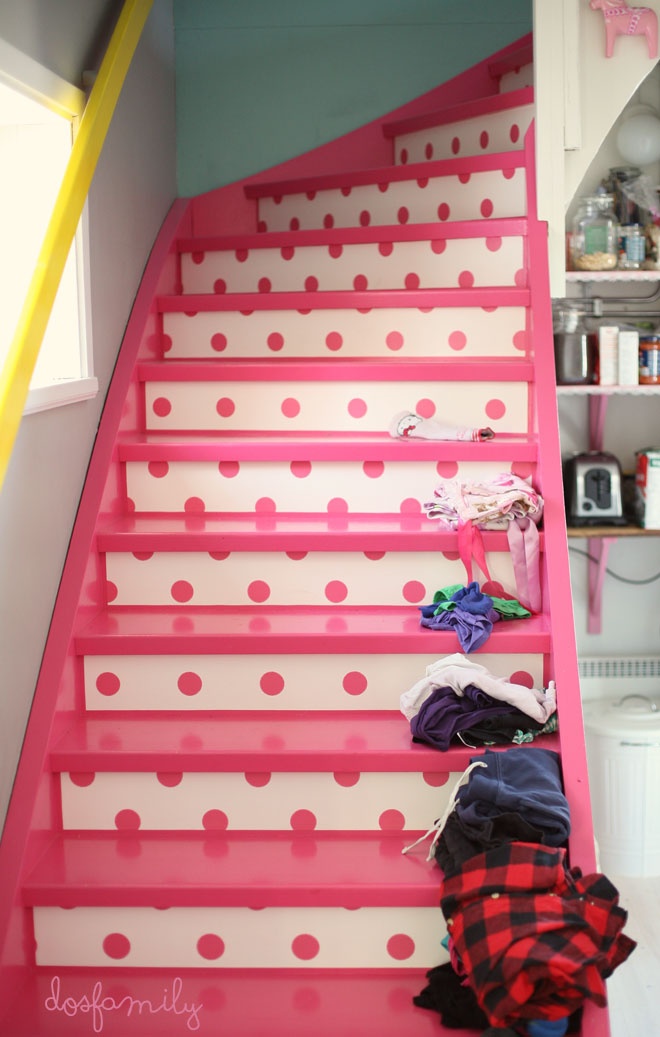
…but if you live a little more on the wild side, check out some of these creative ways you could add color and character to your remodeled wood stairs!

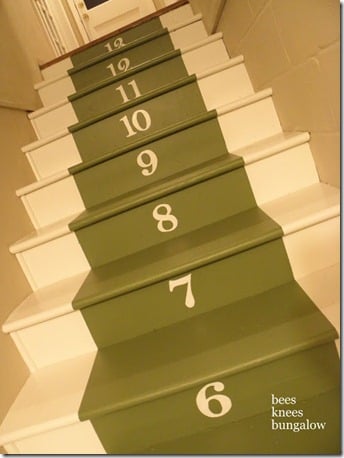
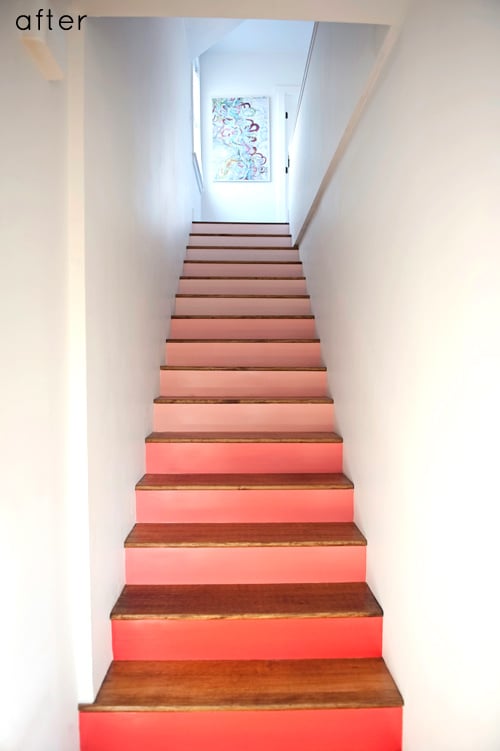
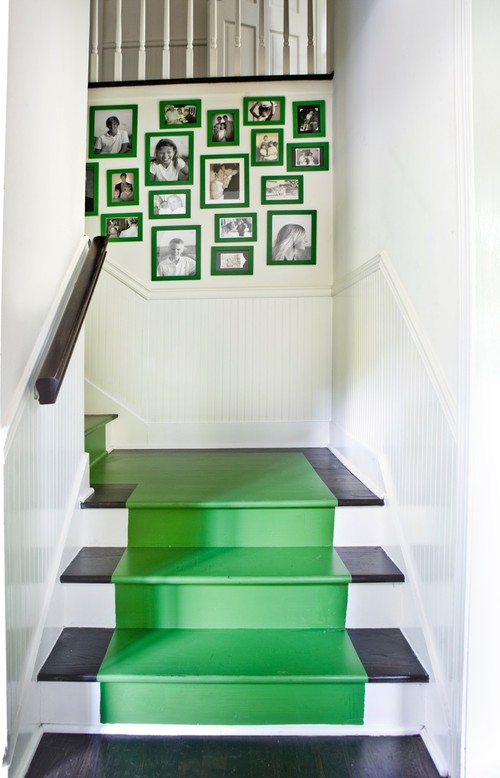
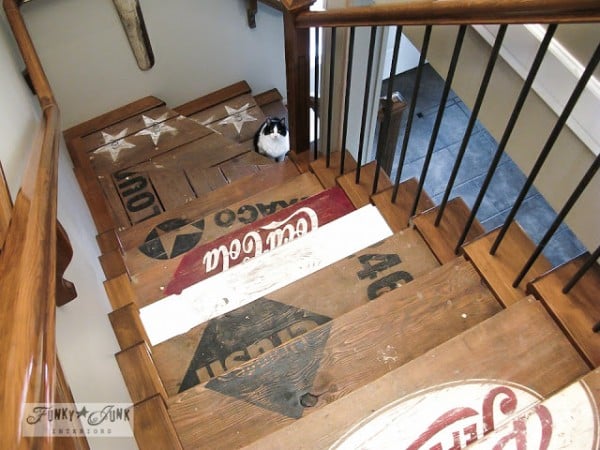
plus check out our favorite featured staircases and then 25 Great Staircases and Entries. And now that you’ve got stair envy… Here’s Stacy to share her carpet-to-wood stair remodel (you might remember her $20 board and batten kitchen island — Stacy knows how to stretch a dollar!)
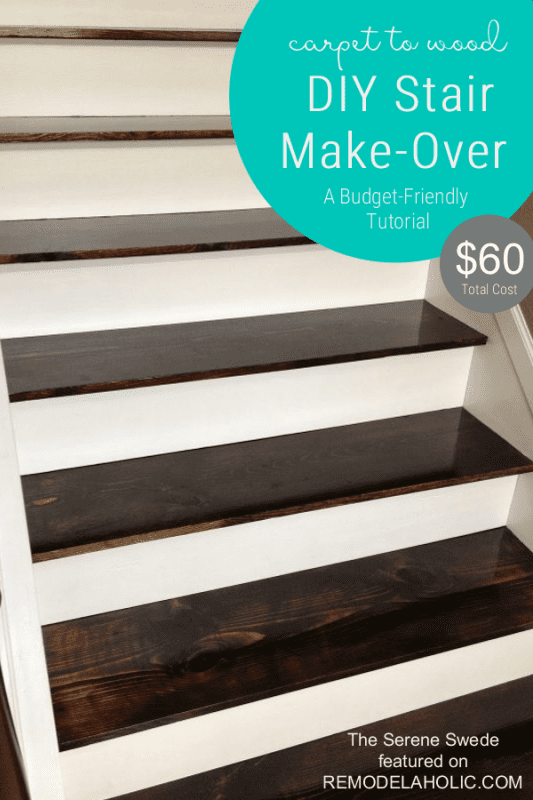
$60 Carpet to Hardwood Stair Remodel
by Stacy of The Serene Swede
Hi everyone! I am so happy to guest blogging again on one of my favorite blogosphere stops. My name is Stacy and I spill my guts about all things DIY over at The Serene Swede. Between working on my crazy home projects and hanging with the fam, I also run my own little shop on Etsy. Working with my hands keeps me sane…I think. Last time I was a guest on Remodelaholic I was able to share with you how I transformed my ugly Kitchen Island into something beautiful on a REALLY tight budget. Like, $18.25 tight. It was so inspiring hearing all of the wonderful comments left by you fantastic readers! I hope that you enjoy this post just as much!
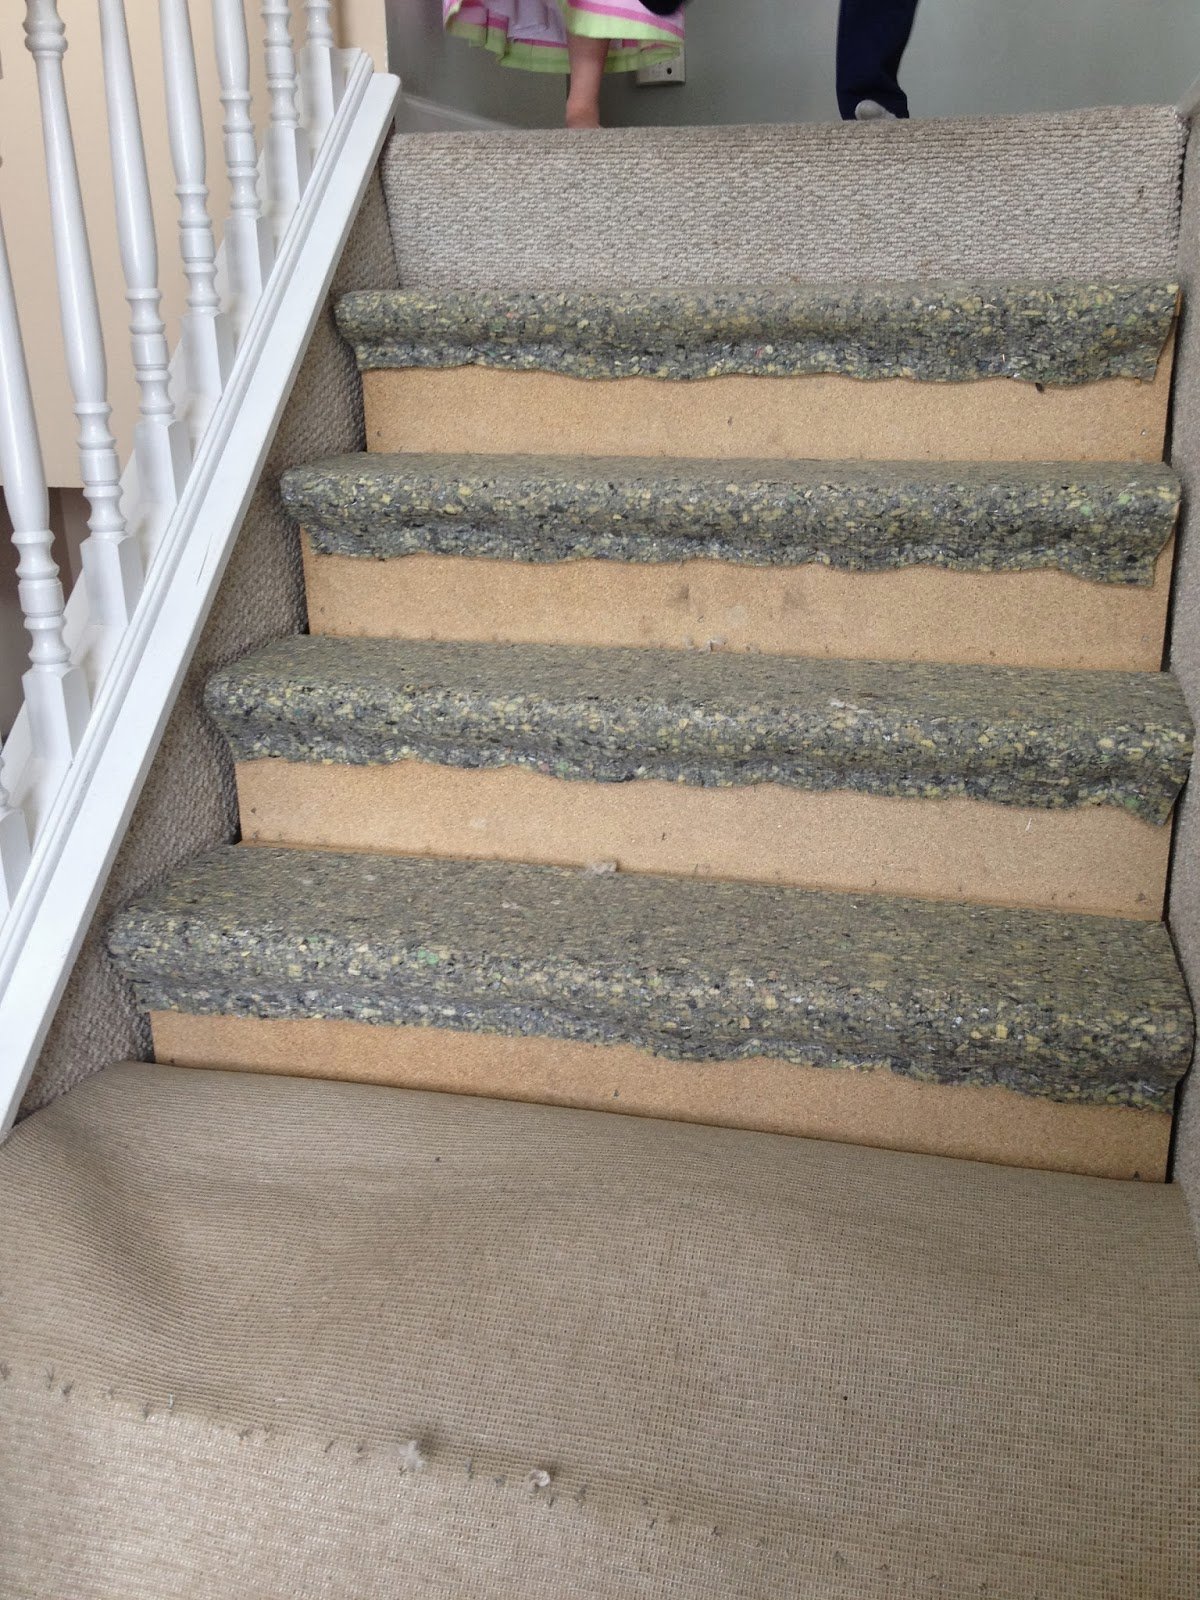
I had been set on changing the look of my stairs for a while but to be honest, until I had seen what Justin and Cassity had done to their stairs, I figured that re-carpeting them was the ONLY option. The beautiful work they had done on theirs really lit a fire under my…well you know. I had a few issues that I wasn’t sure how to contend with, however. The first one being, I truly didn’t know what I was up against. Stair remodeling kind of freaks me out. It looks incredibly complicated! The second is that I didn’t have that beautiful white wood skirting on the sides of my staircase. I had carpet.
Yup! Carpet.
Who designs a house like that? I should also point out that my home wasn’t built in the 70’s. It was built in 2003. There’s just no excuse for it…

The day that I ripped the carpeting out really wasn’t too planned out. My husband was out of town for the night and I really can’t explain what happened to me but I’m pretty sure my kids thought I had gone crazy. We were planning on doing this someday so I guess it wasn’t that crazy. I just started pulling up the corner to see what was underneath and decided then and there the carpet was coming off no matter what I found anyway, so I might as well just keep pulling.

Step 1: Preparation
This post contains some affiliate links for your convenience. Click here to read our full disclosure policy.
Here’s a nice little list of the materials we ended up using for our project:
- 1″x12″ pine boards for treads (make sure they are not warped)
- 1/4″ plywood for skirting ripped to the size you need, we chose 15 width
- 1/4″ plywood for risers, ripped to the height of each space
- Liquid nails
- caulk
- wood conditioner (always use this before staining wood!)
- stain (we used Minwax Dark Walnut)
- Polyurethane
- cloth to wipe away stain
- cheap paint brush
- wood filler
- screws
- drill
- miter saw
- sand paper
- palm sander
- safety goggles!!
- screw driver and needle nose pliers (to get those staples out)
We had planned on getting to this project eventually so we had already purchased our 1x12x12 pine boards for the stair treads and had them in the house to acclimate to the surroundings. Wood expands and contracts so we really didn’t want any surprises with how they fit once they got used to our house. Why pine? Well, because I just love the look of old, dark wood and knew that every dent would show and give it character. If that’s not your thing, you should probably go with a harder wood like oak.
Step 2: Removing the Carpet
I don’t really have a magic answer for you on how to remove it. I just pulled and it came up. Hopefully, you would be that lucky too! Wear some goggles though! Staples will go soaring, yo! My carpet itself didn’t have any staples but the padding underneath sure did!
Once the carpet was removed, I spent a little bit of time removing the staples and tack strips from the existing treads. I knew it might be a while until we could replace the treads and I certainly didn’t want any little toes getting cut open. Once you think you have them all, check again. I guarantee you missed one. If you don’t find it, it WILL find you!
Sweep up all that nasty stuff that just came out of your carpet and be thankful that you no longer have to vacuum those steps!
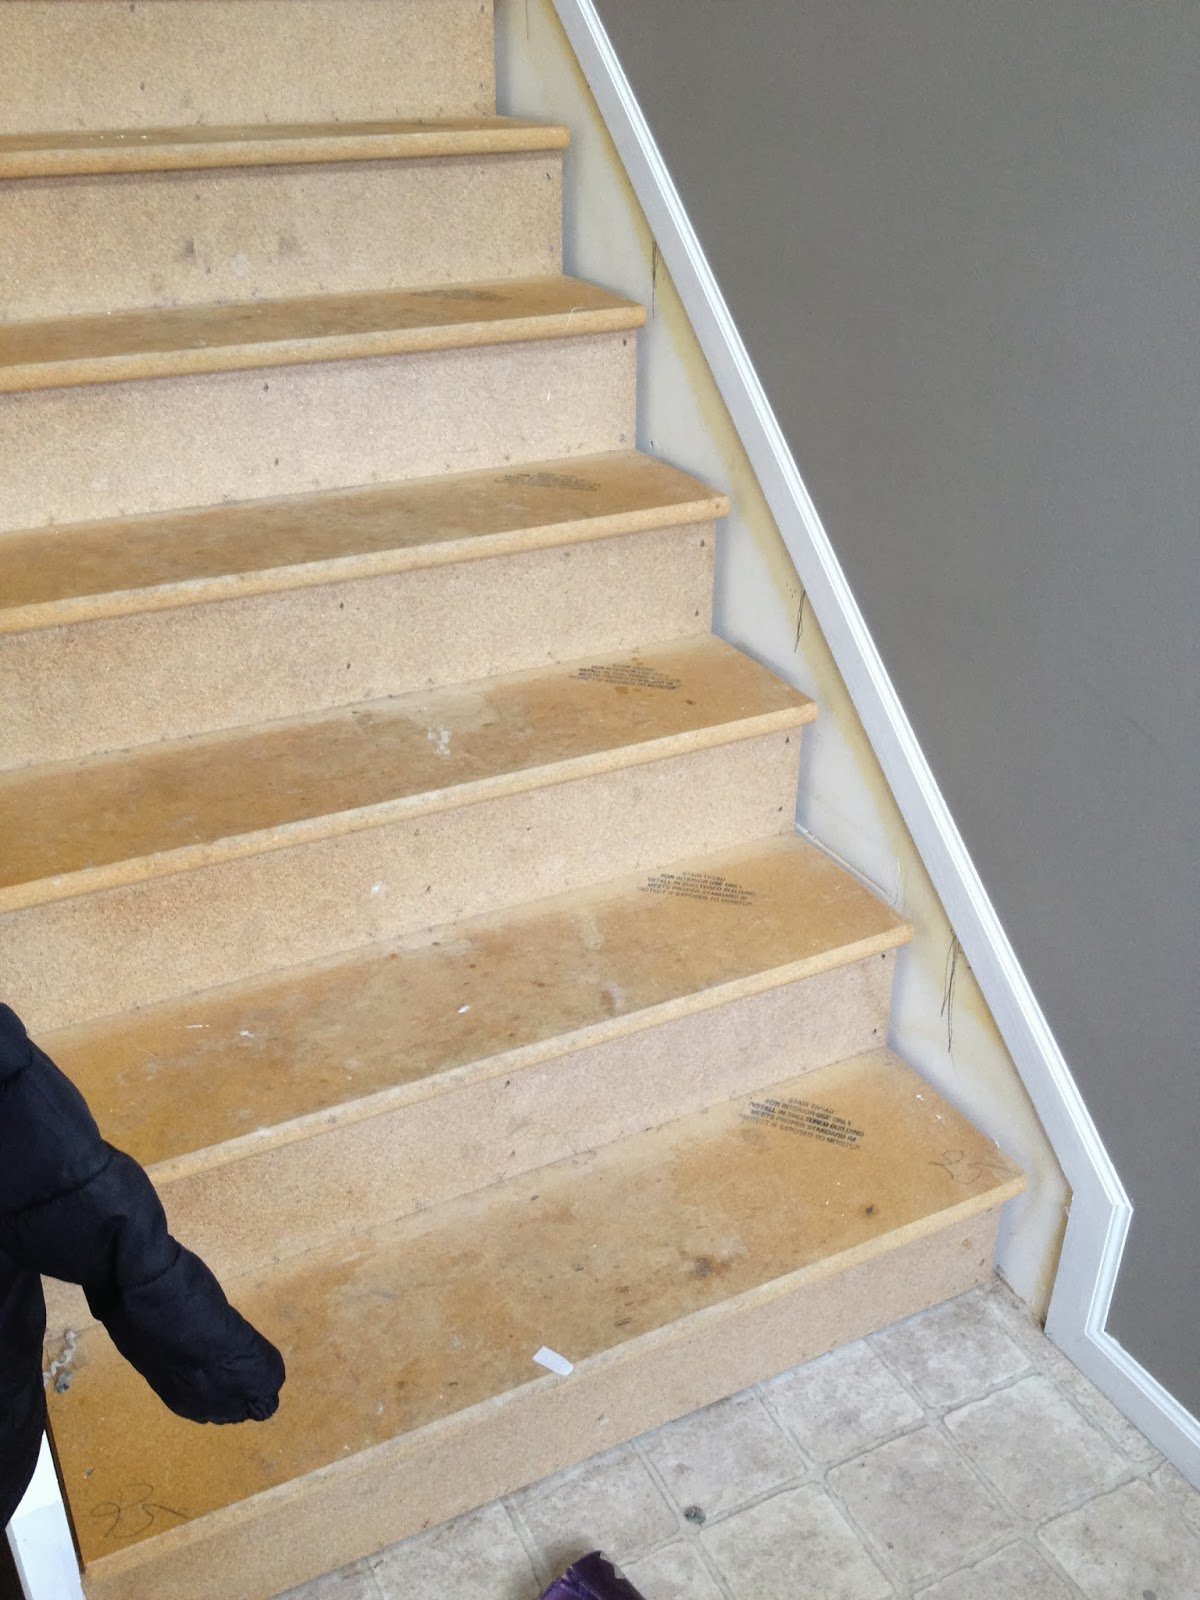
Step 3: Building a Stair Skirt
I had mentioned earlier that I didn’t have a stair skirt on the edges but instead had carpet. We used 1/4″ plywood to create a skirting that could then be painted white. We had ours ripped down at the store to 15″ W and only had to worry about using the miter saw to create the angle in the board for the top and bottom portion. Once we had that cut, we jammed that sucker into the gap along the stair treads and pushed it up against the trim. I wish I could say that it was an easy job but it totally wasn’t. We used liquid nails to put it up and had to try and NOT get glue everywhere as we slid it into place. A wet rag was SUPER helpful.
Step 4: Remove Old Treads
Using a pry-bar, pull up those crazy pressed board treads and get ready to add on your new beauties! I had to have a little help in this department from the hubs. Apparently, I need to work out more!
Step 5: Dry Fit the New Treads
Once you have all of your new tread pieces cut, you’ll want to dry fit them before attaching just to make sure that they all fit. If they do, then you are golden and ready to permanently attach them. All of our measurements were different for each stair so make sure to mark which one goes where with a number or you can easily get messed up.
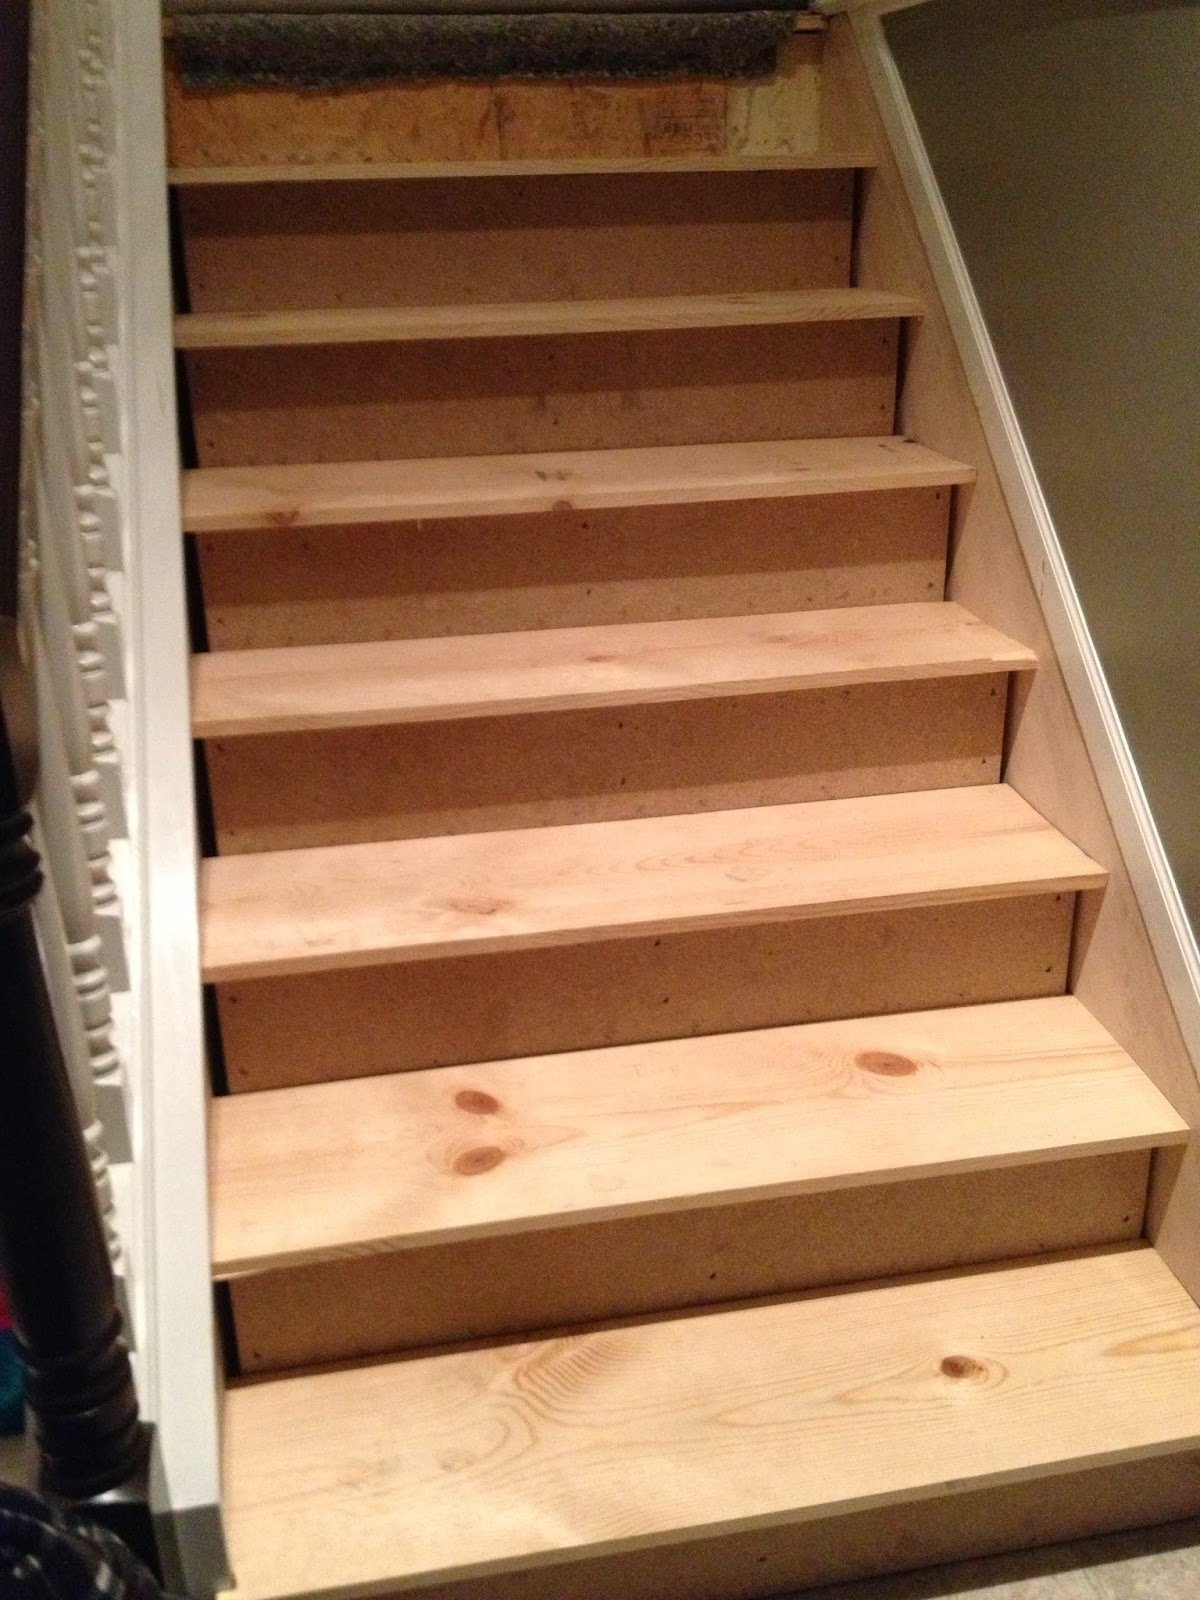
Step 6: Attaching the New Treads
Once we were sure our measurements were correct, we drilled a few pilots holes in the treads to make sure that the wood wouldn’t split from the force of the screw being drilled in. You would really hate to see all that hard work go down the drain if your wood starts splitting. Better safe, than sorry!! Remove the tread and apply some adhesive to the supports of the stairs and place your tread back on and start adding your screws. We counter sunk ours to make sure that we had enough room over the top to add wood putty and cover up the unsightly screw heads.
Step 7: Wood Putty the Holes and Sand Away!
We filled each and every measly screw hole with wood putty and let it dry. After one application, we noticed that it started to sink down so our holes required 2 fillings of putty. Once everything had dried, I took the orbital sander and sanded each tread (in the direction of the grain) first with a courser grit and then with a really fine one to get the smoothest finish possible.
Step 8: Conditioning and Staining
Anytime you plan on staining softer woods, you should first apply wood conditioner to it to provide an even finish. It only takes a few minutes and you will be ready to stain! We chose Minwax Dark Walnut as our stain color because I just LOVE the dark against the white contrast. Because our home is a split level with our main living space at the top of these stairs, this step required a little finagling. I ended up staining every other step to give us SOMETHING to walk on but after two coats per stair, I decided to try out another method. You’ll see that in step 9 🙂 You can also get as messy as you want with the staining process because you’ll be taping off and painting in another step.

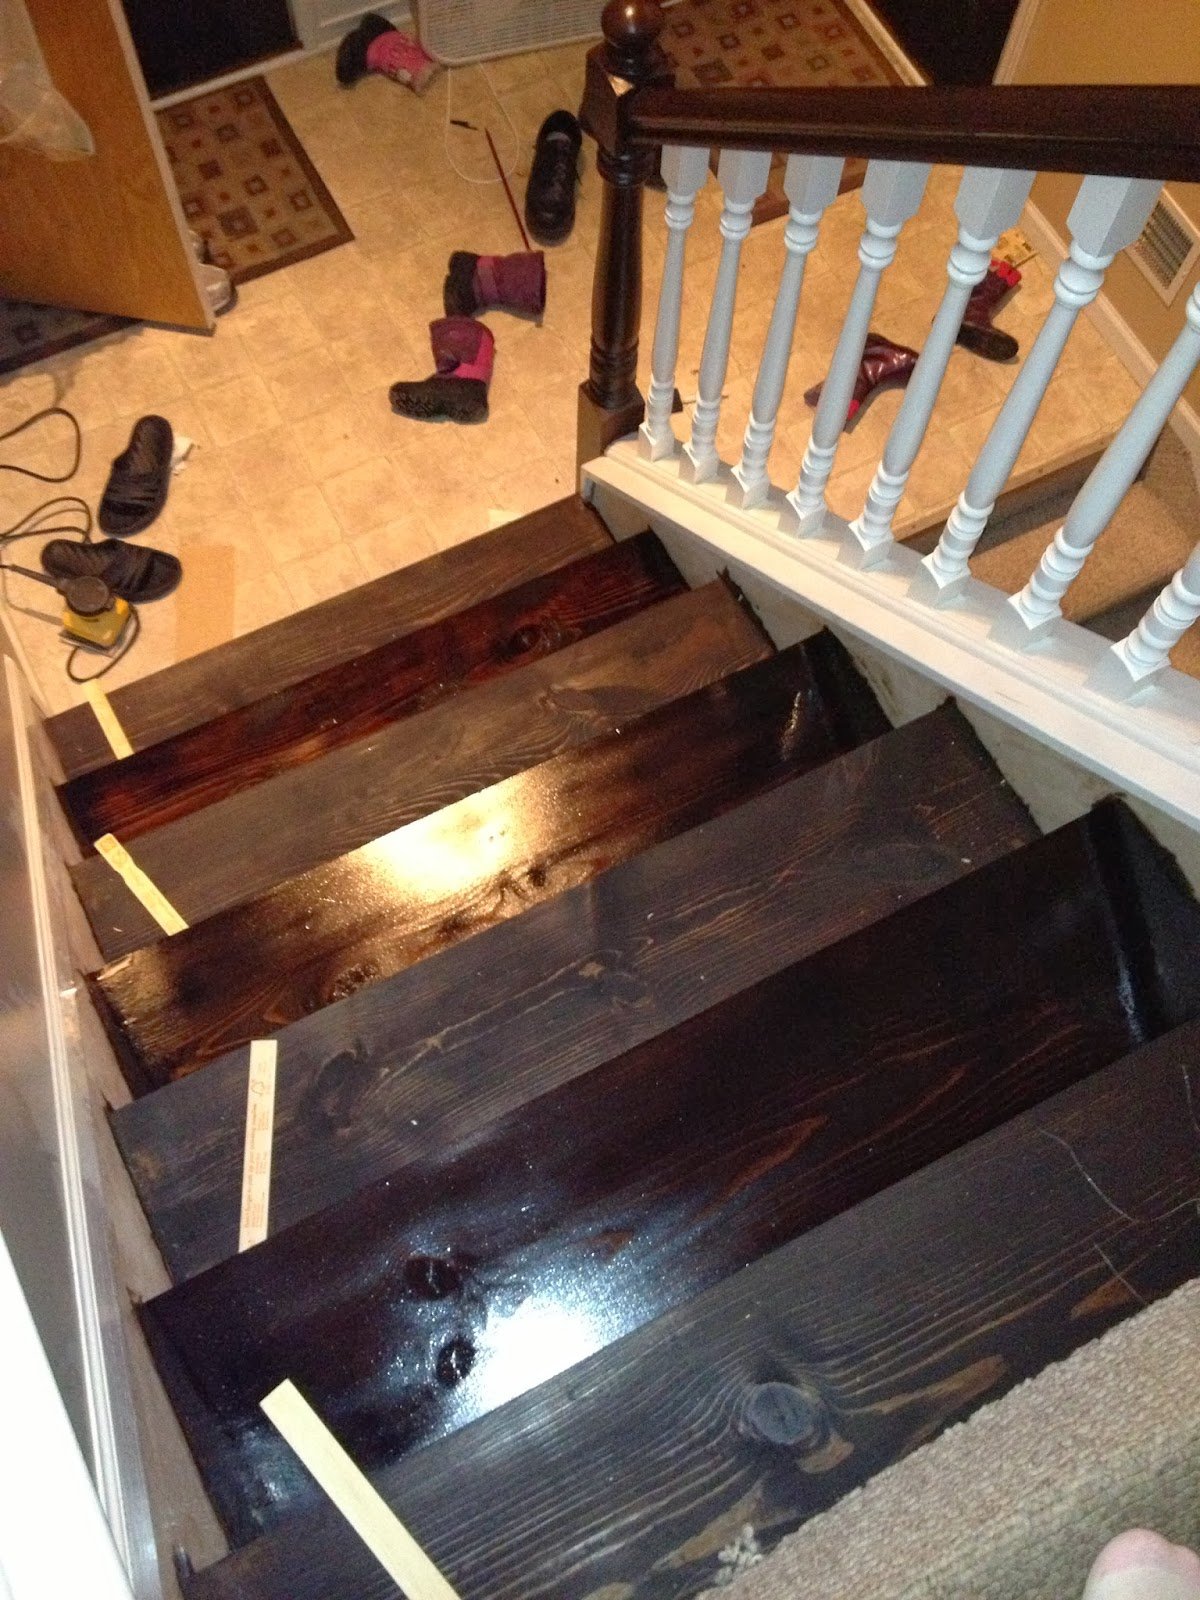
Step 9: Polyurethane
This is one of those moments in the project where I decided to change things up. The “every other” method was taking too long and I was just too impatient. This time, I started from the top of the stairs and worked my way down to the bottom doing each and every one. Remember I said it was a split level? Well, it really worked to my advantage. Once I finished applying the poly, I set up a fan at the the bottom of the stairs, and went out my walk-out patio door in my lower level and up to my deck patio door! I did have to yell down to the kids to lock the patio door in the lower level once I was back inside though 🙂 By morning, the poly was completely dry and ready to have another coat thrown on! It’s important to sand with a super fine sanding block in between coats of poly to give it the glassy shine too, so definitely don’t skimp on that! It really only takes about 30 seconds per stair. I ended up doing 4 coats of polyurethane for durability.
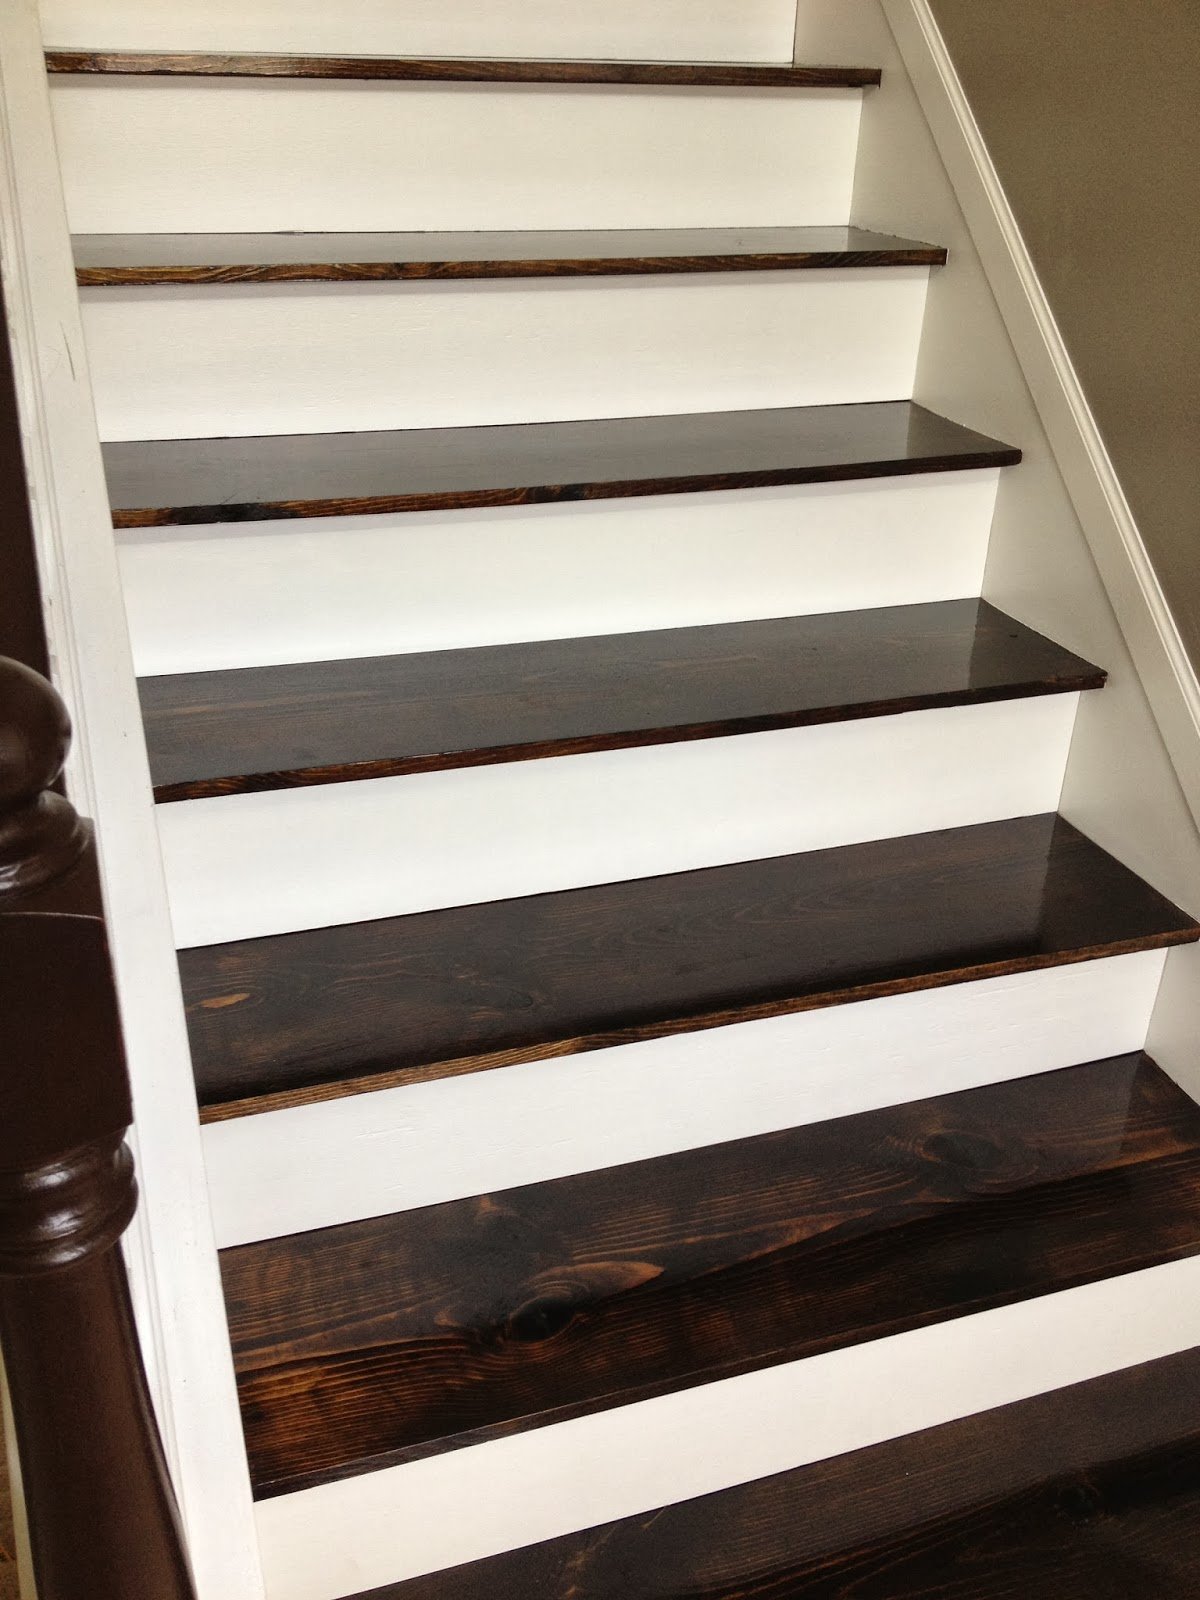
Step 10: Caulking and Paint
This step in our stair makeover was really the easiest. We taped off the stair treads and filled in any areas that needed some “plastic surgery” with caulk and started painting away! Be careful not to get paint on your awesome new stair treads! (See? I told you could be messy with your stain job!)
Step 11: Add the Risers
This is THE best part because you finally get to see the finished product and your dream stairs take shape. We painted each riser prior to putting them on because it would save us so much time. I’m glad we did! We used liquid nails to attach each piece and then used a nail gun to add some brads. Fill in all of your little nail holes with caulk or wood putty and touch them up with your paint!
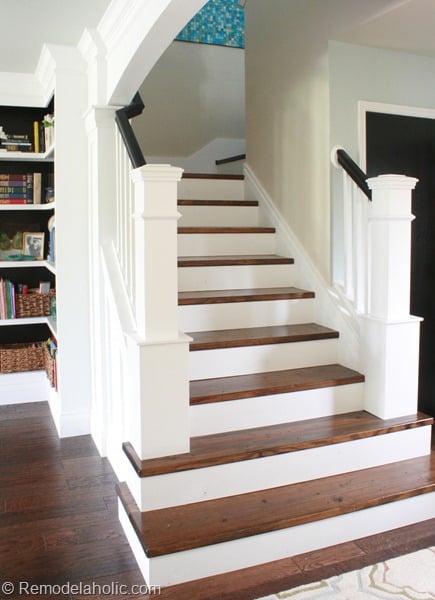
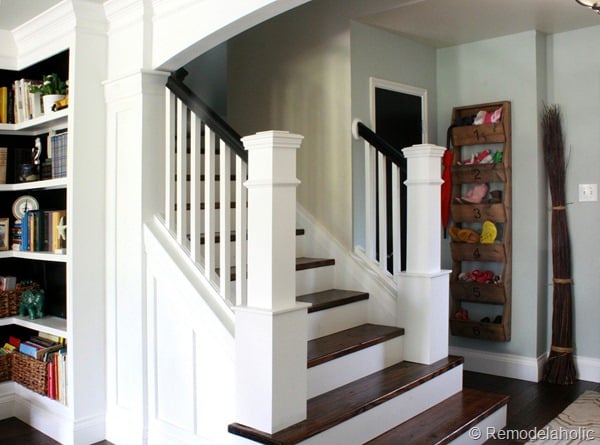
Step 12: Enjoy your Hard Work
Enjoy what you did! And if your anything like me, forget that you have another stair case to finish for a while because you’re exhausted!
A special thanks to Cassity and Justin for having me as a guest again today! And if you were still on the fence about changing out your carpeted stairs, I hope I’ve help you see that it really isn’t as hard as it looks!

Visit The Serene Swede to see all of Stacy’s DIYing, including the epic story of her 6-year (and counting) basement remodel — I think we all have stories like that! 🙂
[pinit align=”center” url=”https://www.remodelaholic.com/carpet-hardwood-stair-remodel/” image_url=”https://www.remodelaholic.com/wp-content/uploads/2014/04/Staircase-remodel-carpet-to-wood-stairs-tutorial-by-The-Serene-Swede-featured-on-@Remodelaholic-533×800.png” description=”Remodel your stairs with this carpet-to-wood DIY tutorial”]
Find some more DIY inspiration here:
Carpet to Wood (without replacing treads)
Add some pop with this tutorial for using fabric on the stair risers:

And if you’re really “all in” give this complete entry/stairway remodel a try!
Check out all these unique ideas:

Lorene has been behind the scenes here at Remodelaholic for more than a decade! She believes that planning projects and actually completing them are two different hobbies, but that doesn't stop her from planning at least a dozen projects at any given time. She spends her free time creating memories with her husband and 5 kids, traveling as far as she can afford, and partaking of books in any form available.


This was great. We are planing to do this very thing… Thank you for this blog!
Hello,
I have been inspired by your work to take on the challenge of redoing the stairs! After ripping up the carpet, my boyfriend and I discovered the concrete surface underneath. Would this diy project be applicable to a staircase with a concrete base? Also how is the life after the stairs, are they holding up well? I am eager to start but would like to get some extra advice. Thanks! Beautiful work.
What did you do for the landing in the middle??? That’s my biggest hold up! We have 7 stairs then a landing thrn 7 more. I think I can do everything but the landing.
Those stairs look really fabulous! I wondered – do you have carpet at the top of the stairs? If do, how did you create the transition from stair to carpet?
I have been wondering the same thing!
What did you do at the top of the stairs on the landing ? Love this but wondering what to do at the top?
Hi there. Which paint did you use for the risers & what poly did you use (water based)?
What if your stairs already have nice wood ? Can you stain that instead?
Of course! 🙂
Do you slip on the stairs more than the carpet?
I am wanting to redo my stairs also. Where can buy replacement treads like yours?
Turned out awesome!!! We have a tri-level home and our basement stairs sure can use this makeover. I would eventually talk myself in redoing the remaining carpeted stairs for uniformity!!!
You can do it! We’d love to see pictures when you do.
I thought I commented here to say I was about to start a stair job for a lady – I’ve done several random interior things for people – mostly furniture refinishing – this is my first time doing stairs.
I finished last week – this whole project materials & my labour was around 2,000.
She chose the unfinished red oak treads with the decorative moulded front edge.
I cut them to fit & numbered them. I stained & polyed them in my shop & got everything else at the site prepped. Putting the treads down was the last ‘step’ lol punny!
I would love to send you a before pic & after pic –
How/where do I post a picture?
Is this site mobile-friendly?
Thanx!!
Send photo to hello@remodelaholic.com. We would love to see your picture.
Looks great! How did you do the corner area? I’m not split level but my stairs have a turn halfway up with a good sized flat area for the corner.
Hi ???? I love your stair remodel! I thought it would cost more to do that. I have been wanting to do it to mine for years! I ripped off some of the carpeting and I my steps are not pressed board, I think it’s pine. So do you think I can sand it then stain it? Then just add new made raisers? I didn’t want to do that but there are big gaps on the sides of them.
I bet you could make that work! You’d just have to watch that you are keeping the tread of the stair to a comfortable depth, whether you replace or cover up the existing riser. Our friend Tracie used her existing stairs in this tutorial, so that might be helpful to look at as well: https://www.remodelaholic.com/under-100-carpeted-stair-to-wooden-tread-makeover-diy/
Please please explain how you did the very top step transitioning back into your other flooring
How have the pine treads held up? Considering smashing the tiles off our stairs and adding the pine treads, but just wondering if the pine is sufficient for long term (don’t want chunks off the edges…I’m ok with dents etc. that will occur).
Looks nice in pictures but would not recommend doing this. Using 1×12 boards is not a good choice. They are too thin and you did not even route a bullnose. Could have just bought actual $10 pine stair treads from any hardware store for a professional look. Instead you have DIY looking thin stairs with sharp and fragile edges