Anthropologie Inspired Art, DIY Project
This project is SO FUN! I love the way it looks, I love the creativity! It was a party link from Lorilyn from A Crummy Marriage Blog check out how great it looks, here is what she has to say:
So I’m really trying this new “keeping my finances in check” thing because I no longer have as large of an income since I went from full-time to part-time (which is AMAZING by the way – everyday is like the weekend).
Enough bragging though, so I joined the financial band wagon and am doing the Total Money Makeover with Dave Ramsey so I can make sure we use our finances to the best of our ability and because we have several large expenses in the next five years that we need to save for (new kitchen, new bathroom, new babies, new babies from Africa, etc) and that means cutting back on some areas now.
I’ve been going over what we’ve spent since getting the house, and I have to accept the fact that I probably (definitely) spend too much of my money on crafts and projects. Probably more then I spend for myself on food. I know that’s sick.
So I’ve started to use my large brain the good Lord gifted me with and things from around the house to create new projects with. As a result, you will see about a 99% increase in projects that cost nothing (for me) to do.
Recommended by my Mom, I was surfing on Anthropologie’s website since that’s a good place to glean inspiration from, and I came across the Tree of Life.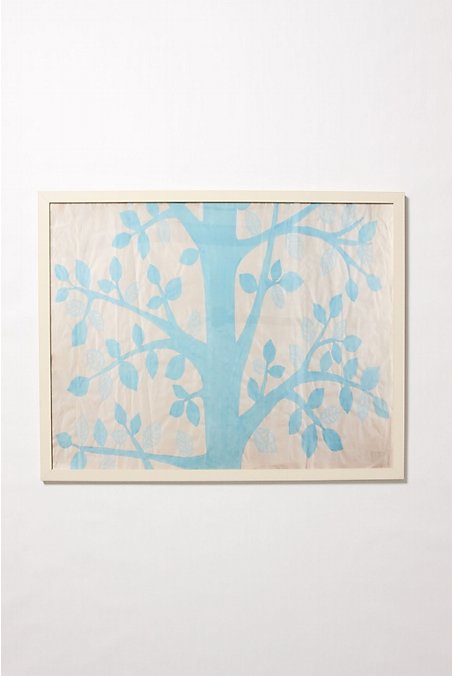
For $2,000. Why anyone would spend $2,000 on a piece of art is beyond me, but it serves as good inspiration for me.
But then arises the problem that I don’t have a large canvas lying around.
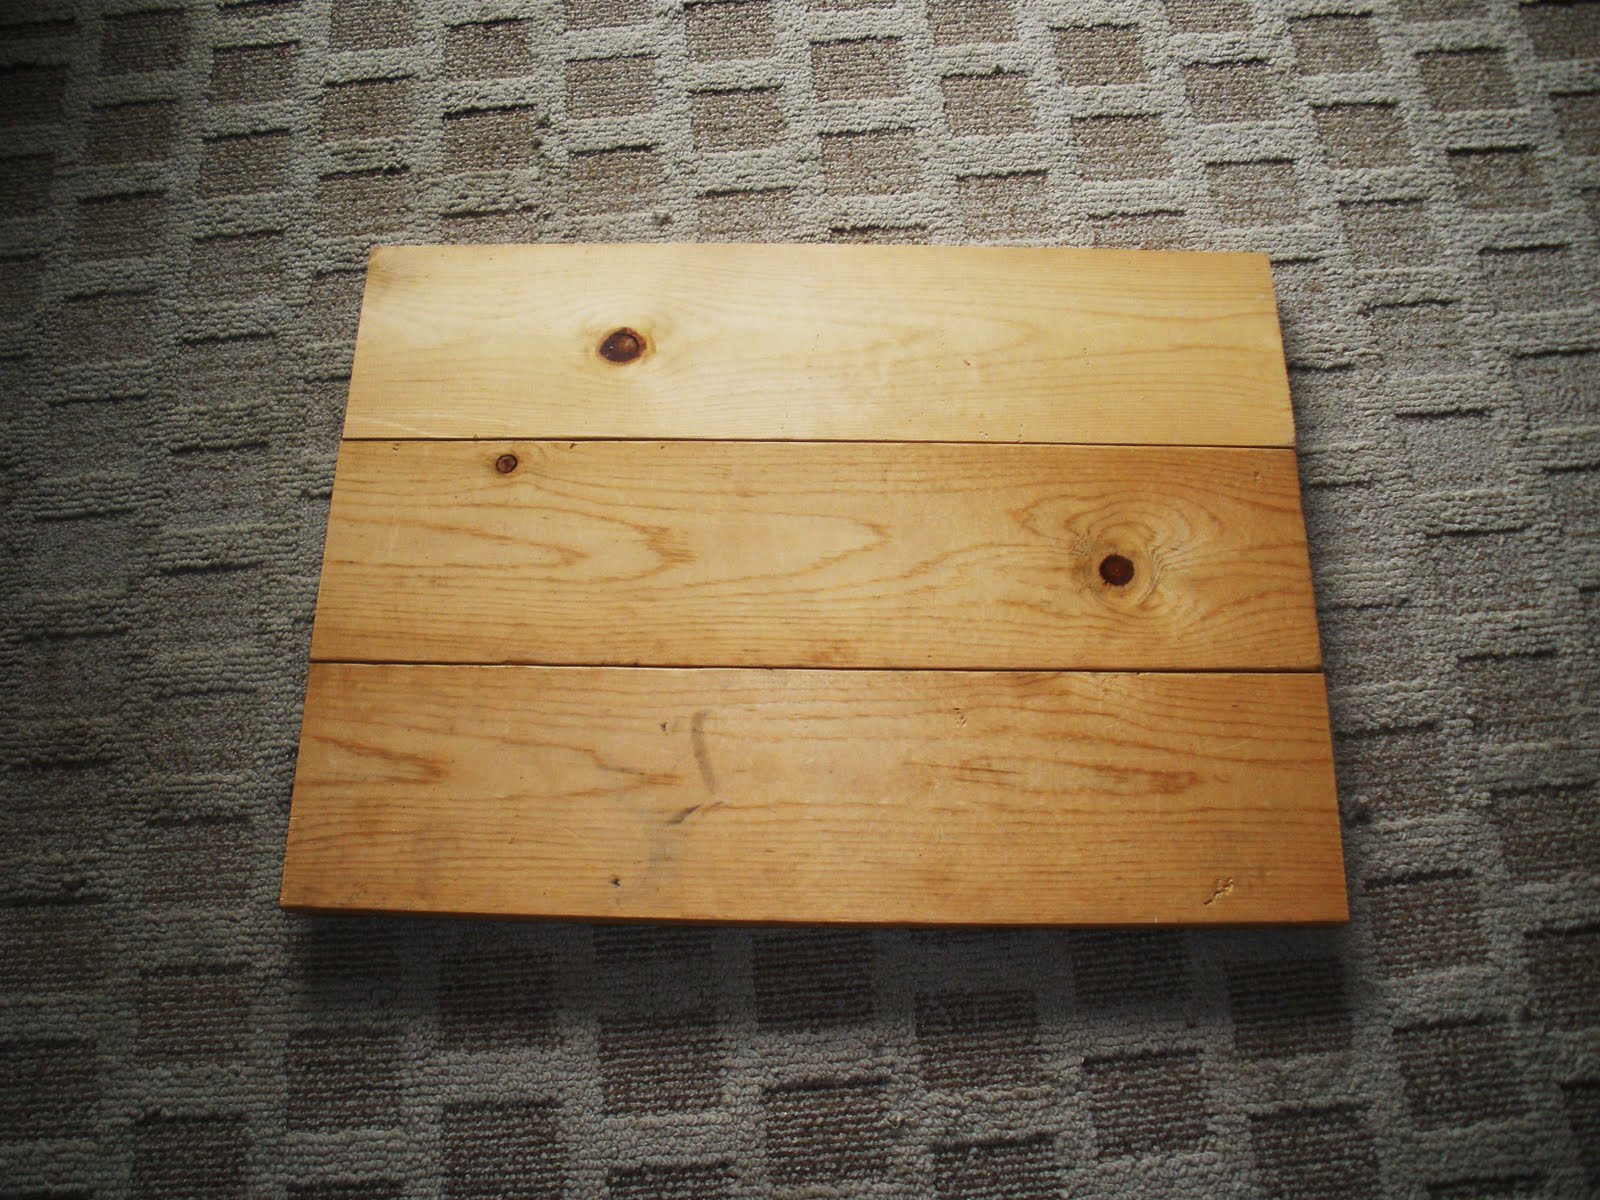
But I do have lots of scrap wood.
So I headed down to my fun house mirrors of death room, grabbed some 1 x 8’s, and slapped em together to make this.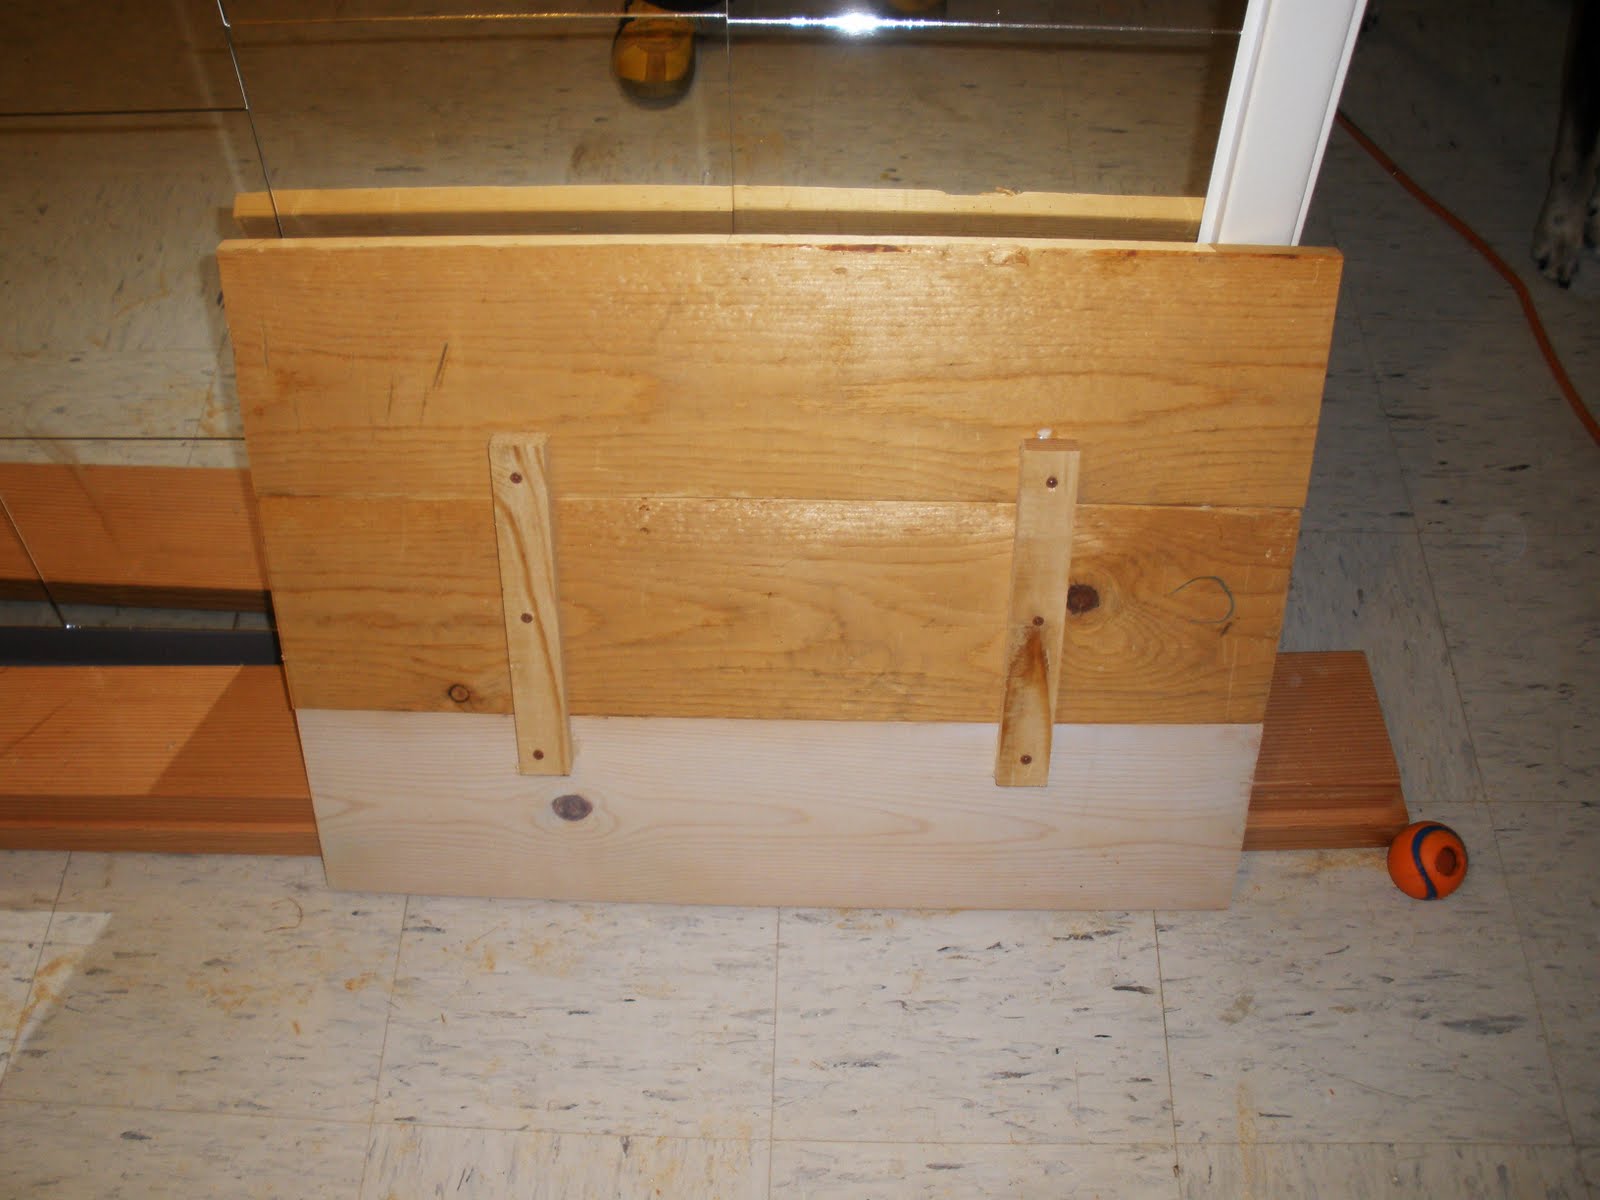
Now for painting. Since I’m not spending any money, I had to work with the house paints and acrylics I had on hand, which meant lots of mixing and diluting.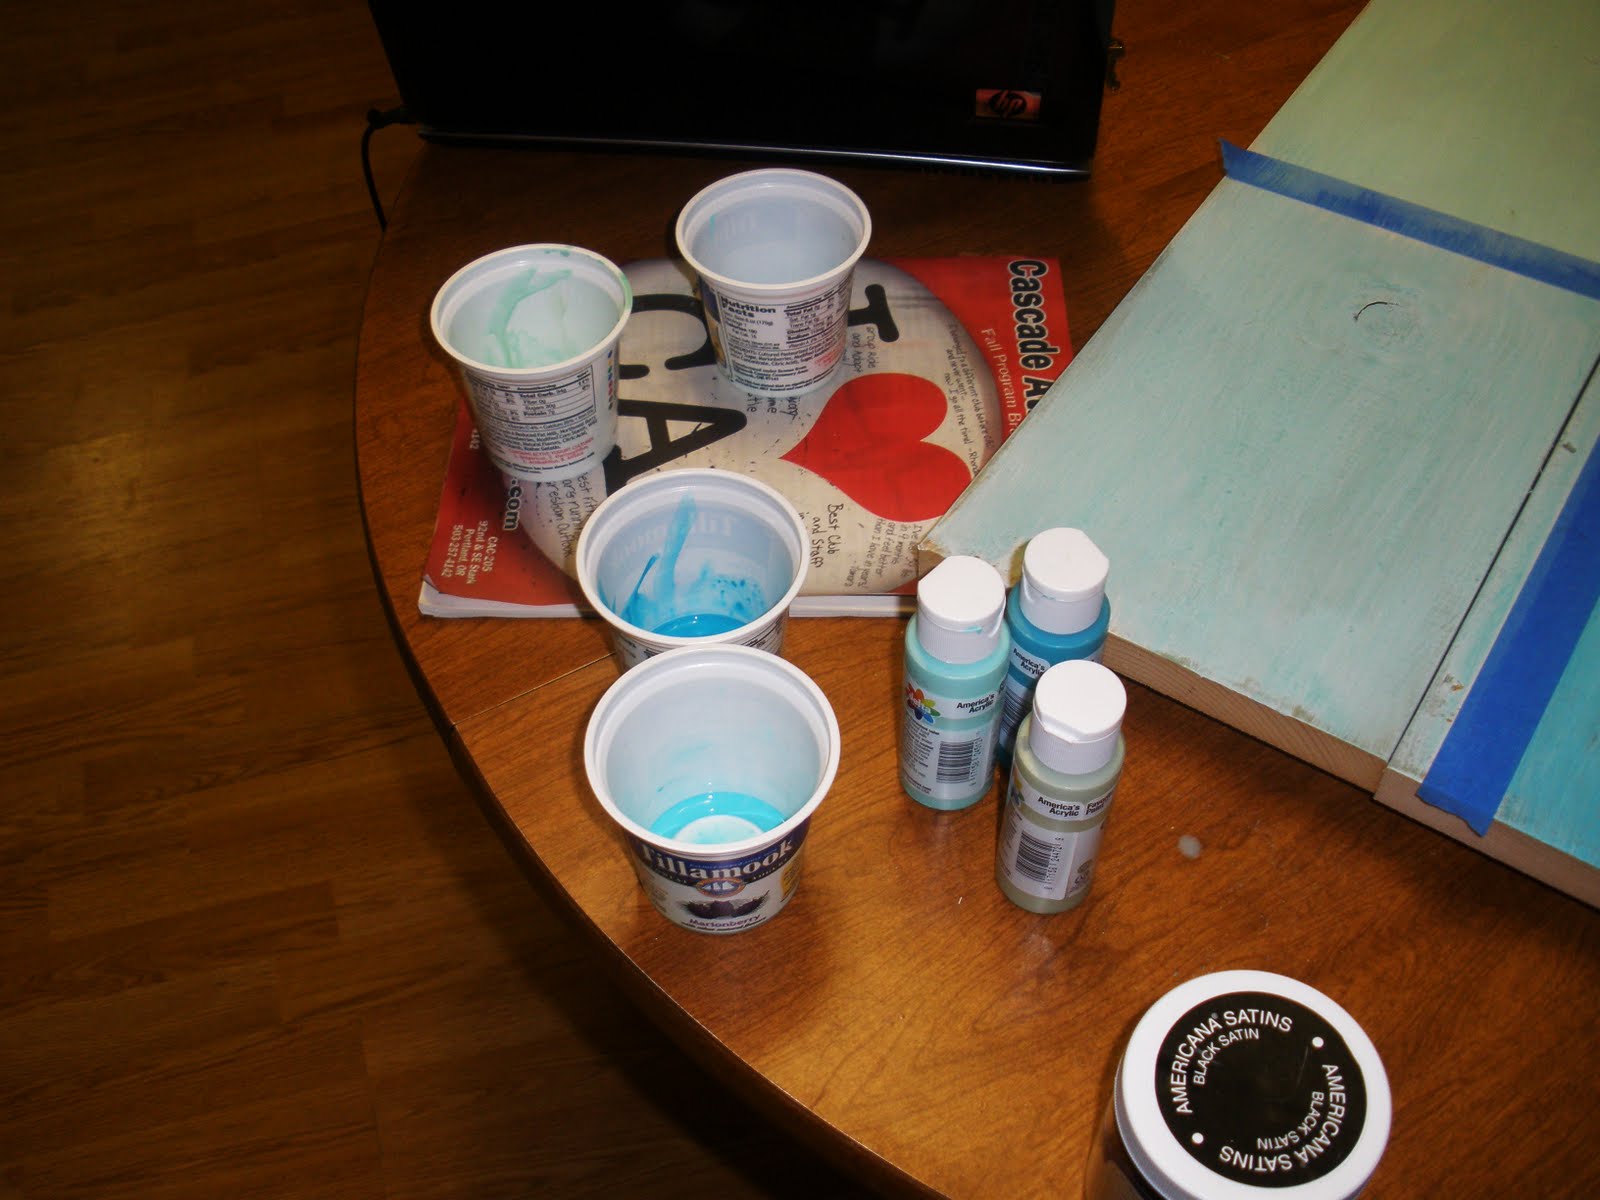
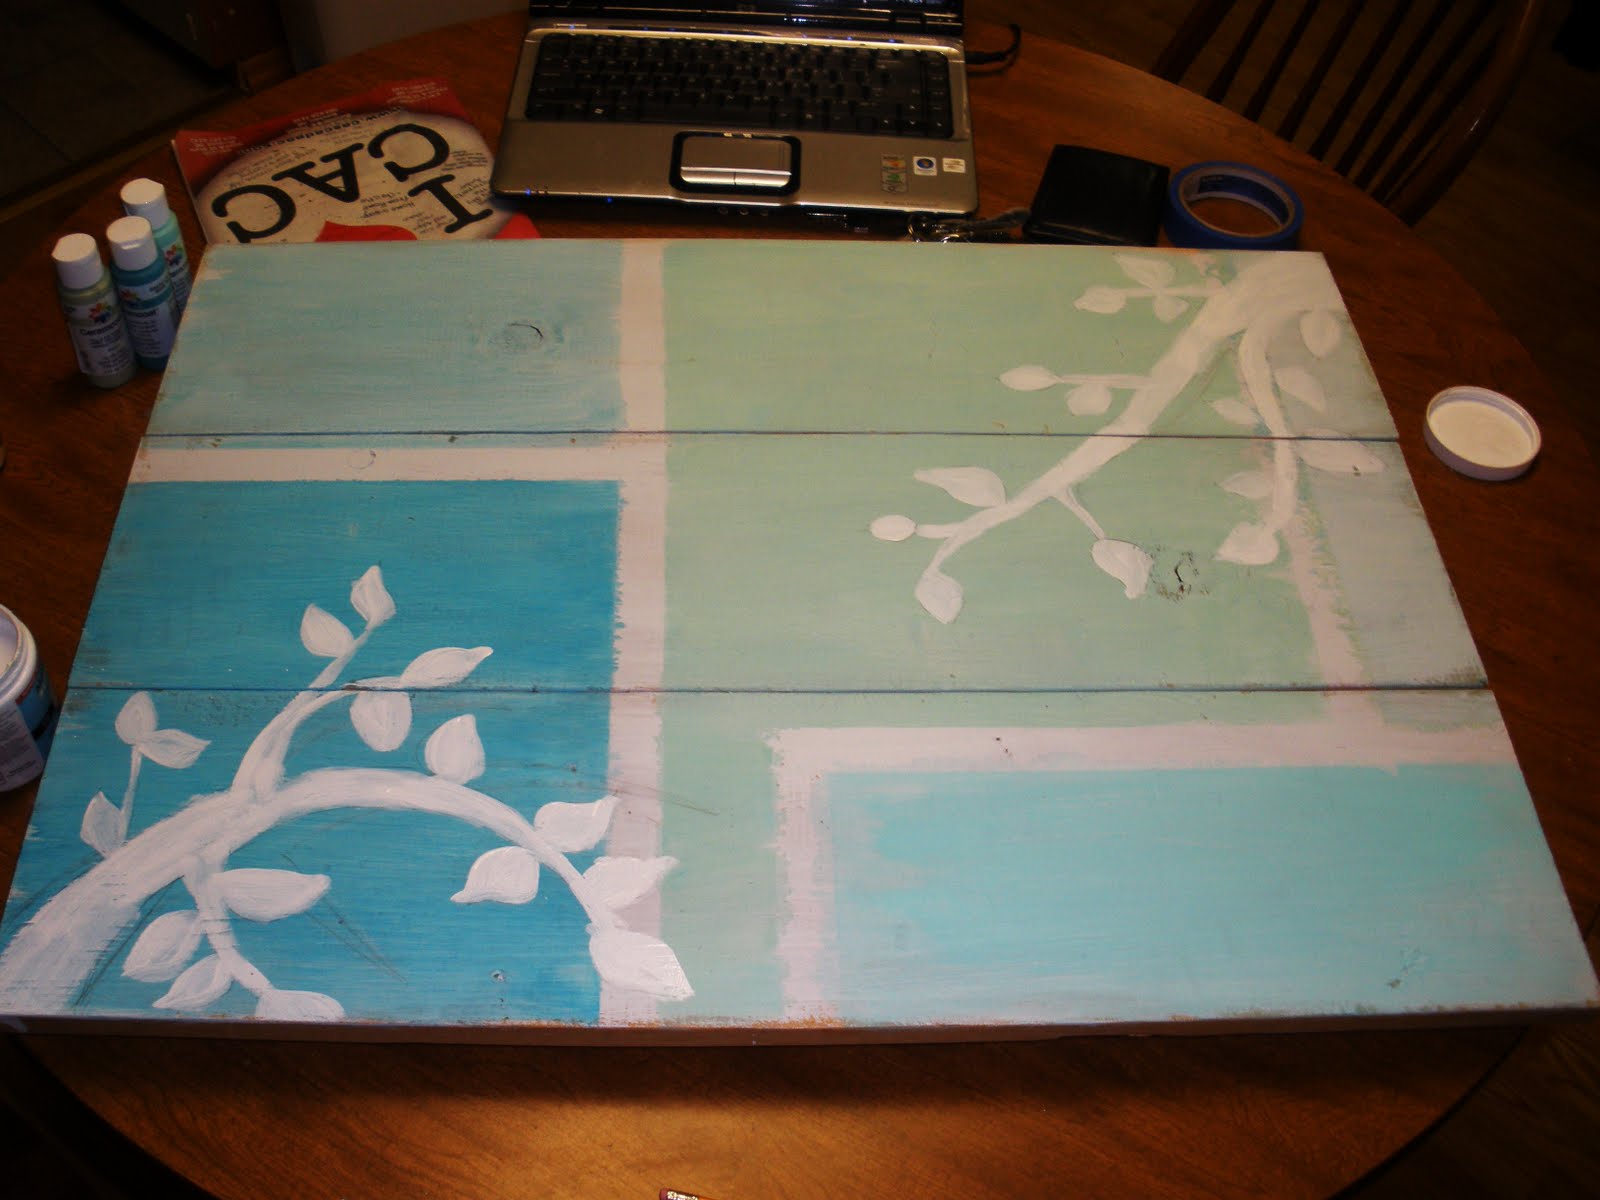
The slew of pictures that follow show my various stages of painting and layering colors. All the color layers I did were mixed with water so the colors underneath would show through as well.
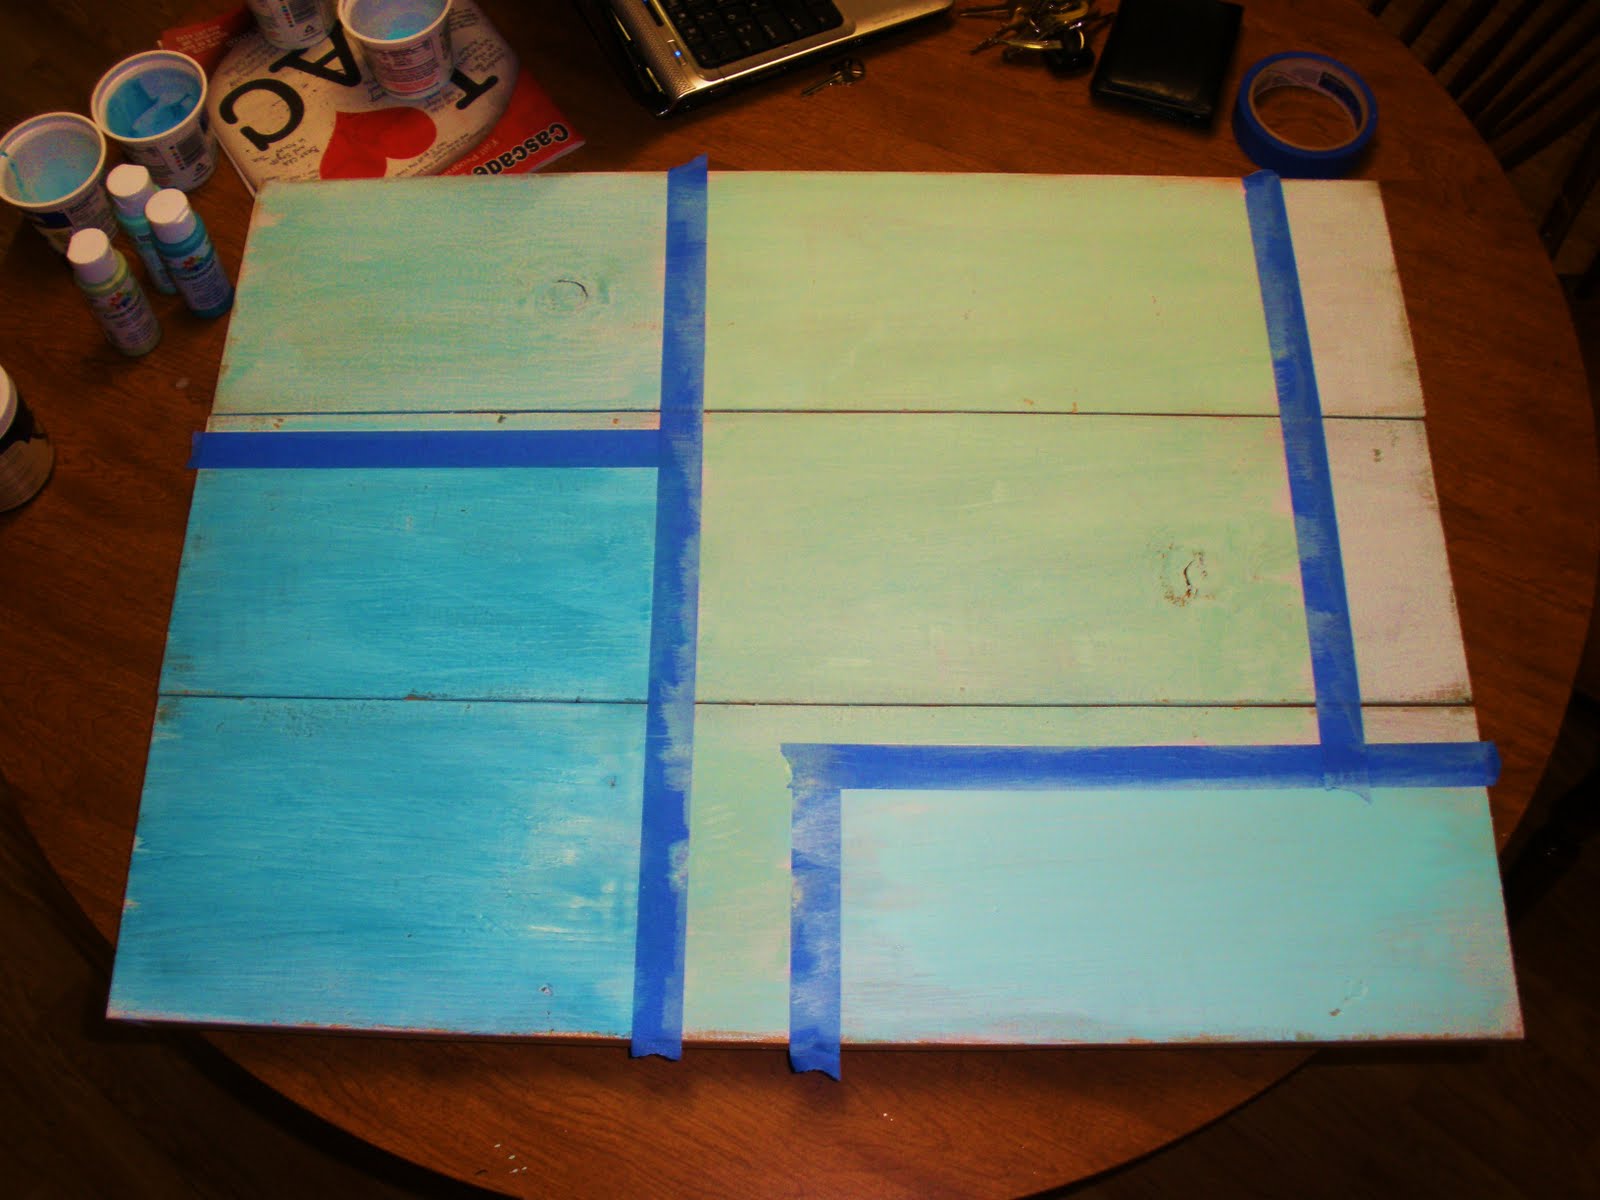
I started with a light blue base.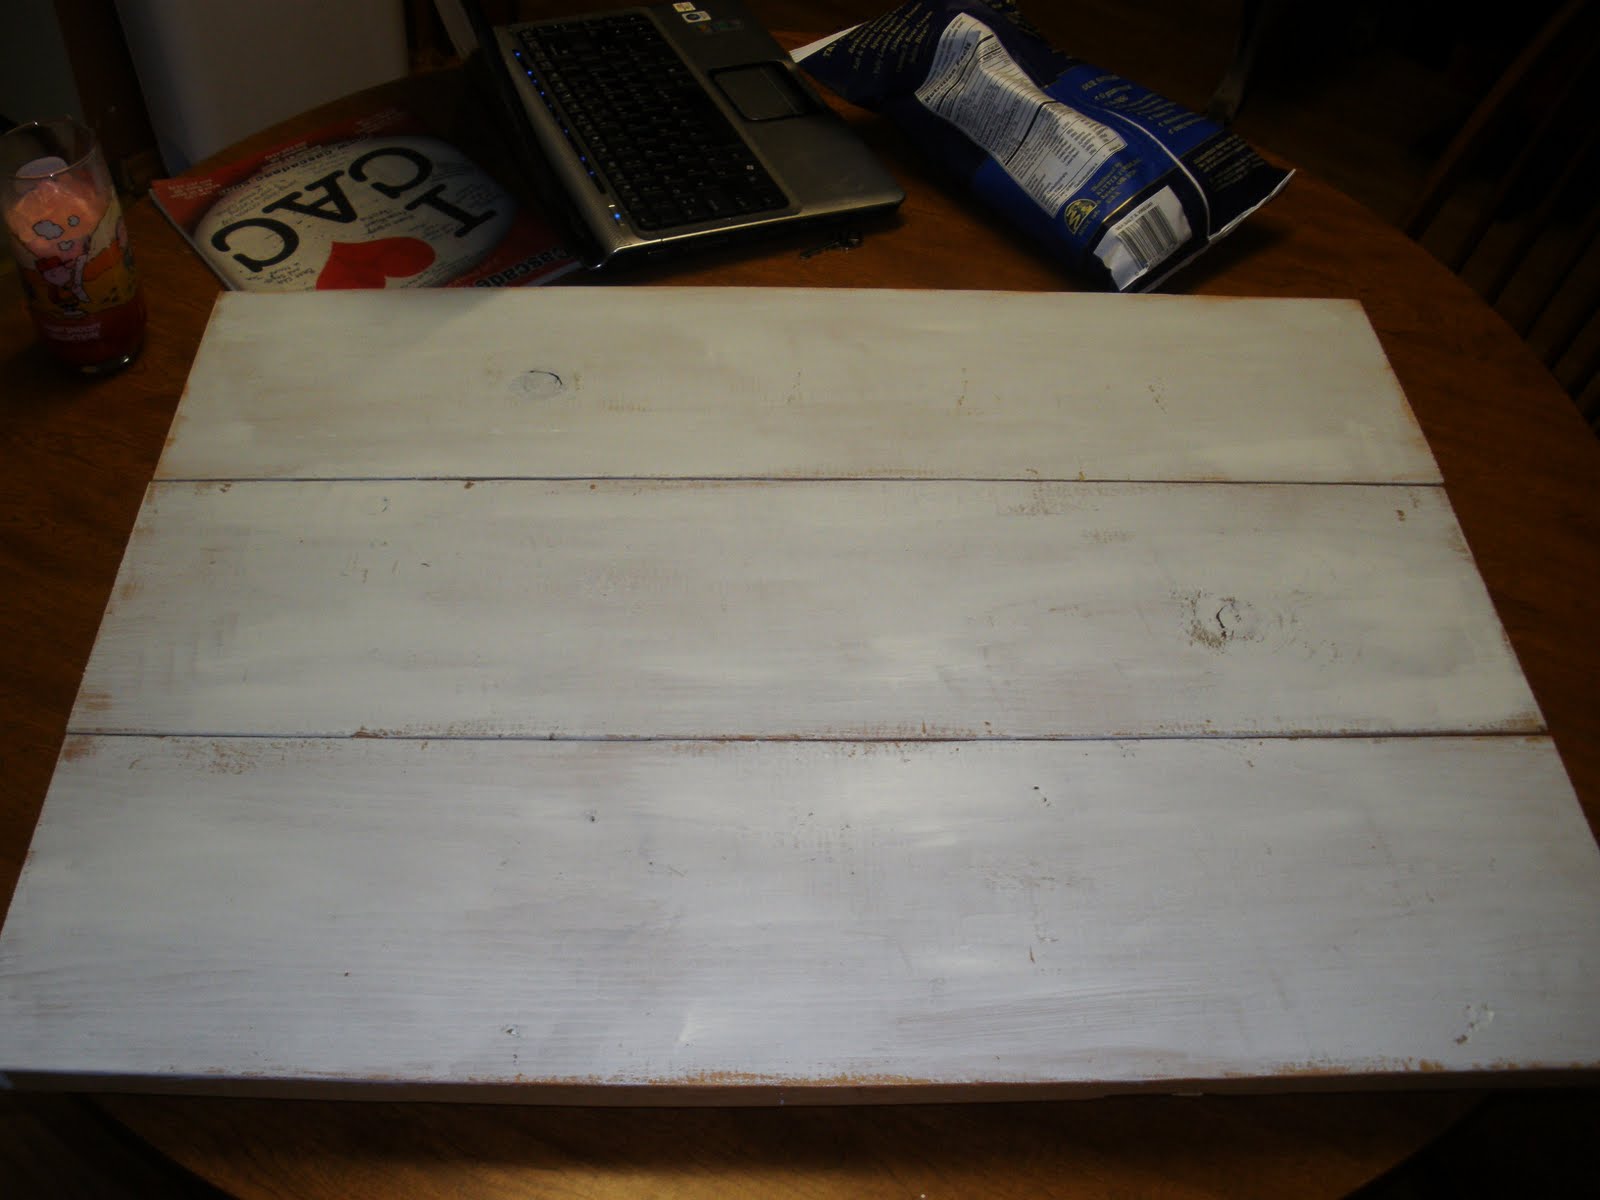 Then taped off some sections where I wanted to do different colors.
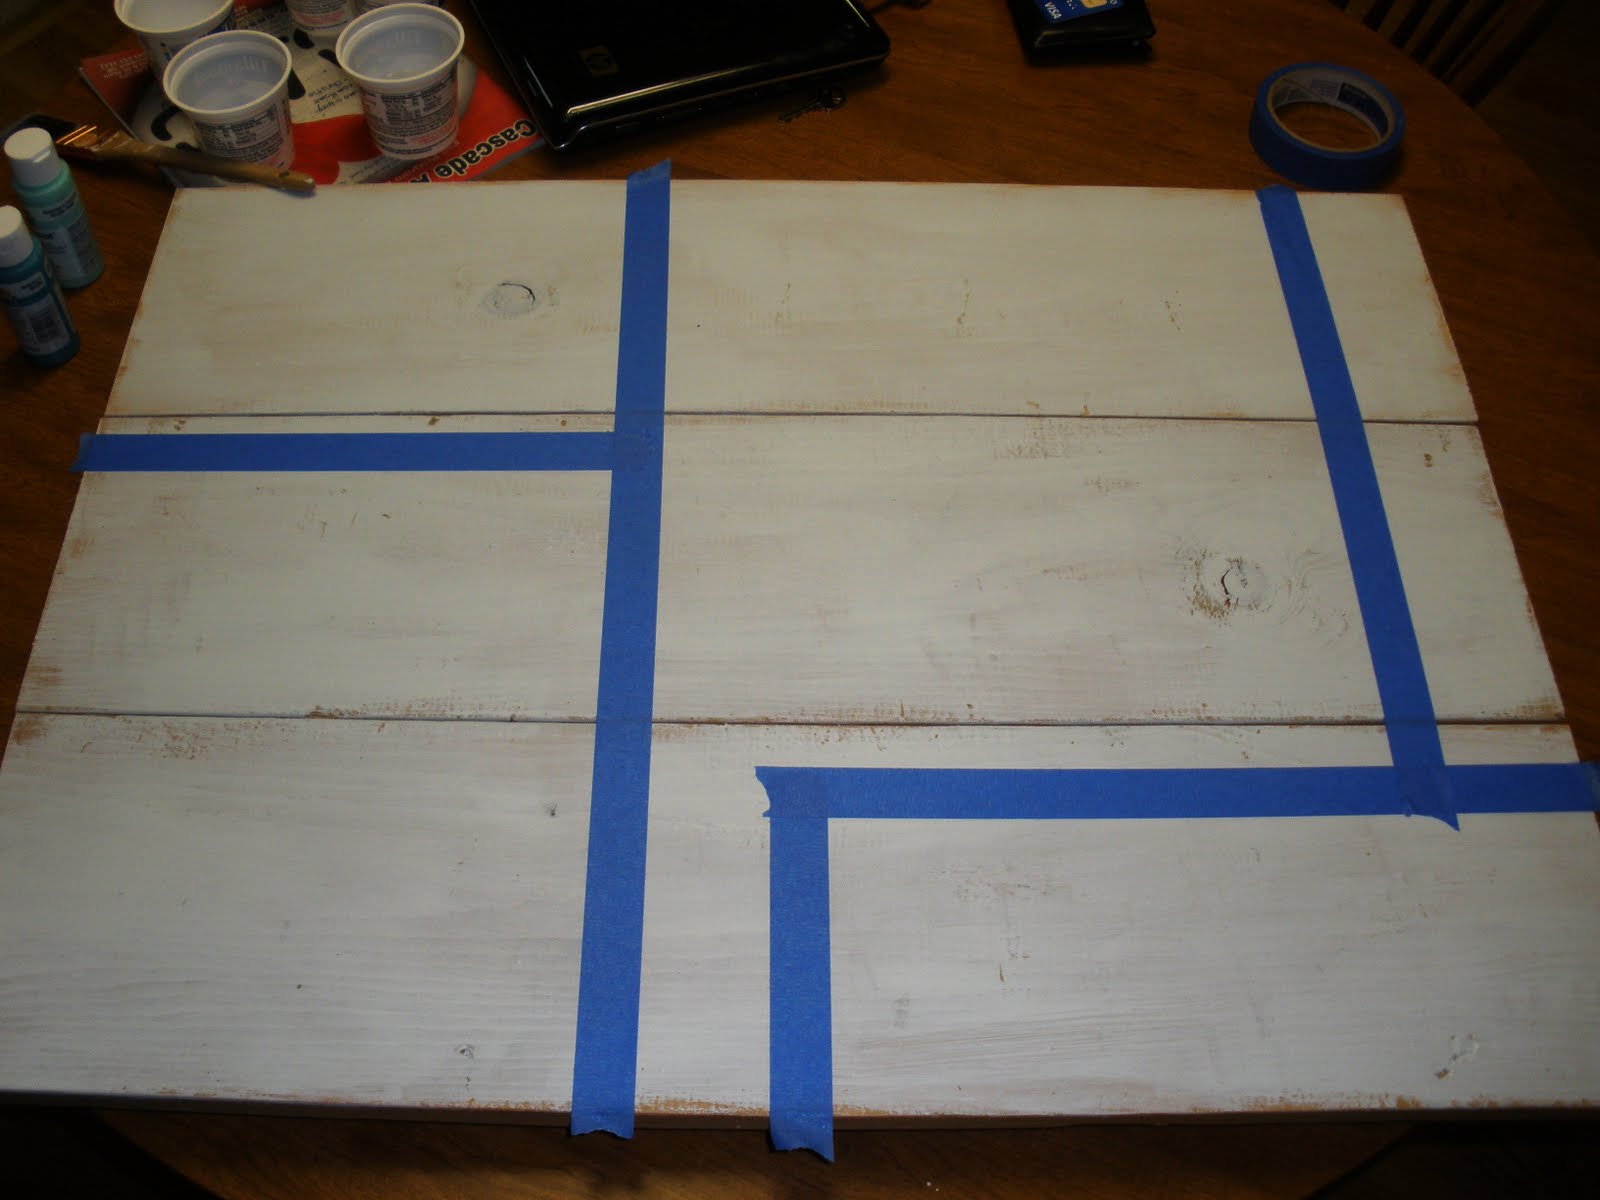
Then after many layers of washed colors on top of those colors (and some sanding) I drew branches on the edges.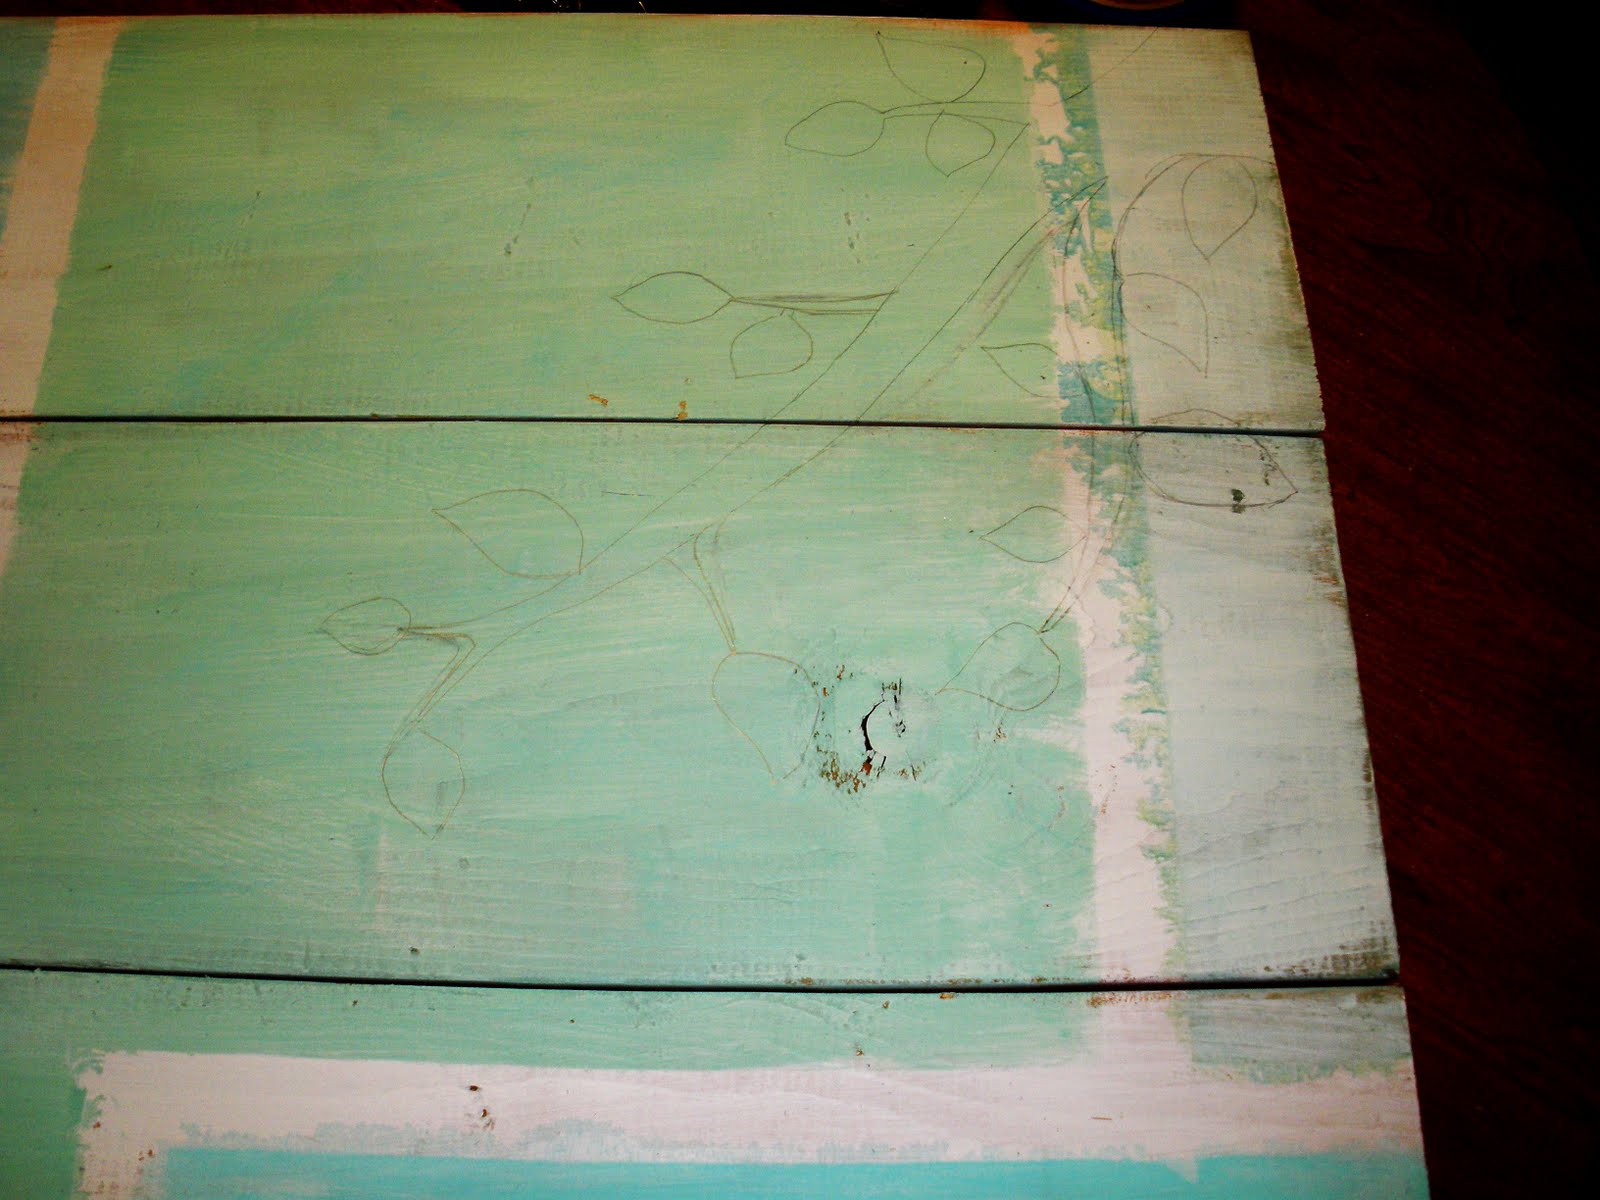
Then I did more coats and sanding on top of that.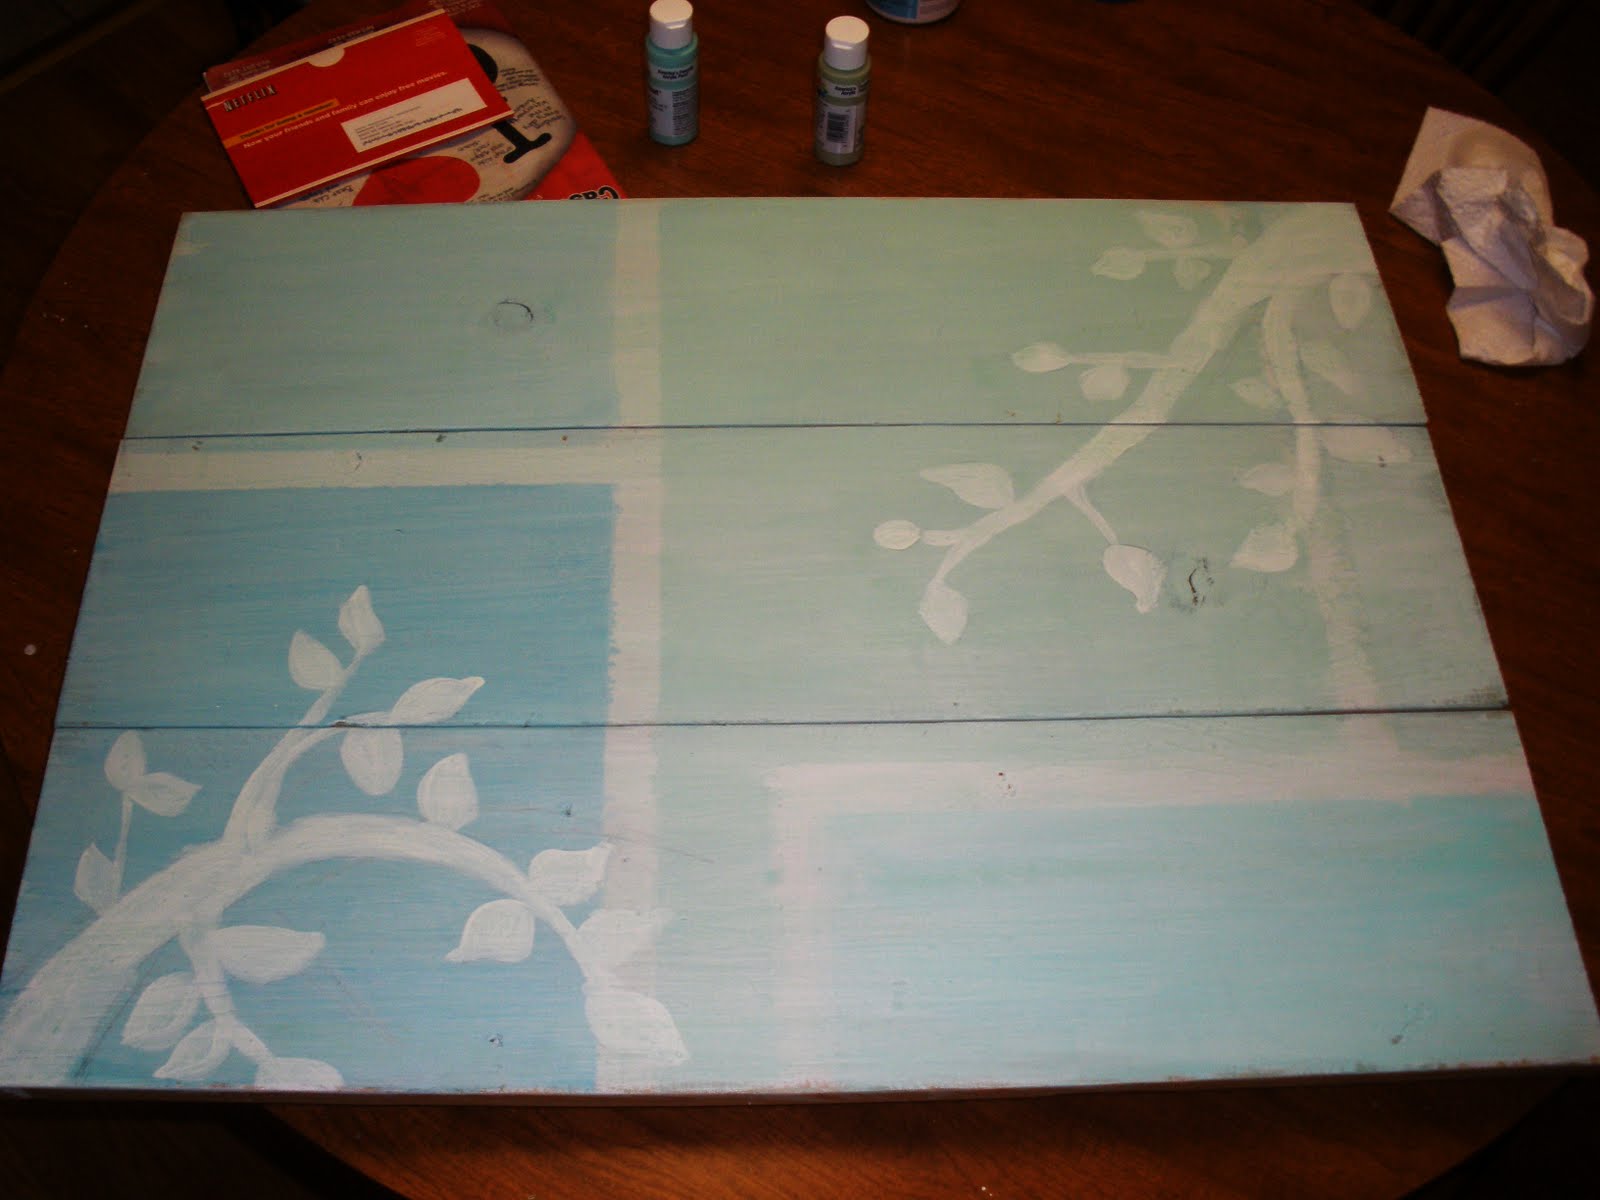
 Then I looked at my inspiration picture and drew the tree.
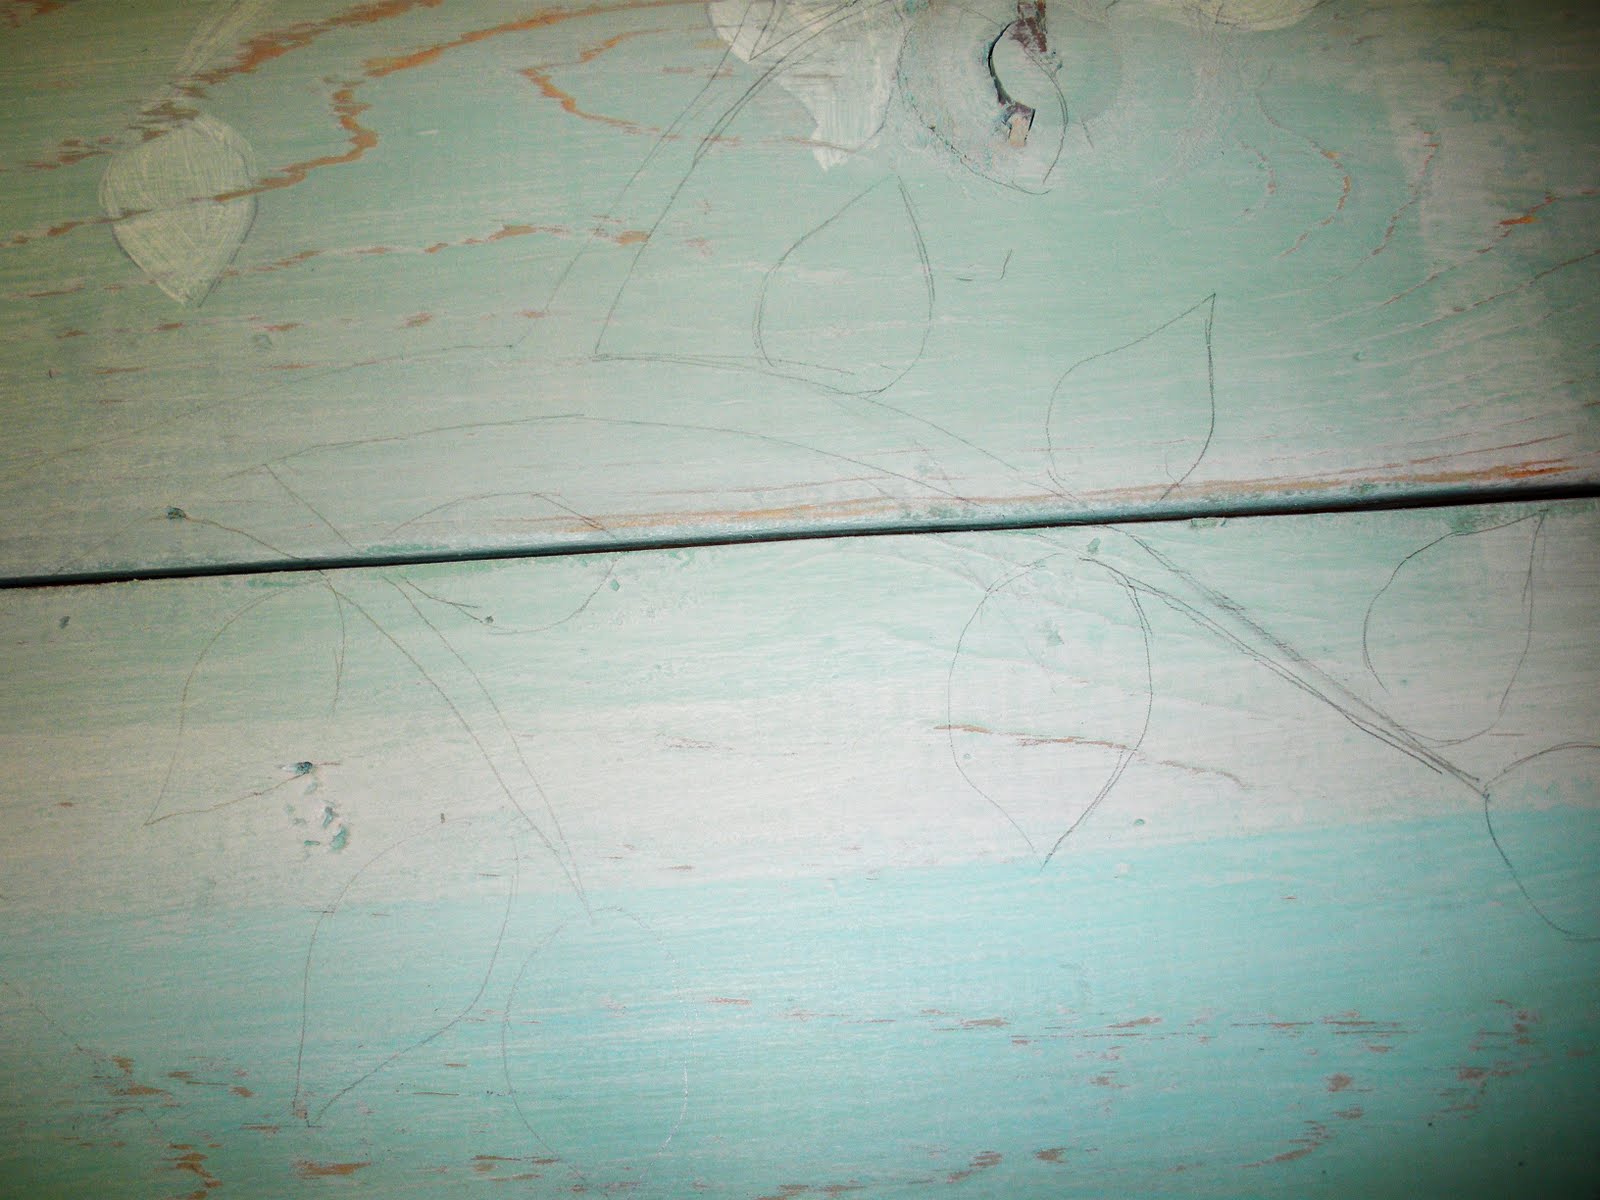
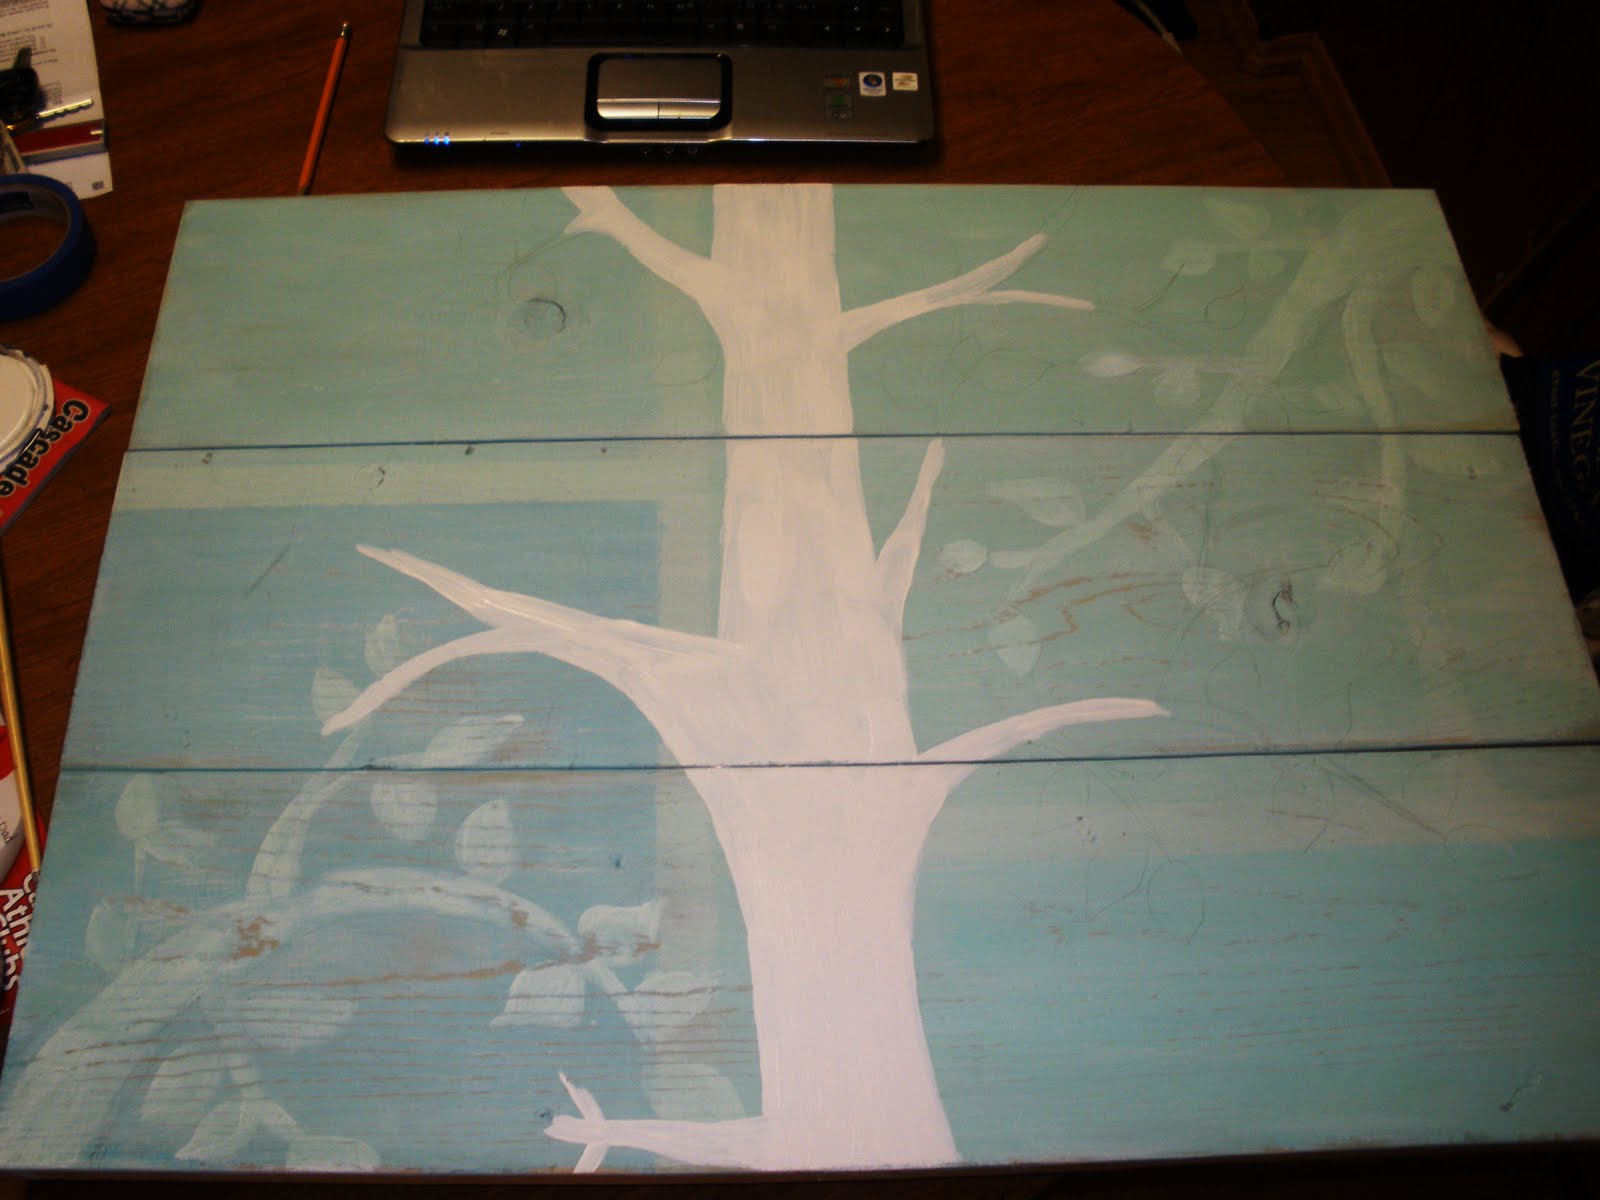
 A side note about free-hand drawing. Break the drawing down to one line at a time. This is what I’ve done since I was like, 7 and I can draw Disney characters like nobodies business.
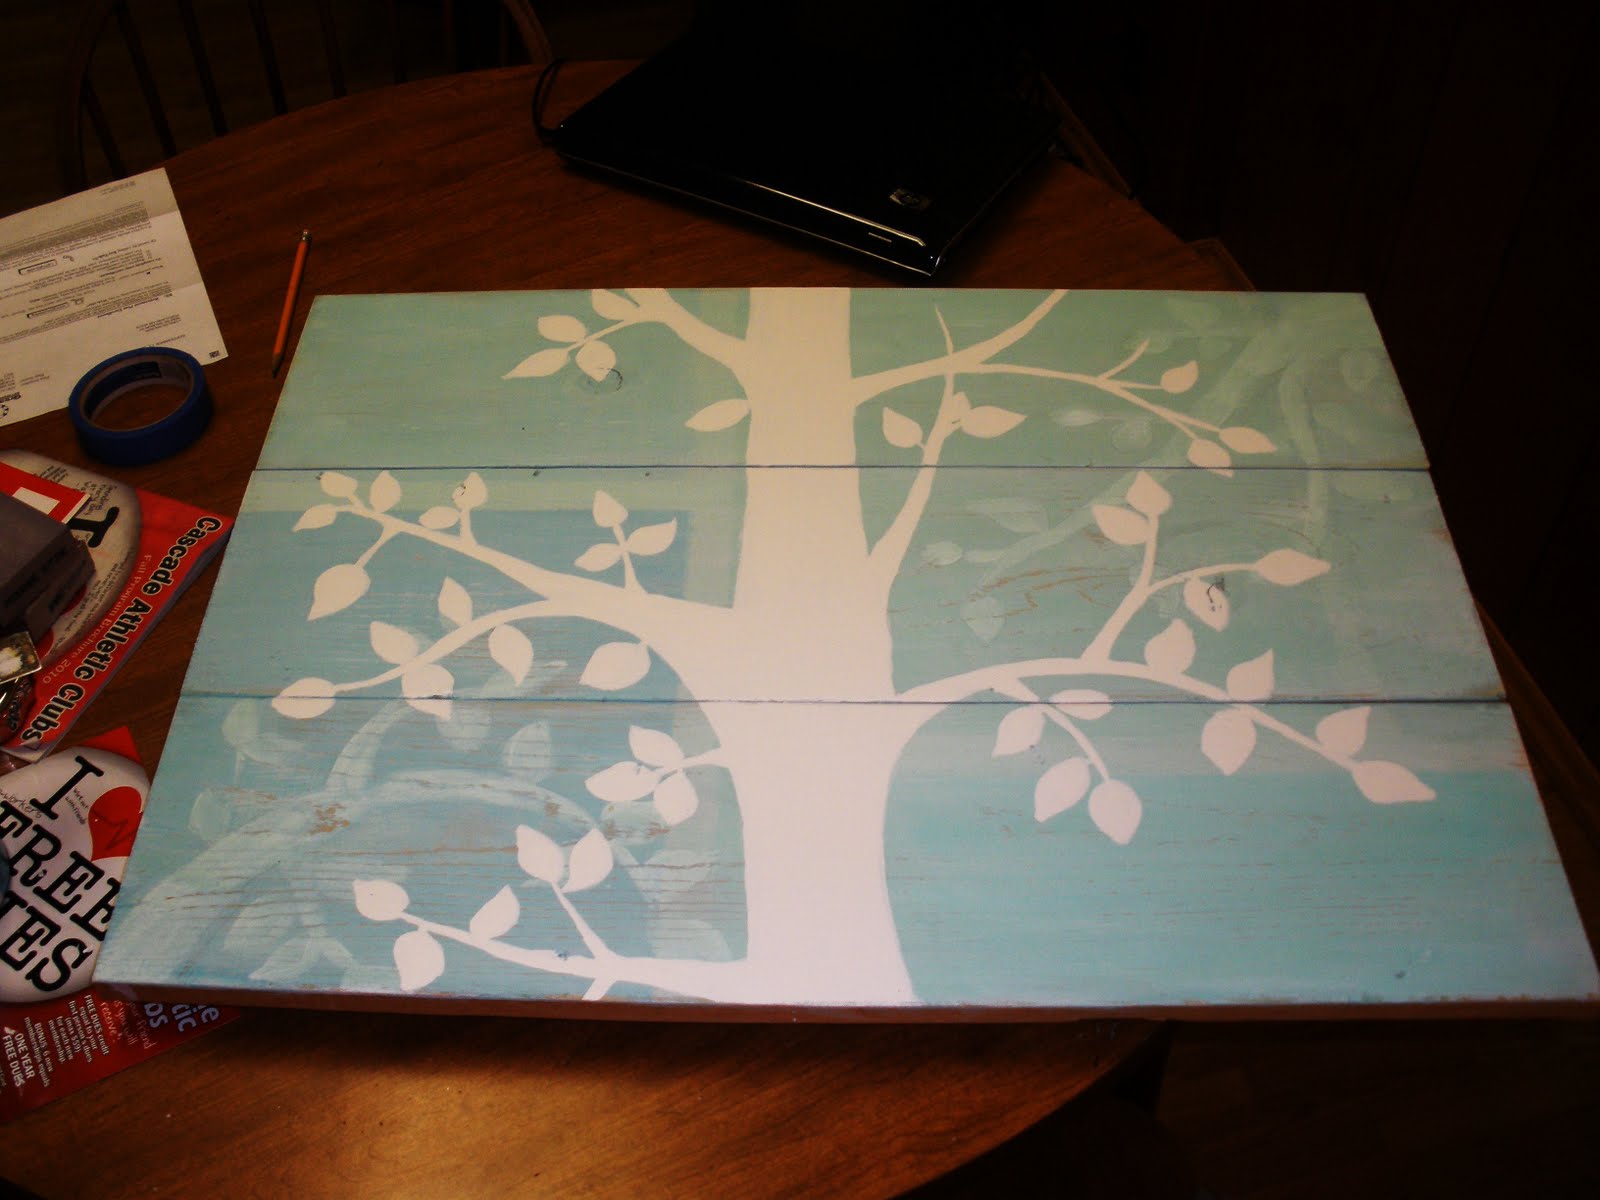
So I perched up to take a look at it.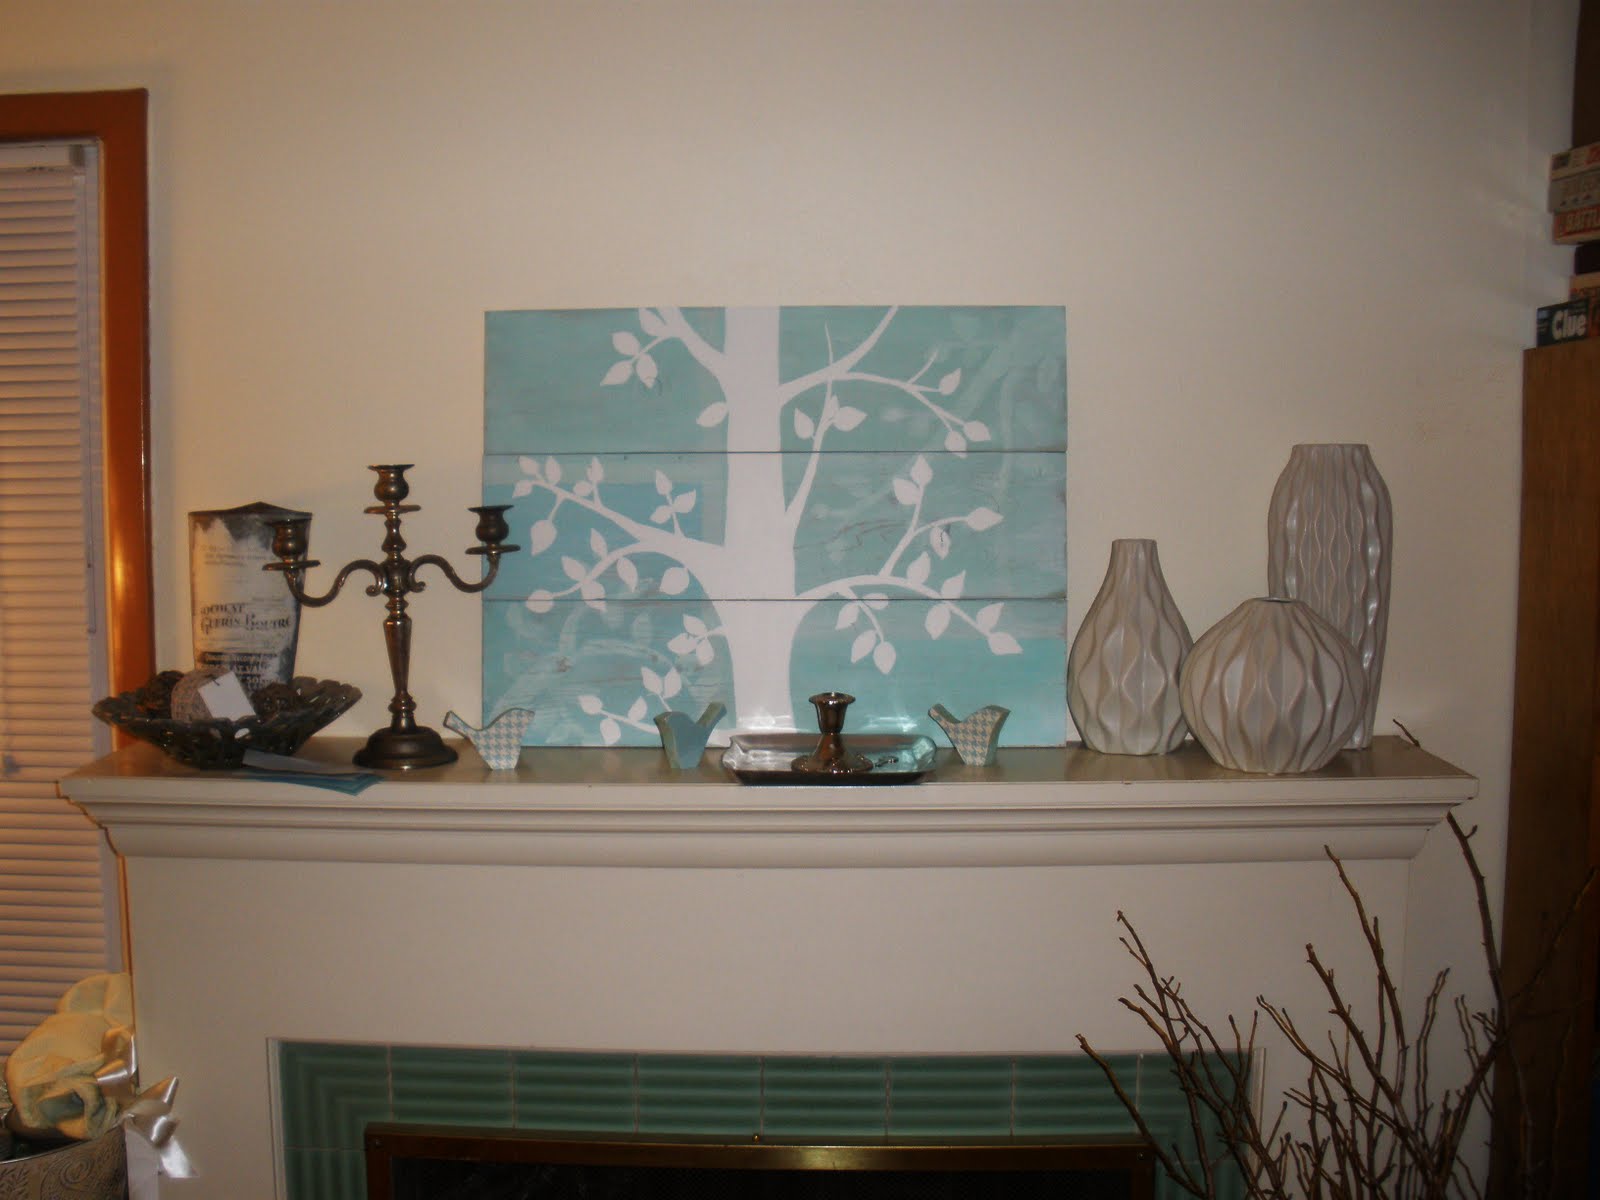
Too matchy matchy.
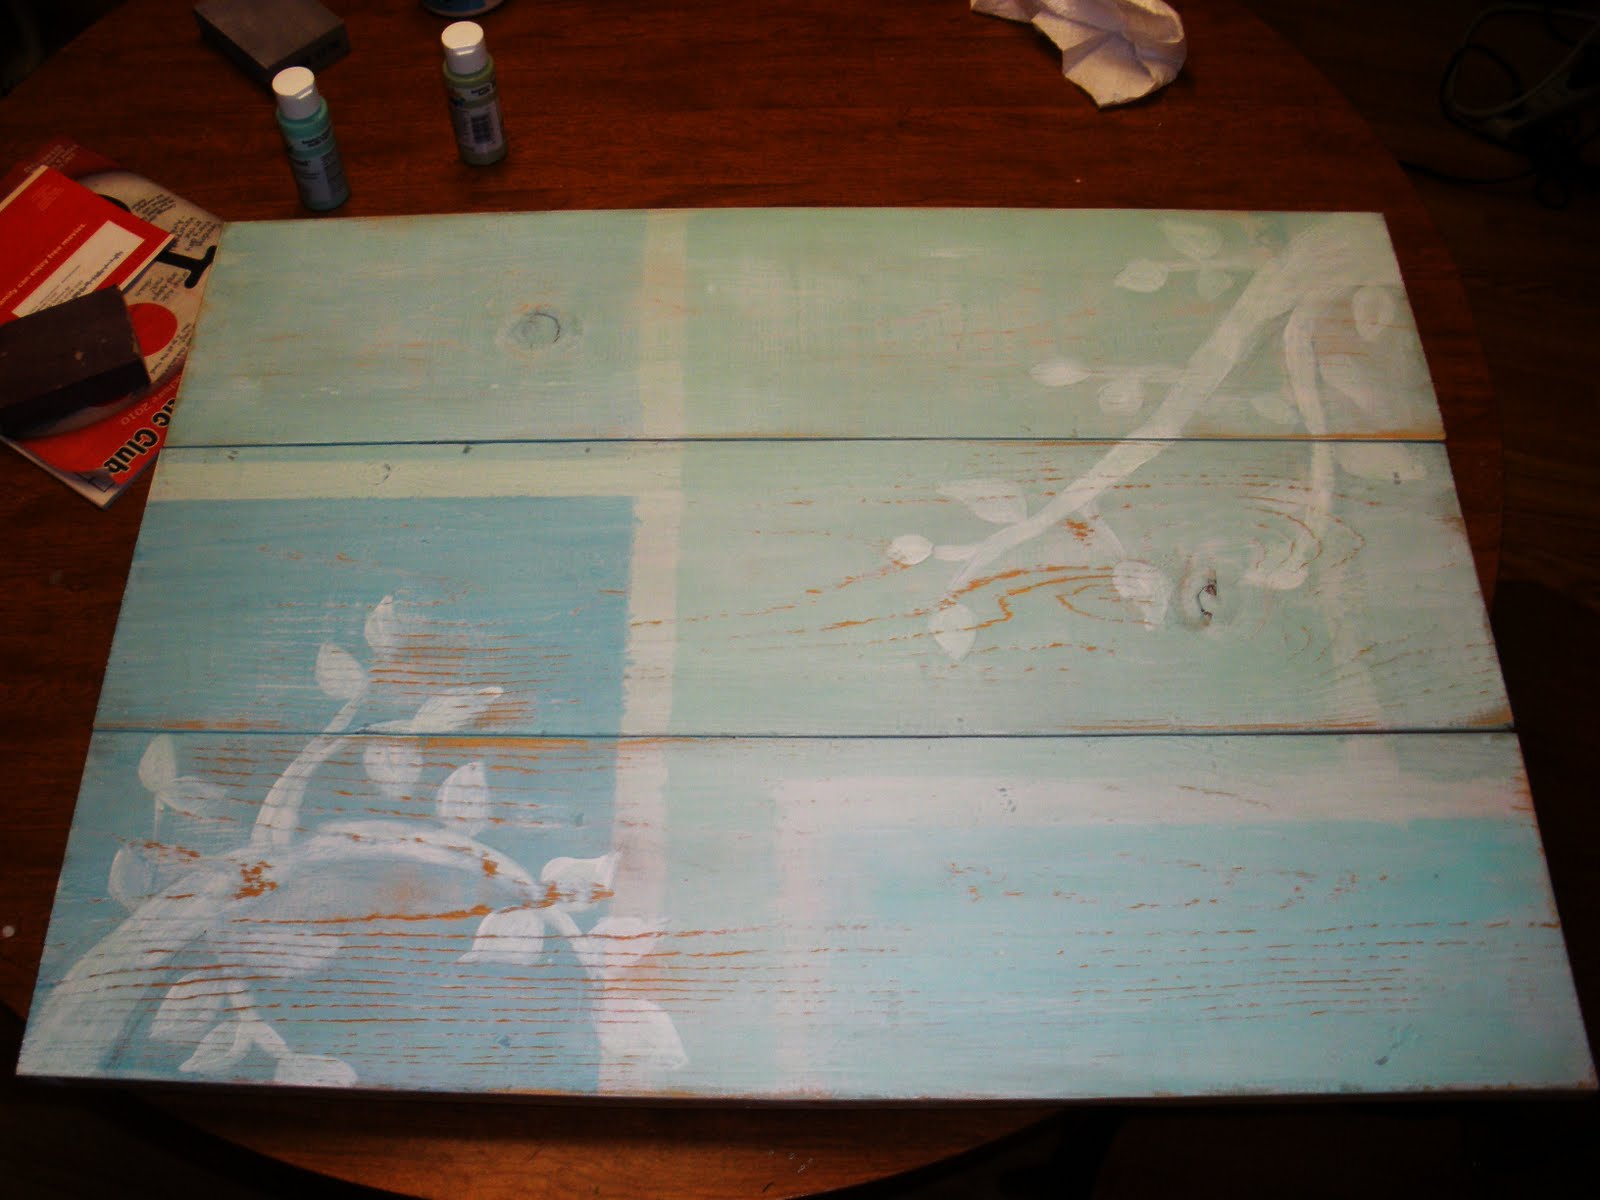
So I took out some dark brown stain, sanded a bit, and rubbed and rubbed, and then rubbed some more. I don’t know if others have this problem, but whenever I try this technique with stain or glaze, I feel like it just looks like someone rubbed dirt all over it (hmmm maybe when I really cut back that’s what I will do…)
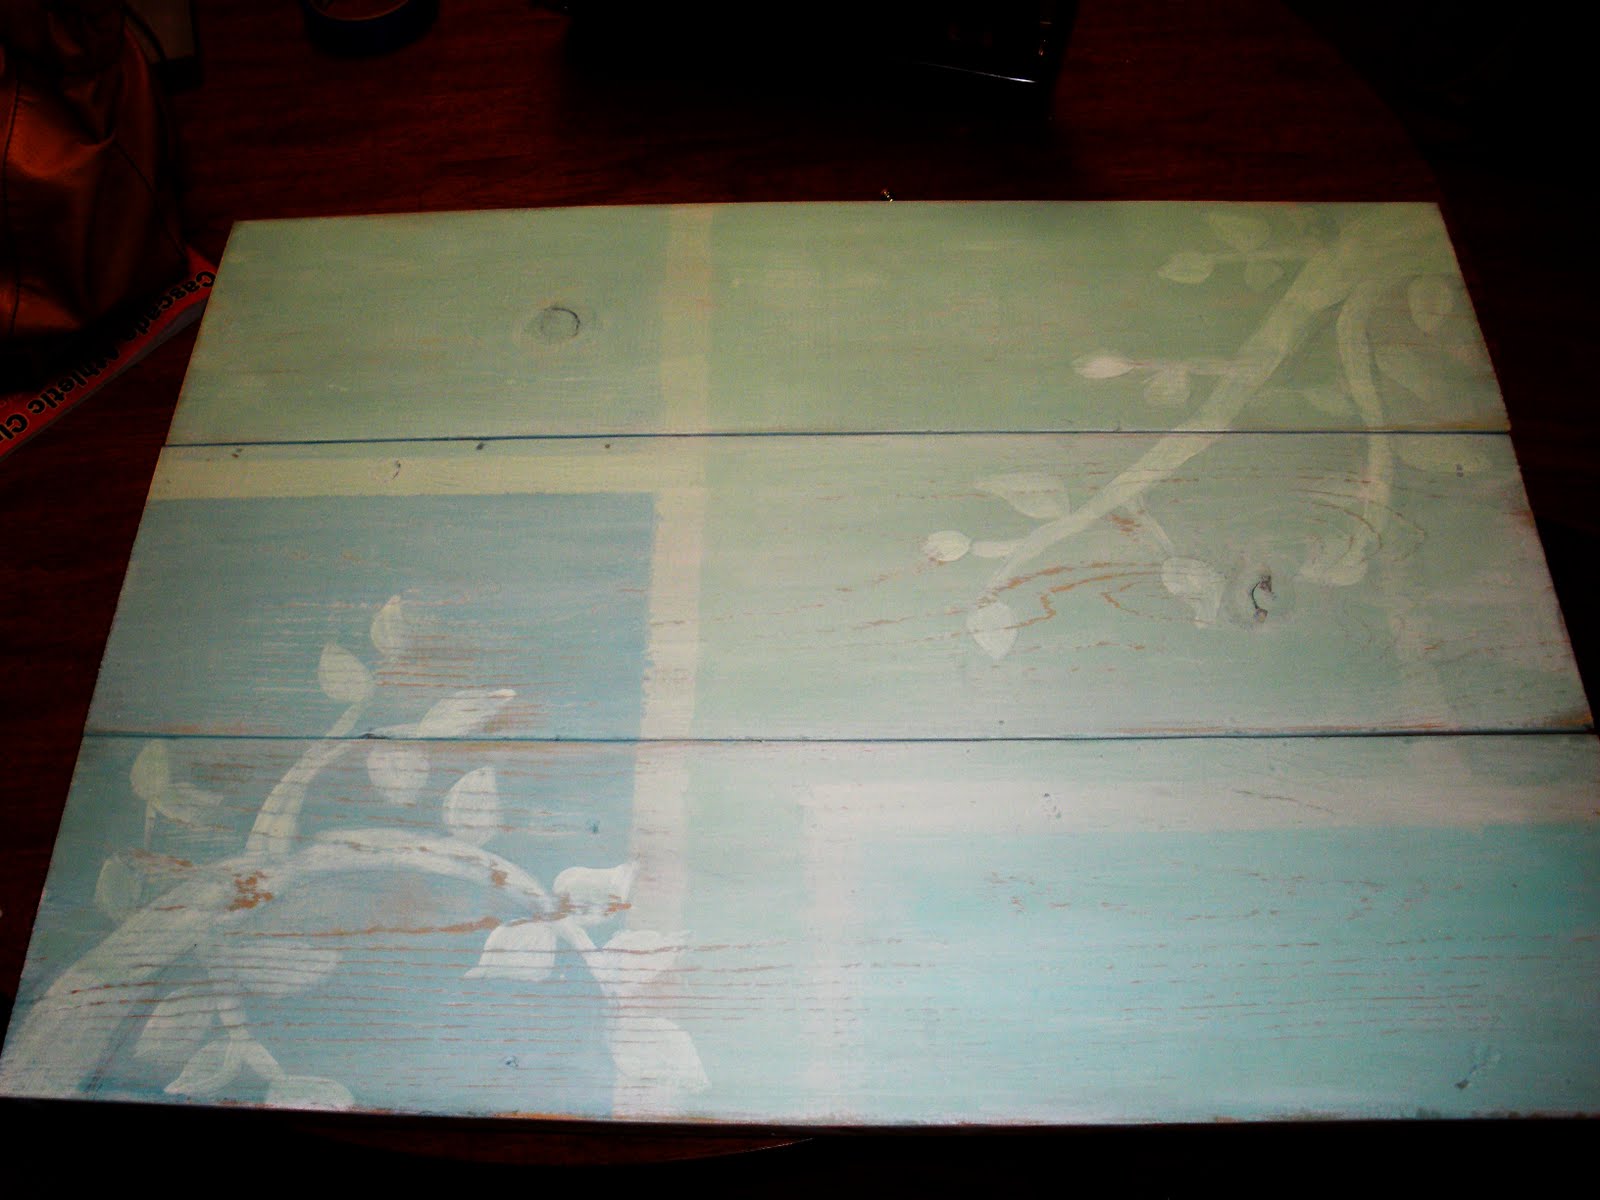
So I grabbed the sander again and ran it just on the tree where it looked muddiest. Perfection.
Cost? Nothing.
Hours? None. Okay it took some, probably total…. 2? The thing is, since you do most of it in tiny stages, like the washes, you literally paint on a layer, which takes 30 seconds to minute, then you wait about an hour (or longer if you’re busy, doesn’t really matter) till it dries and do the next one. The whole thing took me about 6 days, but that includes me not working on it much during the weekend and very sporadically during the week. All in all though, very easy 🙂
Cassity Kmetzsch started Remodelaholic after graduating from Utah State University with a degree in Interior Design. Remodelaholic is the place to share her love for knocking out walls, and building everything back up again to not only add function but beauty to her home. Together with her husband Justin, they have remodeled 6 homes and are working on a seventh. She is a mother of four amazing girls. Making a house a home is her favorite hobby.


>It's beautiful! Much lovelier than the original!
>Hands down, the finished product looks a million times better than the original! And for free! You can't beat that!!
I love this post.
>Oooooh I love it! The color, the toned down version, the pricetag! Nice job and thanks for the inspiration!
>This is truly a work of art! Love it! Although I'm pretty sure I could never actually do this and come out with such a great result, you make it look easy!
>I hated it until the sanding sown and grubbiness part and then…..I LOVED it! How gorgeous. Wow!
I can't believe the orignal is $2000. What a rip-off.
>aw its so cute, i love the added stain to the end it really warmed it up .! i like the rugged wood,with the light colors alot
>LOVE IT!!!! Much better than the original.
>Love, love, love this!!! I will definitely be making this 🙂
>Well I love it!
>the original to me looks like it would be an adorable cork board for messages. In fact, that is what I thought it was until you mentioned the 2,000 dollar price tag OUCH!
AMAZING! I am SO doing this!
I forgot to add – I like yours much more than the $2000 one!
That is lovely!! Good job! And I agree, MUCH prettier than the expensive original!
Hi, can you tell me what brand of sander you use? I’m going to buy one and have never owned one before! Thanks for the inspiration!
I have a random orbit Dewalt I believe. (we actually got robbed, last summer and my sander was taken, i can’t remember what brand we replaced it with…)